We overhauled our old 1950’s non working, wood burning brick fireplace. It’s now a beautiful piece of decor for our home.
Hard to believe looking at the before right? Watch us transform this aged old brick fireplace into a modern beautiful focal point. Join us as we tackle updating this old brick fireplace. It has great bones.
BACKSTORY: Three years ago, My husband and I recently bought our first home. Yay!! We love projects. We couldn’t sit still once we got our hands on our very own home.
When we first saw this monster sitting in our classic styled lovely plaster living room with COVE ceilings (such a beautiful room with lots of light!)
Our first thought was Just kill it. REMOVE the beast.
This fireplace was such an eyesore and it’s REALLY big too. We changed our minds when we talked to my dad, a drywaller, about the work involved in removing it.
A definite NO. The plaster walls would never be the same.An the cove ceiling would have to go. ALL of it. And then we would have to redo the new carpet too.
We were not ready for that.
We had to make this ugly monster somehow into a more attractive focal point in our living room. There is no way around it. This fireplace is the CENTER of the room.
If you sit in this room, walk into the living room from either side…it is the first and largest eye-catcher in the room. We had to turn it into a good thing.
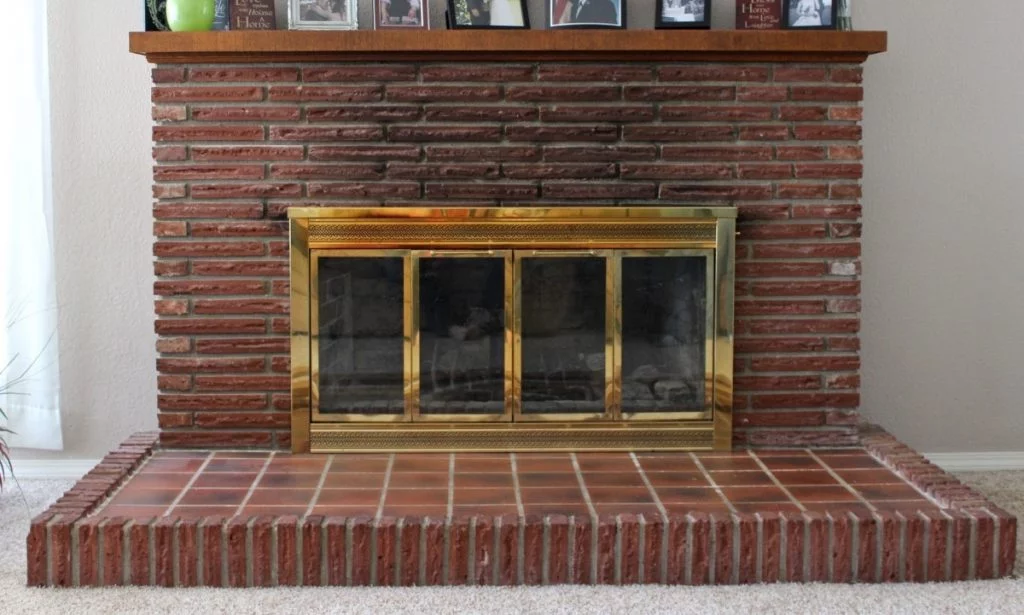 Redoing our 1950’s wood burning fireplace was a challenge. Watch us transform this older brick fireplace into a lovely modern focal point!
This fireplace needed a DIY facelift to make it beautiful and family friendly. We searched through pinterest (thank GOD for pinterest), and got inspired.
We made a plan to make our beast into a beauty. Mission accomplished. We are now delighted with our fireplace overhaul.
Over the last three years, We have tackled a modest bathroom transformation, repainted our front entryway, wainscott hallway and old kitchen cabinets. Our first updates on the house made it so much better!
The Fireplace Condition:
Where to begin:
This fireplace will never work as a wood burner again. The chimney was filled with cement years ago. Eventually we plan to add a natural gas insert but for now we will focus on the outside.
The brick is in great shape. And as big as it is, it fits in our huge living room just fine.
Our largest dillema is the hearth. Its HUGE and has upright bricks all around it that make evil sharp “teeth” to bite our babies as they crawl around on it and fall into it. We overcome that issue in this post.
Watch our This is our Home YouTube Channel to see our current enormous remodel. It’s transforming our whole house into a wonderful family home we just love!
Our Fireplace Overhaul Plan
- Repaint the Nasty gold colored fireplace face.
- Paint the aged and discolored red bricks a nice white color.
- Cover the brick hearth with repurposed hardwood stained a deep mahogany brown and epoxied.
- Build a full mantle that will go over the top of the fireplace and have columns that come down on either side, in white.
Step 1: Repainting the Gold Fireplace Front black
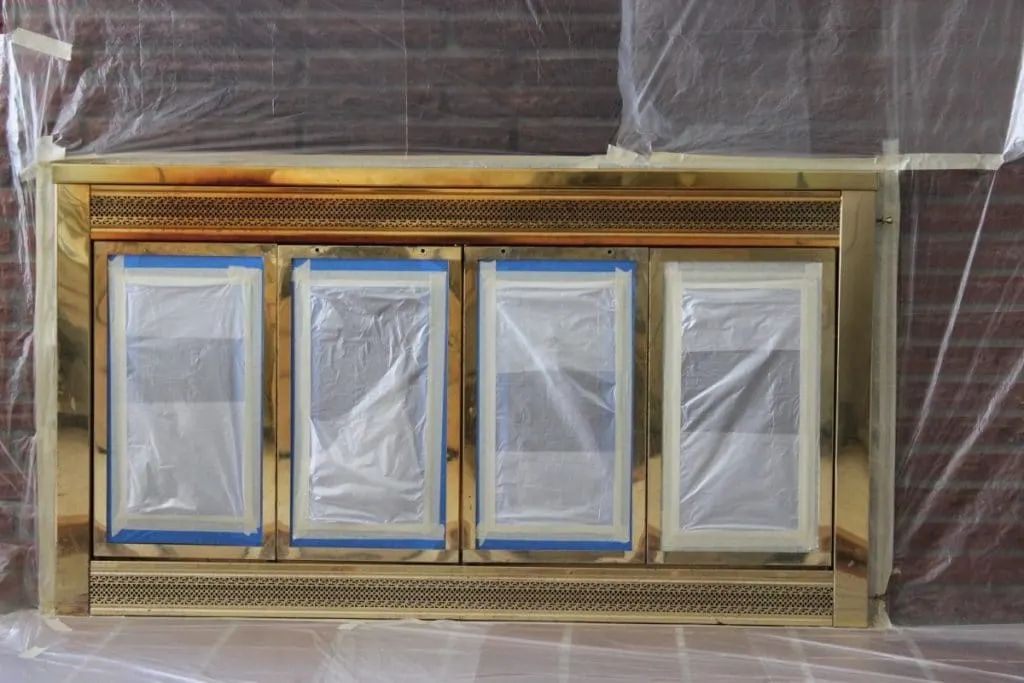
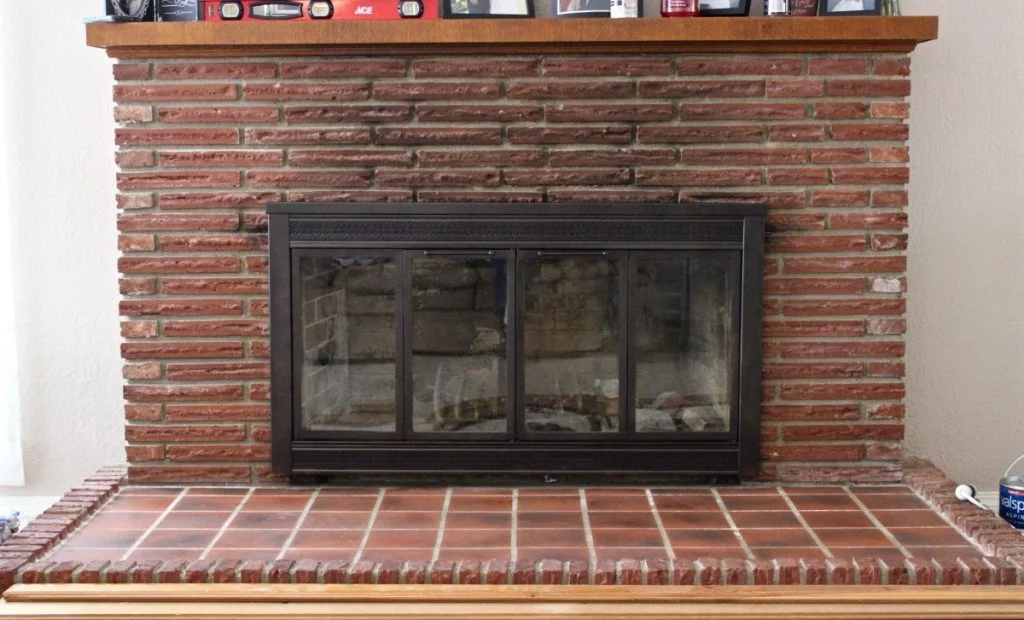
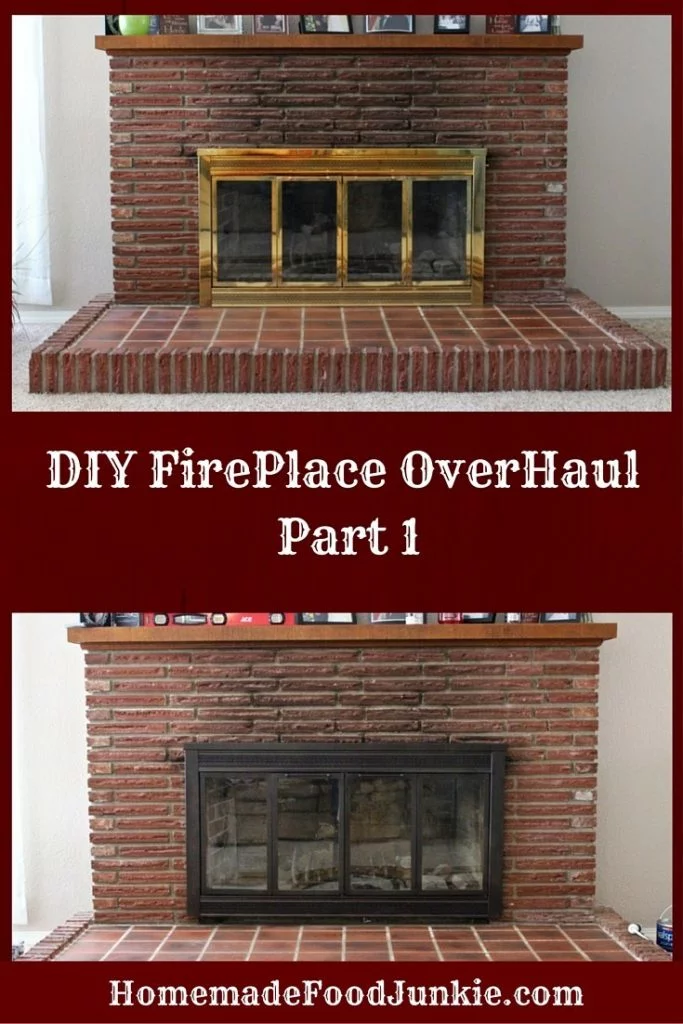
The gold insert is classic 1950’s. We had no reason to change it out. In order to redo it into a more modern look we masked off the fireplace completely and spray painted the metal face with a bronze paint and primer.
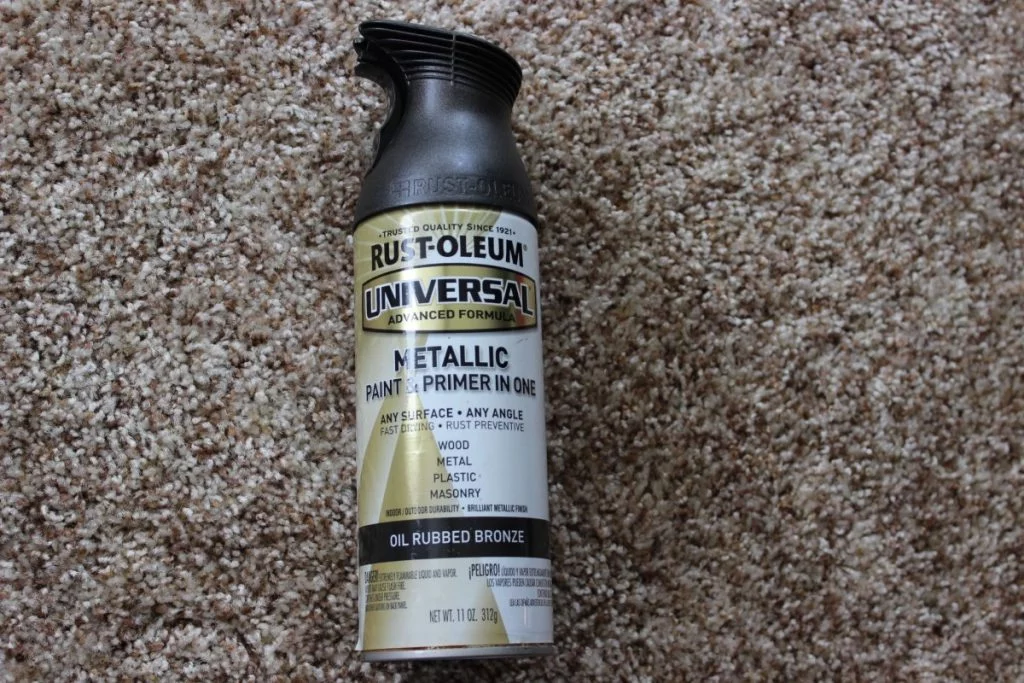
We used This totally awesome Rustoleum spray paint. Seriously we love this stuff! it’s so easy to use and it covers beautifully.
I attached a few pictures in this post of other projects that we have used the paint on. It’s easy to use in any color you need.
We completed this project in about 2 hours (not including drying time) it was simple and cheap to make this insert go from gold to a pretty bronze color. There is now a space underneath the insert because we lifted it to be able to fit the wood underneath it that will be the new floor of the hearth.
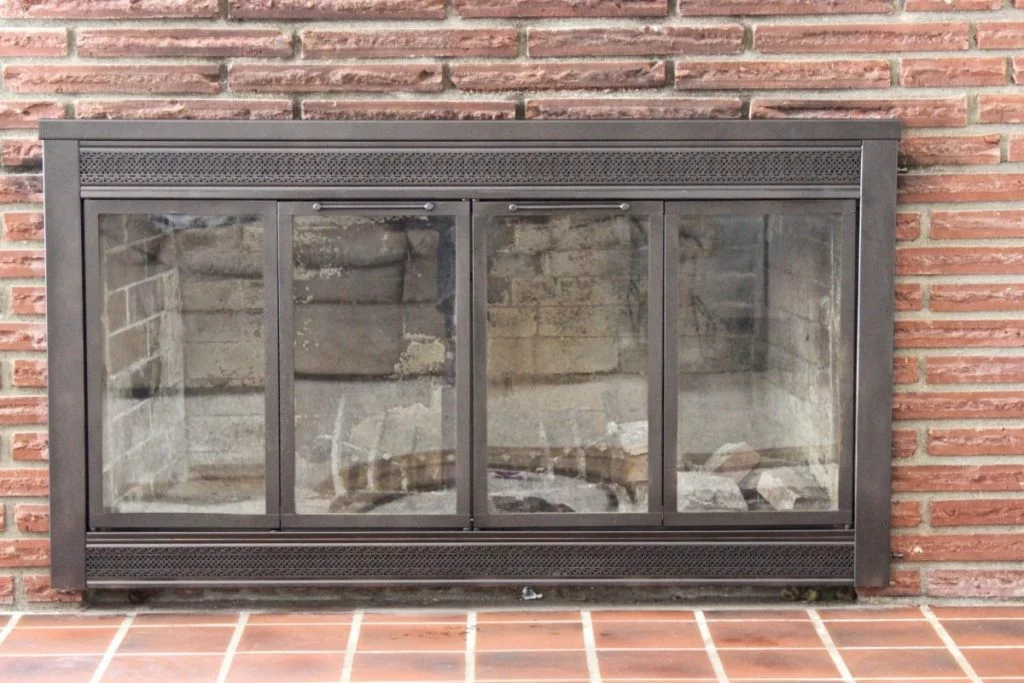
Just this simple update is already exciting. The Re-painted fireplace face looks much better. Read our other posts in this series to see how we did the rest.
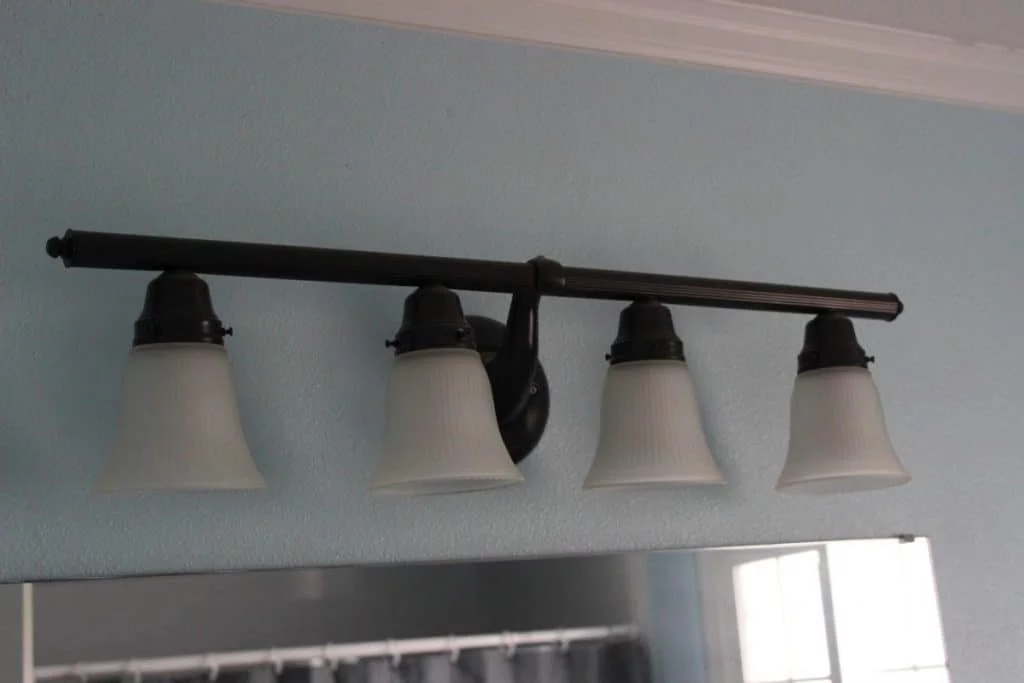
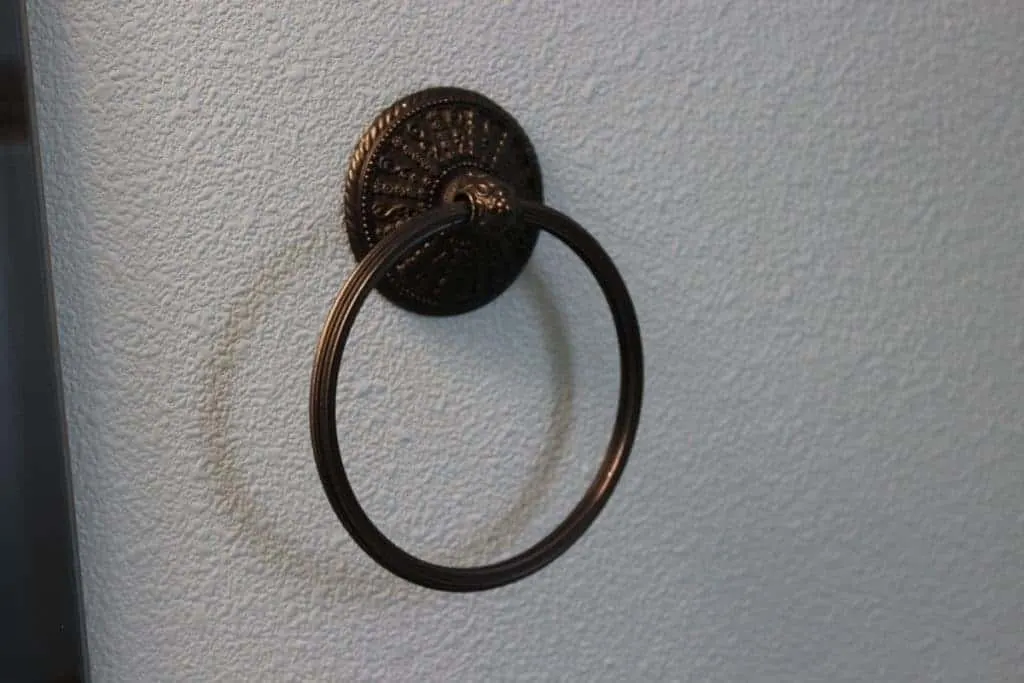
Here are the other projects that we have used the Rust-Oleum on, seriously everything was gold in this house and we are slowly changing it to bronze!
This is the first of FOUR posts on this fireplace overhaul. Go here for the Second post, Third Post, and Here is the reveal post. Each post takes you through another step in this process. We are SO happy with the finished results!
Pin it:

Twix Cupcakes Recipe | Homemade Food Junkie
Friday 18th of December 2015
[…] doing quite a bit of light home renovating since the move. I tell you about our Fireplace upgrade here , here and here. The final post is coming soon on our amazing fireplace mantle transformation […]
DIY Fireplace Overhaul Part 3 - Homemade Food Junkie
Sunday 29th of November 2015
[…] the painting of the bricks in DIY Fireplace Overhaul Part 2. If you’ve missed this series, DIY Fireplace Overhaul Part 1 might be of interest to you as well. So far we have been absolutely thrilled with how our […]
DIY Fireplace Overhaul Part 2 - Homemade Food Junkie
Thursday 17th of September 2015
[…] We have covered the old nasty red brick and replaced it with gorgeous white painted brick this week! Our fireplace overhaul is moving forward and we love it. You can read about the first step we did in our overhaul where we got rid of our old gold insert and made it bronze by clicking here. […]
Tina Marie
Thursday 10th of September 2015
I love the bronze look. I have bronze and rod-iron throughout the house, and can't wait to redo some more items. Can't wait to see part II of this fireplace.