These delicious Holiday Candies make the perfect addition to any holiday dessert table. They are easy to make and can be made in a variety of combinations and flavors. From peppermint and white chocolate to dark chocolate and peanut butter, they can be decorated to fit any theme.
These scrumptious treats also make great take home gifts for your guests; they travel well and create a darling array of goodies that everyone will love.
We are sharing all of our suggestions and tips for how to create these candies to fit your preferences and yield the best tasting textures and flavors.
What are traditional Christmas Candies?
We all know and love the traditional mainstream candies that accompany the Holidays. Candy canes rank the most popular and well known followed by peppermint bark and butter toffees. Truffles and delicate cookies like chocolate kisses are also well loved throughout Winter festivities. Followed by the Chex mix treat called ‘reindeer food’ and other chocolate candies.
These homemade candies take elements from many of these goodies, combining them into new flavor combinations and easy to serve portions. You can make them with peppermint, white and dark chocolate, peanut butter and caramel and many more delicious ingredients.
How long are homemade Christmas Candies good for?
Depending on the type of Christmas Candy and the ingredients used, most candies are good for 2-3 weeks and store very well. Christmas candies typically do not need to be refrigerated making them a great food gift to share with family and friends.
Some can even be frozen for a short time if necessary. Simply store them properly in an airtight freezer safe container and allow them to thaw at room temperature before serving.
How do you make Homemade Christmas Candies?
Homemade soft candies are a simple recipe made by combining softened butter, cream and powdered sugar. These ingredients are mixed while adding any flavor extract of your choice including almond, vanilla, peppermint and so on. When the dough becomes manageable you will roll it into a log shape to cut out candy disc shapes.
This candy dough is very similar to sugar cookie dough and does need to stay cold. Wrap the dough log and chill it for a while. After the dough has chilled, roll it out on a powdered sugar board to prevent sticking. You can them cut out the candies into whatever shapes you want. Chill the cut out shapes again if needed. Dip your candy shapes into whatever candy melt you choose including white chocolate, dark chocolate, peanut butter, caramel and so on.
Once you get the basics of dipping the candies down this is a very easy dessert well suited to older kids that need creative gift ideas for friends and teachers. You can make these candies taste and look however you want, so kids can get creative in how they decorate them.
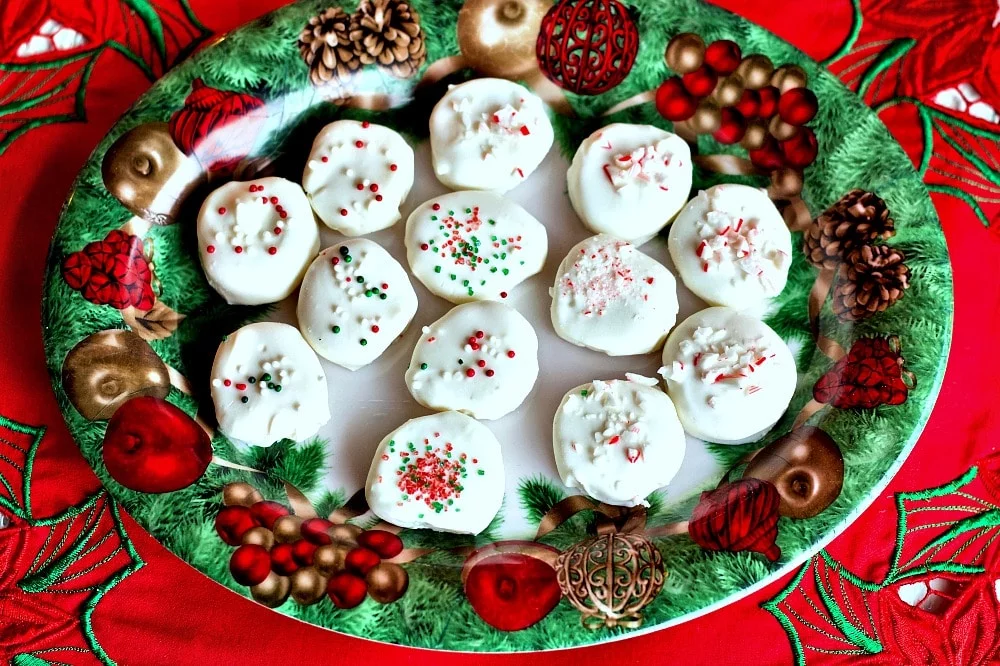
These candies can be decorated to fit any theme including Valentines Day, Thanksgiving, Birthdays and of course, Christmas. Simply by changing up the sprinkles you use will make all the difference in how these candies look.
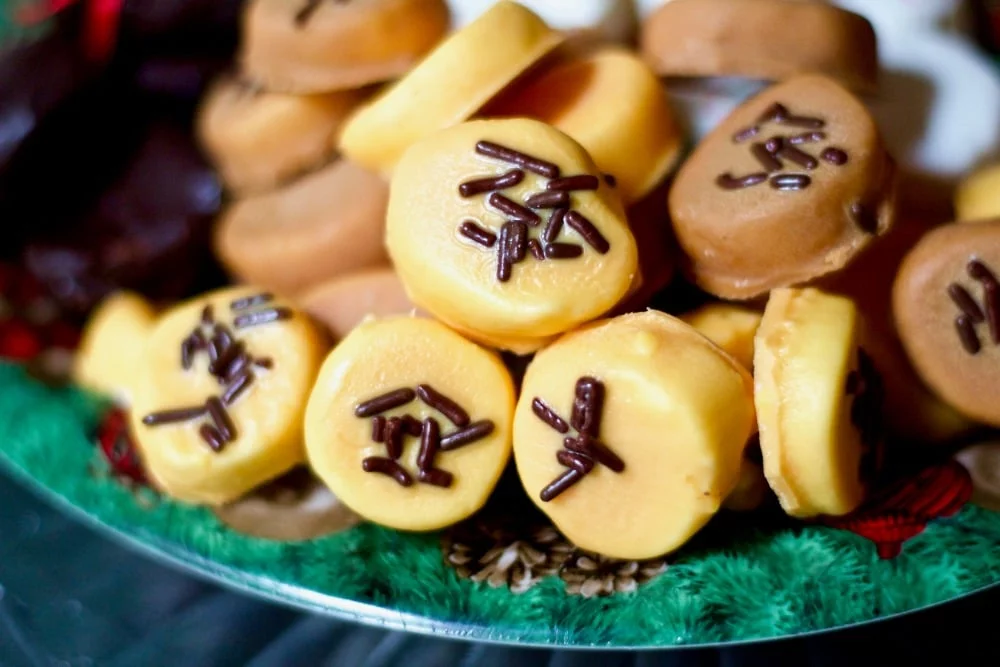
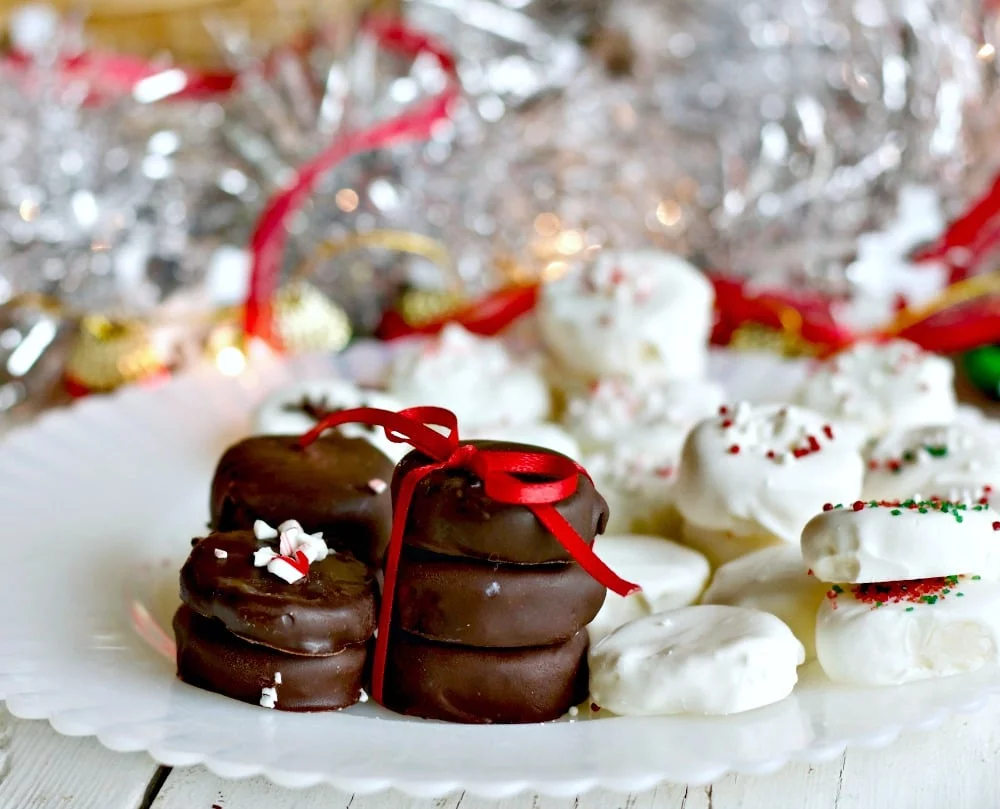
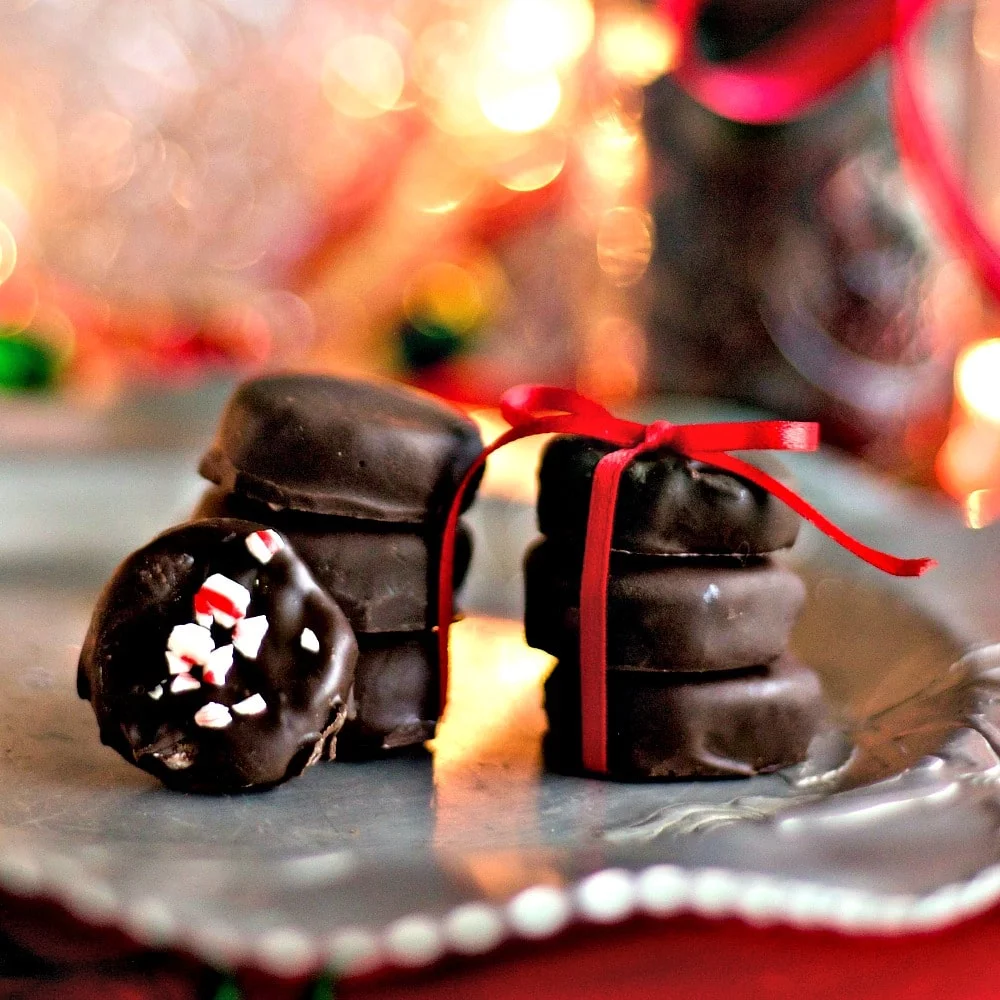
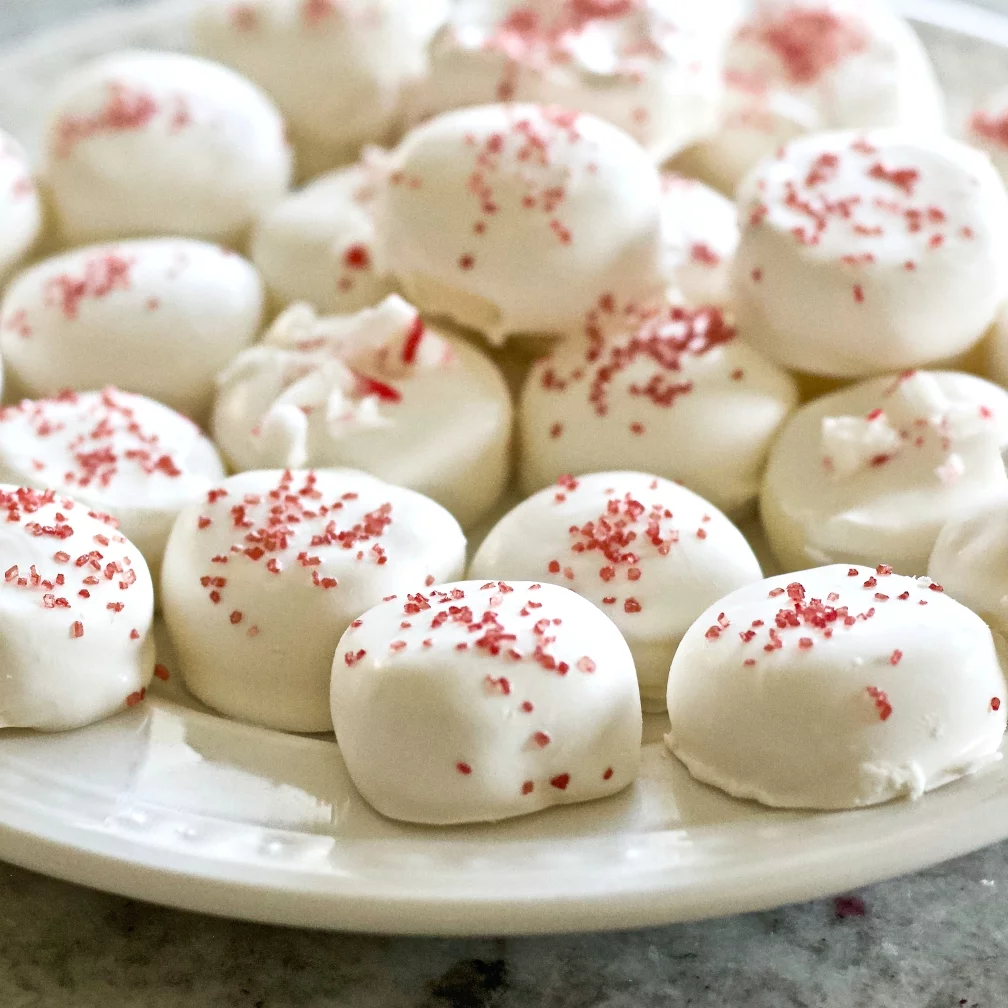
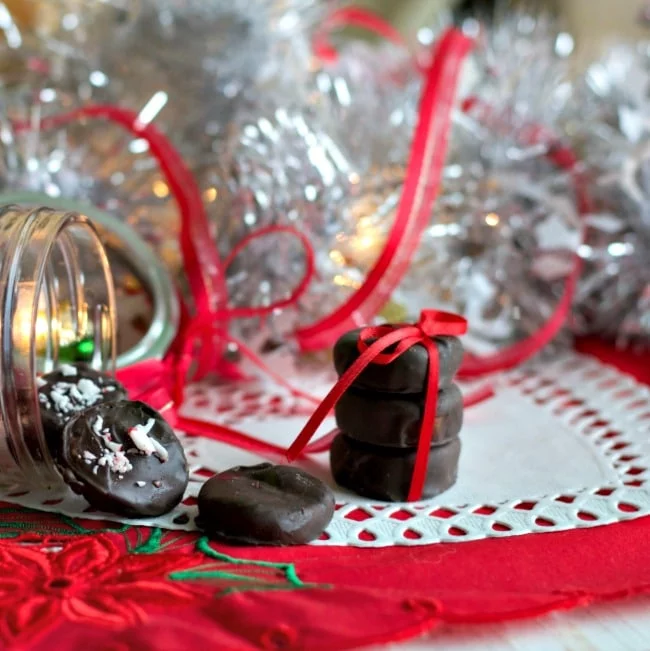
For our candies, we made peppermint candies covered with dark chocolate and white chocolate.
The combination of the white chocolate with the peppermint creates a fantastic peppermint patty type feel to these delicious candies. It tastes like tiny bites of Christmas. The dark chocolate presents a rich, decadent treat.
Recipe Notes for Holiday Candies
- Chill the dough for at least 30 minutes in your fridge.
- Roll the dough into a log about an inch to an inch and a half in diameter and chill in that shape.
- Use only candy melts for the dipping stage of this project. Heavy cream based ganache doesn’t set up properly and most likely will yield messy candies.
For this recipe we recommend you fully dip the candies to make them more manageable.
Working with candy melts
- Follow the package directions for each specific candy melt. The directions will differ.
- Put your microwave on half power and heat the melts for 30 seconds, stir the melts and repeat until the candy melts, melt.
- If your candy melts are melted but gloppy and thick add coconut oil in small amounts as you reheat the melts and stir it up.
- Continue thinning with coconut oil until you get the consistency you desire. Be careful not to overdo the oil or it will take a long time to set.
- If you overheat your candy melts let them cool down to room temperature, add some oil and slowly and gently reheat.
- As you stir in the oil, the candy melts should thin and smooth so you can dip the candies with good results.
- Set up your project so the candy melts are the perfect consistency when the dough comes out of the fridge.
- Have your toppings ready and the cooling station ready with parchment paper or silicone mats set out.
The process
- Make your candy dough.
- Roll it into a long roll about 1 to 1 1/2 inches in diameter.
- Wrap the candy in saran wrap and chill about 30 minutes.
- Set up your toppings and get the candy melts ready to dip.
- Unwrap the wrapped, cooled candy roll. Roll it around until it makes a perfect roll.
- Cut the candies from the end of the cooled dough roll.
- Shape any rough points off until they are dough circles.
- Dip the candy dough into the candy melts with a fork, make sure it’s coated all over.
- Place the candy onto your cooling station and leave them alone OR top them now with your choice of crushed candies or sprinkles.
- The candies will cool and set within an hour, depending on much oil is in the candy melts.
- Once the candy is set up hard trim off the excess candy melt on the tray with a sharp knife.

Follow Us:
We enjoy meeting you on our social networks. Follow us on Facebook, Pinterest, Instagram . Tag us with your pictures of our recipes and comment on how it went for you. We would love to see what you do with them.
We often like, comment and share your posts of our recipes on our daily Instagram stories.
Ask questions and rate the recipe in the comments section below. Please share what you did with this recipe. We are always looking for more and better ways to make homemade food. Other cooks love your ideas!
Recent Posts:
Recipe Source: www.ohnuts.com


Chocolate Cherry Peanut Butter Truffles | Homemade Food Junkie
Sunday 13th of December 2015
[…] other fun holiday treats that look great on a tray, try Kayti’s Candy cane cookies, or her holiday candies. My Candy Coated Spoons are a fun way to serve hot drinks(or give as a gift). Maple Date bars […]
Candy Cane Cookies - Homemade Food Junkie
Thursday 3rd of December 2015
[…] I made Holiday candies and Mom made holiday Chocolate Roll Cookies for this year’s holiday season. We have several […]