
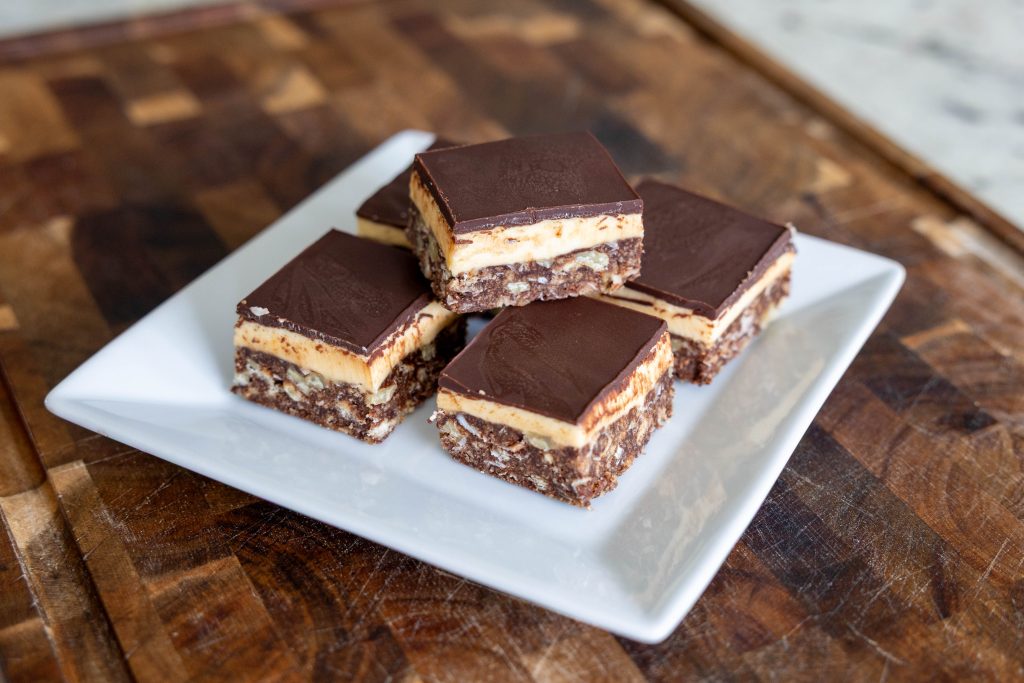
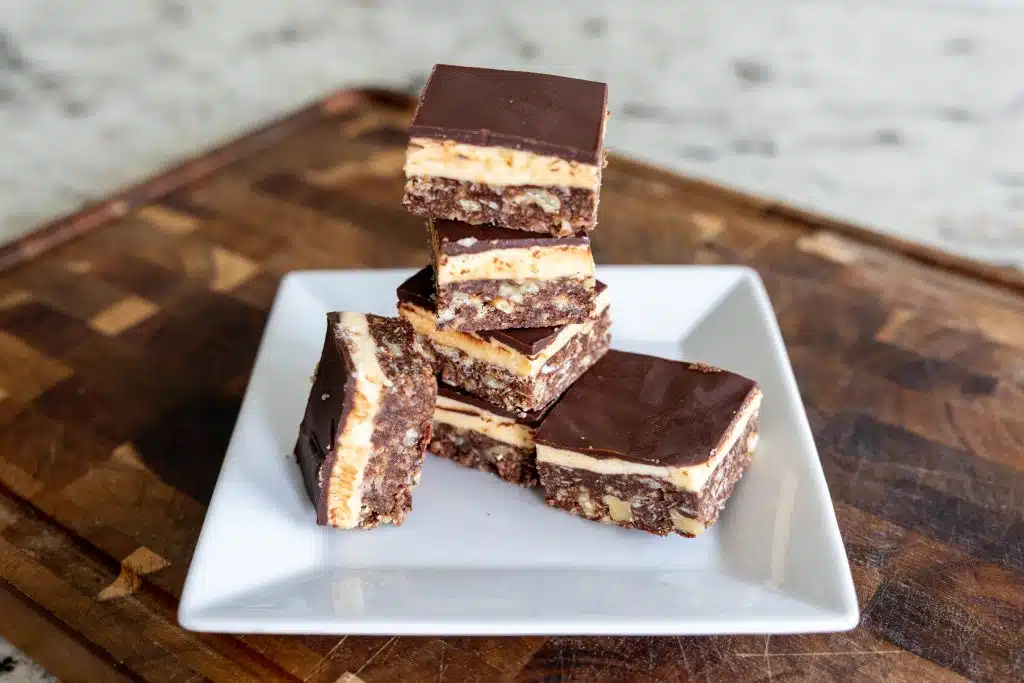
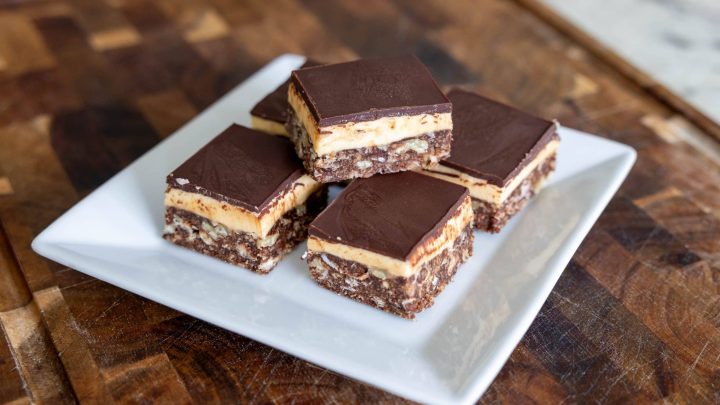
These iconic Nanaimo Bars are a Canadian no-bake dessert bar that features three delicious layers: a rich chocolate-coconut graham cracker base, a creamy vanilla custard filling, and a smooth chocolate topping. They’re easy to make ahead and perfect for holidays, potlucks, or anytime you need a sweet treat.
I grew up just over the border from British Columbia and every bakery served these yummy bars. Every time I have the opportunity to get them in a bakery I do! So yummy, the creamy custard layer is my favorite.
The History of Nanaimo Bars
Nanaimo bars are one of Canada’s most recognizable desserts, named after the city of Nanaimo on Vancouver Island in British Columbia. The no-bake bars are made with a chocolate, coconut and nut base, a creamy custard-flavored middle, and a layer of chocolate on top.
The exact origin of the Nanaimo bar is a little mysterious. Several people have been credited with creating the original recipe, but there is no definitive evidence identifying a single inventor. What we do know is that recipes resembling the Nanaimo bar began appearing in Canadian cookbooks and community publications during the mid-20th century.
If you’ve never made Nanaimo bars at home, don’t let the layers intimidate you. Each layer is simple to prepare, and once they’re chilled and sliced, you have a beautiful no-bake dessert that’s perfect for holidays, parties, cookie trays, or simply keeping a batch in the refrigerator for when the chocolate craving hits.

Nanaimo Bar Substitutions
Coconut: Unsweetened shredded coconut works well in the base. If you prefer a sweeter bar, you can use sweetened coconut, but keep in mind that it will make the bottom layer sweeter.
Nuts: Walnuts are traditional in many Nanaimo bar recipes, but finely chopped pecans are a great substitute. You can also leave the nuts out if needed.
Graham crackers: Graham cracker crumbs are commonly used for the base. If you’re outside the United States, digestive biscuits can be used instead.
Butter: For the best texture and flavor, I recommend using real butter. I don’t recommend replacing it with a liquid oil because the butter helps the layers set properly.
Custard powder: Custard powder is an important part of the classic Nanaimo bar flavor. If you can’t find it, vanilla pudding powder can be used as a substitute, although the flavor won’t be quite as traditional.
Chocolate: Semi-sweet chocolate works beautifully for the topping. You can use dark chocolate if you prefer a less-sweet finish.

Tips for Making Nanaimo Bars
Let each layer chill before adding the next. This is especially important for the middle layer. You want it firm enough to support the chocolate topping.
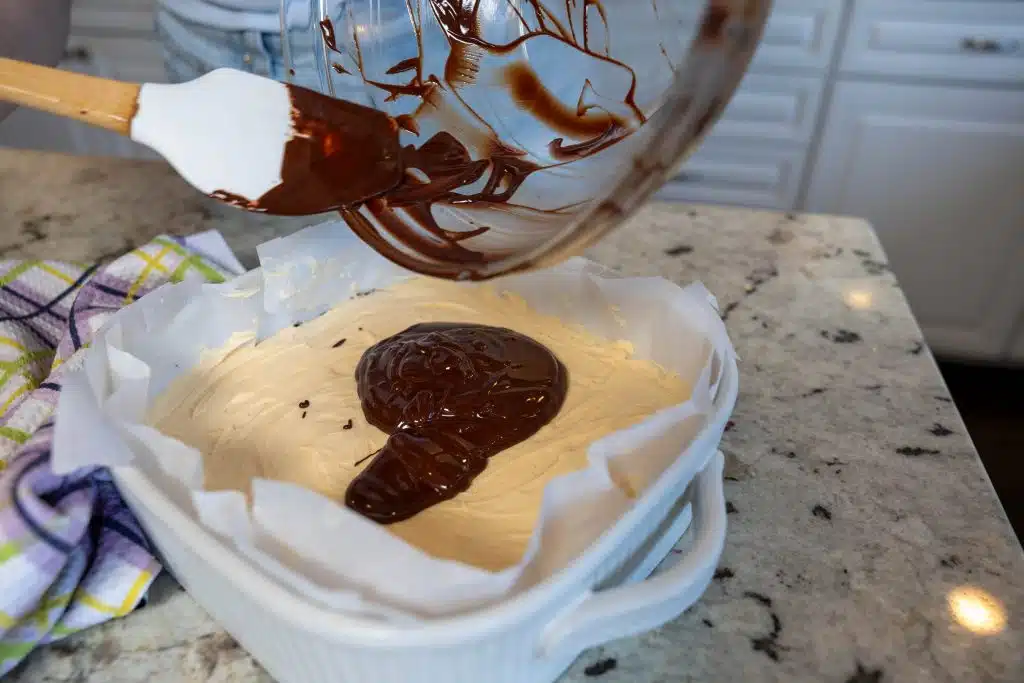
Don’t overheat the chocolate topping. Melt the chocolate gently and spread it over the chilled filling as soon as it’s smooth.
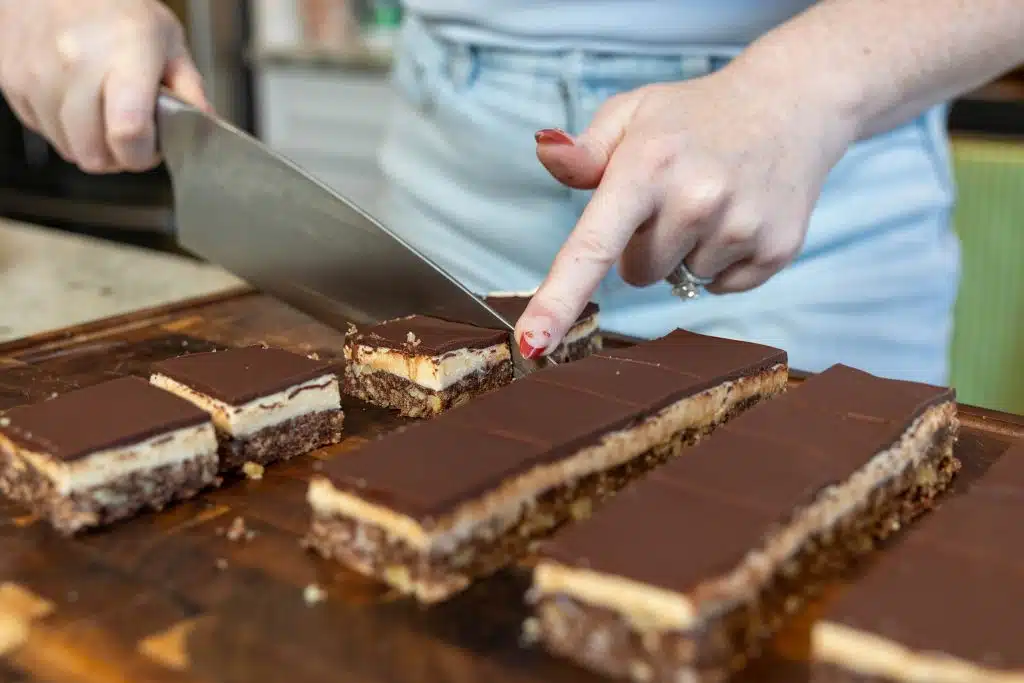
Score the chocolate before it completely hardens. If you wait until the topping is fully firm, it can crack when you cut the bars. For the cleanest slices, score the chocolate after it has started to set but isn’t completely hard.
Use a sharp knife. A sharp knife makes a big difference when cutting these layered bars. Warming the knife slightly can also help you get cleaner cuts.
Keep them chilled. Nanaimo bars are much easier to cut and serve when they’re cold. Store them in the refrigerator until you’re ready to serve them.

Nanaimo Bar FAQ:
Do Nanaimo bars need to be baked?
No! That’s part of their appeal. The layers are prepared on the stovetop and then chilled until firm.
Can I make Nanaimo bars without nuts?
Yes. Simply leave the nuts out of the base. You may want to replace them with additional graham cracker crumbs or coconut to maintain the texture.
Can I make Nanaimo bars without coconut?
Yes, although coconut is part of the classic flavor and texture. If you don’t like coconut, you can omit it and add a little extra graham cracker crumb to the base.
Why is my middle layer too soft?
The filling needs to be firm enough to support the chocolate topping. Make sure your butter is not overly warm and give the base plenty of time to chill before adding the filling. Chilling the completed middle layer before adding the chocolate is also helpful.
Why did my chocolate topping crack when I cut the bars?
Chocolate becomes quite firm when refrigerated. Let the bars sit for a few minutes before slicing, and use a sharp knife. You can also score the chocolate into portions before it fully sets.
Can Nanaimo bars be frozen?
Yes. They freeze very well. Store them in an airtight container with parchment between layers and thaw them in the refrigerator.
Are Nanaimo bars Canadian?
Yes. Nanaimo bars are considered a classic Canadian dessert and are named for Nanaimo, British Columbia. They are particularly nostalgic for anyone who grew up in or around British Columbia and the Pacific Northwest.

Nanaimo Bars
These iconic Canadian no-bake dessert bars feature three delicious layers: a rich chocolate-coconut graham cracker base, a creamy vanilla custard filling, and a smooth chocolate topping.
Ingredients
For the Base
- ½ cup unsalted butter, melted
- ¼ cup granulated sugar
- ⅓ cup unsweetened cocoa powder
- 1 large egg, lightly beaten
- 2 cups graham cracker crumbs
- 1 cup sweetened shredded coconut
- ½ cup finely chopped walnuts
For the Custard Filling
- ¼ cup unsalted butter, softened
- 2 tablespoons custard powder (Bird's Custard Powder)
- 1 teaspoon vanilla extract
- 3 tablespoons milk
- 2 cups powdered sugar, sifted
For the Chocolate Topping
- 3 ounces semisweet chocolate, chopped
- 1 tablespoon unsalted butter
Instructions
Step 1: Make the Base
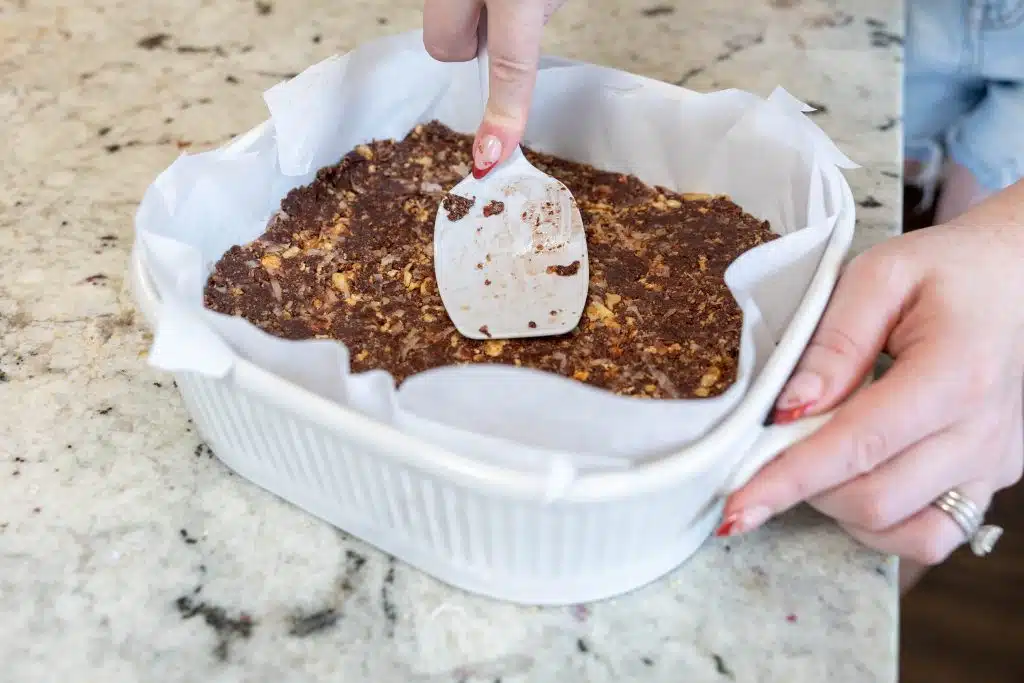
Line an 8- or 9-inch square baking pan with parchment paper, leaving an overhang for easy removal.
In a medium saucepan over low heat, combine the melted butter, sugar, and cocoa powder. Stir until smooth.
Whisk in the beaten egg and cook for 1 to 2 minutes, stirring constantly, until the mixture thickens slightly. Do not allow it to boil or the egg may scramble.
Remove from the heat and stir in the graham cracker crumbs, shredded coconut, and chopped walnuts until everything is evenly coated.
Press the mixture firmly and evenly into the prepared pan using the back of a measuring cup or spatula.
Refrigerate while you prepare the filling.
Step 2: Make the Filling
In a large bowl, beat the softened butter until creamy.
Add the custard powder and vanilla and mix until combined.
Gradually beat in the powdered sugar, alternating with the milk, until the filling is smooth, creamy, and spreadable.
Spread evenly over the chilled base.
Return the pan to the refrigerator for at least 30 minutes.
Step 3: Add the Chocolate Layer
Place the chocolate and butter in a microwave-safe bowl.
Microwave in 20-second intervals, stirring between each, until completely melted and smooth.
Let the chocolate cool for about 5 minutes so it isn't piping hot.
Pour over the chilled filling and spread into an even layer.
Refrigerate until the chocolate is set, about 1 hour.
For the cleanest cuts, allow the bars to sit at room temperature for 10-15 minutes before slicing with a sharp knife.
Notes
Tips for Success
Press the base firmly so it holds together when sliced.
Let the chocolate cool slightly before pouring it over the filling to help prevent the custard layer from melting.
If your chocolate topping cracks when cutting, score it lightly with a knife after about 5 minutes in the refrigerator, or let the finished bars warm slightly before slicing.
Sifting the powdered sugar helps create an ultra-smooth filling.
Another yummy no bake dessert is our no bake banana split cake!
Follow Us:
We enjoy meeting you on our social networks. Follow us on Facebook, Pinterest, Instagram . Tag us with your pictures of our recipes and comment on how it went for you. We would love to see what you do with them.
We often like, comment and share your posts of our recipes on our daily Instagram stories.
Ask questions and rate the recipe in the comments section below. Please share what you did with this recipe. We are always looking for more and better ways to make homemade food. Other cooks love your ideas!
Recent Posts: