Enjoy Container Gardening. There is so much to love about a bright grouping of flowers on a porch, patio or front step. Here are some tips and tricks and methods for choosing and planting your flowers and pots.
You’ll find some tips on optimal container gardening practices throughout the growing season too.
Container Gardening:
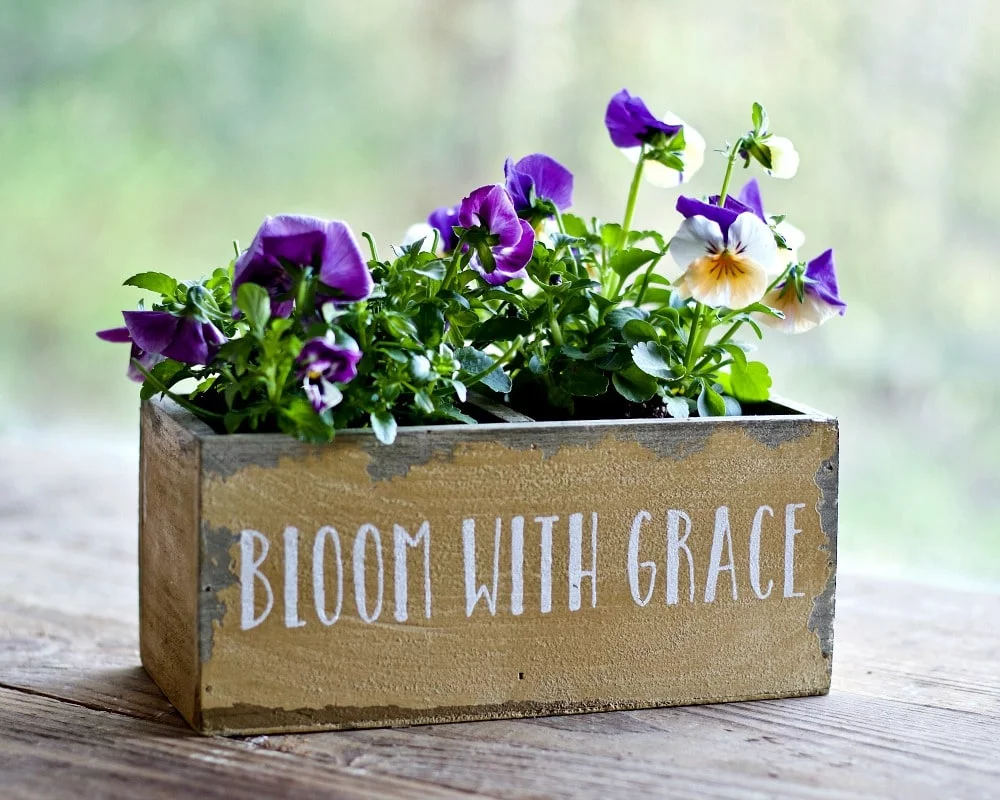
I was raised by gardeners. Every Spring, container gardening to some degree happens around me. I love the way a few cheerful pots of flowers instantly transform the bleak early Spring outdoor decor.
Flowers add bright color throughout the growing season in small spaces. Outdoor Stairs, patios and porches become colorful focal points when properly adorned with pots of annuals, perennials, herbs and even evergreens. Larger containers become gorgeous seasonal points of interest in our yard and decks.
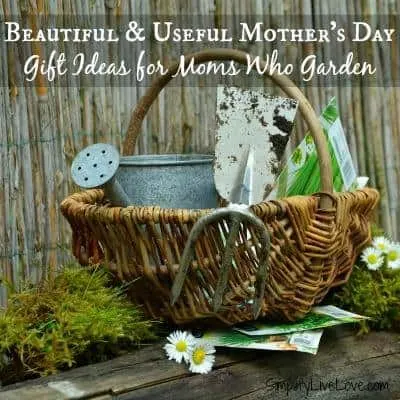
Our family often gifts each other with plants and flowers. Mother’s Day and Easter, Even Fourth Of July gatherings are filled with flower pots meant to be taken home as gifts.
This year it’s all about flowers!
Three of my granddaughter’s gifted me with a lovely plant box and pansies just right for my kitchen sink area. I LOVE it! Last year my practical husband gifted me with a DIY Garden tool box. It is SO handy.
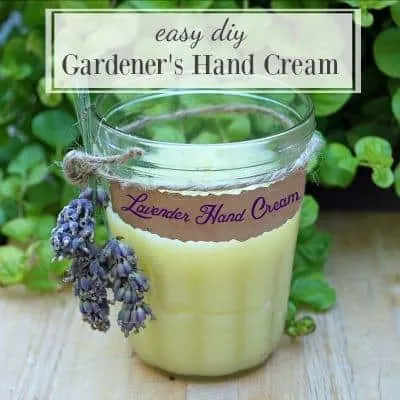
I appreciate all the tools right in the garden when I need them 🙂 I also love DIY Healing Hand Scrub for a gardener Mom gift. It takes off garden dirt, grease and even paint while leaving your hands soft and moist. Good stuff!
In March, I paid a visit to my Montana Fam...
Our daughter Amanda, husband Nathan and kids live in Great Falls. This temperate climate girl soon learned the dry, windy area they live in required a new plan for spring container gardening.
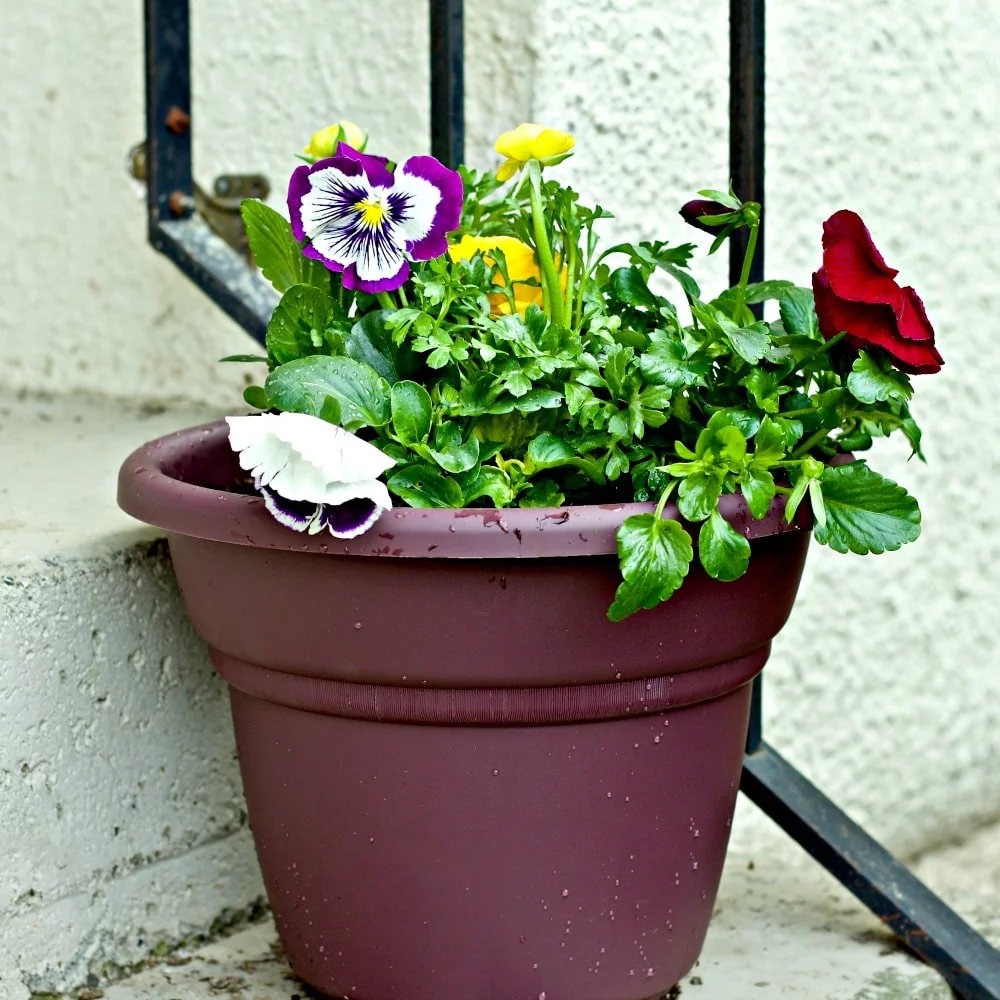
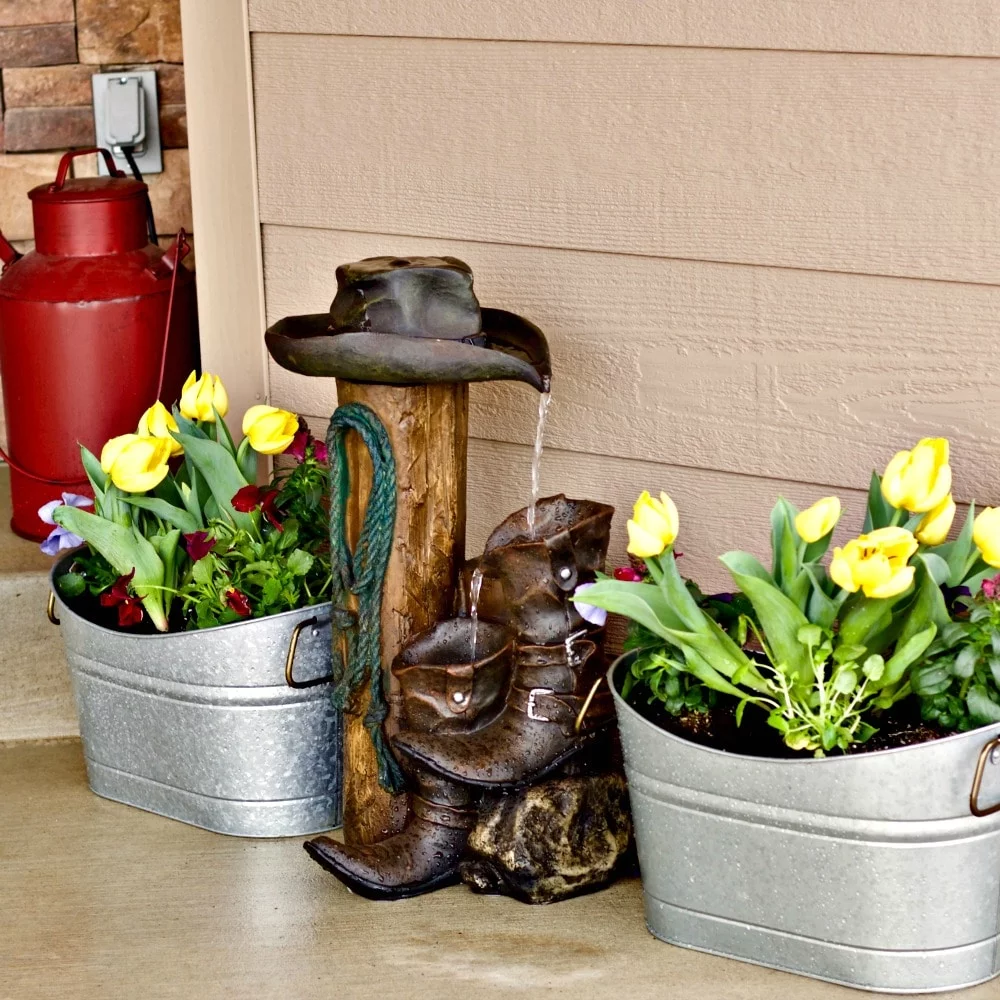
We had fun sprucing up their front porch, which is well protected from high winds, with a grouping of cheerful yellow tulips and pansies and a cute water feature.
Container Gardening Tips:
First lets shop!
ANY container will work for plants. Plants can be planted in any nook or cranny that has a bit fertile soil and water. You may have to baby them and make sure their needs are tended if you go truly unconventional. But creativity has no bounds.
Containers:
If you find pots you just love (like Amanda’s choice of tin ice buckets to match her porch theme) you may have to create the holes with a hammer and nail (that’s what I did for Amanda’s pots).I have container gardened with non draining pots.
I still have a few. They require extra thought. Leave them out in a downpour and they drown.
If you forget to water pots with no holes under them they have no way to soak up water from below. They will need water checks often.
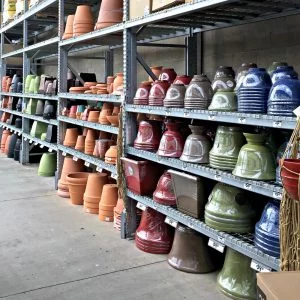
Clay pots dry out fast. Plastic is cheap, light and maintains water pretty well. Glazed pots are very heavy. All pots that drain need a tray of some sort under them to catch the water.
The tray also provides a way to water the pot from below if it is so stuffed water won’t penetrate the dense root ball from above. This is a common problem for container gardening.
Put plants in moss baskets, ceramic, wood or what have you. You do need to know your pot type , what it’s limits are and how you want to use it.
Hanging baskets are a watering problem. They have no tray under them for a water reserve. Hangers need special attention so they don’t dry out. Moss lined baskets can help keep the flowers moist if watered often.
Choose Organic Plants, soils and fertilizers:
Be mindful of the choices you make when creating your mini garden. Pollinators require non gmo organic plants for their best environment. Chemically Sprayed plant starts are NOT good for bees in your garden flowers. Will they flutter and buzz merrily around your blooming containers?
Yes,( unless they dislike the smell of your sprayed plants). But the bees will carry back to their nests and hives the pesticides, herbicides and other chemical additives the systemically sprayed plants excrete into the nectar and pollen.
If you are planting to attract pollinators please use organic plants. Here’s more tips for encouraging Pollinators safely.
Attract them to your seating areas, flower beds and even your vegetable garden or greenhouse. Add water features close by a colorful seasonal container garden.
Pots are easy to move and refresh throughout the growing season. This provides a year round display of color, form and texture to you and food for the bees and butterflies 🙂
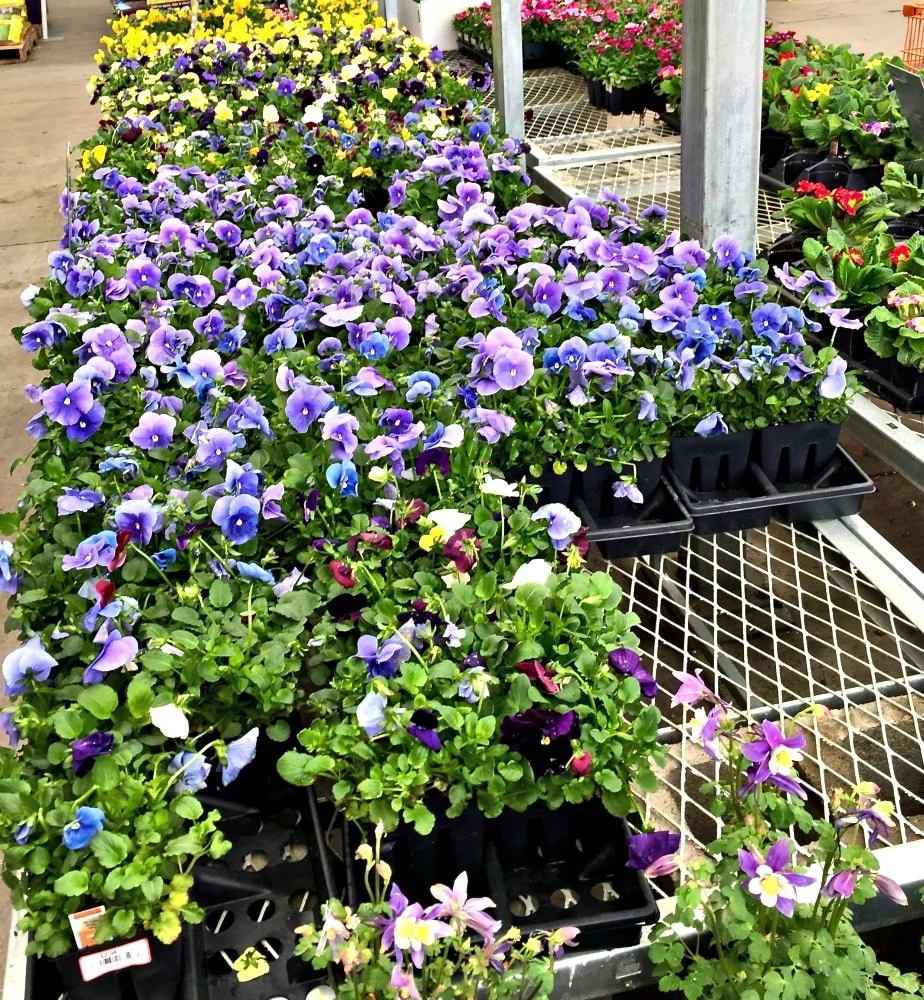
All plants need sun, soil and water. The annuals we commonly place in our pots, like panies, lobelia and petunias, are okay with close quarters. This makes a cheerful chaotic focal point wherever you place them!
Pick Plants that are good companions.
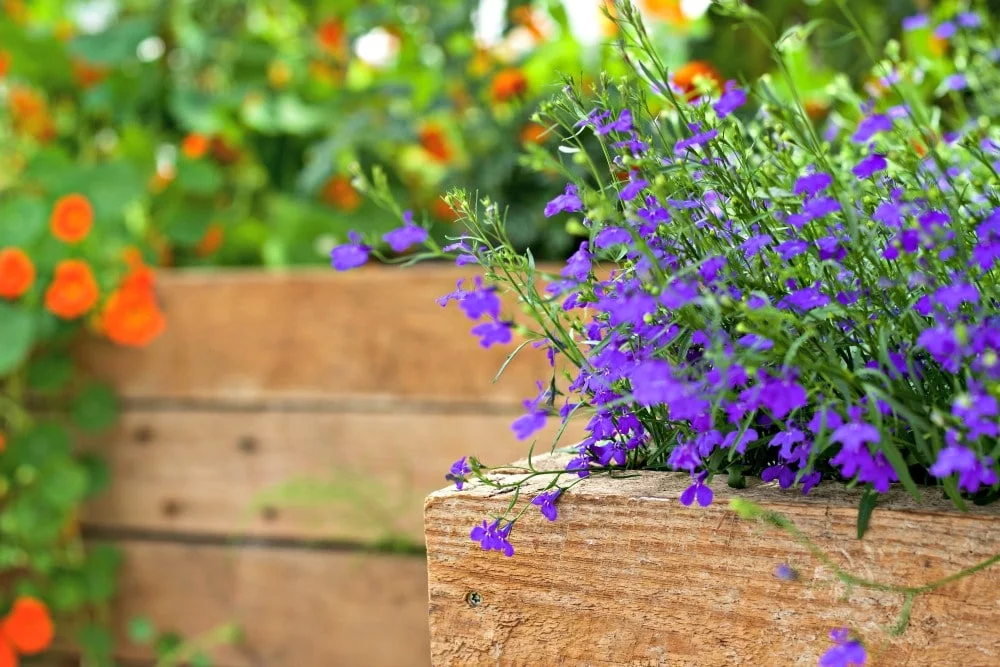
All plants have different soil, water and light requirements. Read your plant labels and choose plants that will work well together. Consider the light, soil and water you are placing them into. Put plants together according to their needs.
Be ready to refresh your pots as the growing season changes.
To everything there is a season. Pansies are very early spring bloomers, Petunias love midsummer. Mums are for fall.
Pinch back your container garden blooms as they die and go to seed. Seeded out flowers are unattractive but more than that, they die early.
Stay on top of snipping or pinching the seed heads off your pansies and petunias(and all container plants) to get the most out of your investment. Eventually, You will need to change out some of your plants that are early to bloom for later blooming varieties.
This keeps your pots blooming beautifully all season.
Occasionally organically fertilize your potted containers for best results:
Potted container plants are often crowded together and somewhat stressed. The roots of the plants compete for a very small soil base that is quickly depleted.
Every couple of weeks, throughout the growing season, apply a nourishing compost tea, Dr. Earth or other organic fertilizer to your pots. This will replenish the nutrients your container plants require to bloom well for you.
How to Plant a Flower Pot:
Let’s Plant those Pots!
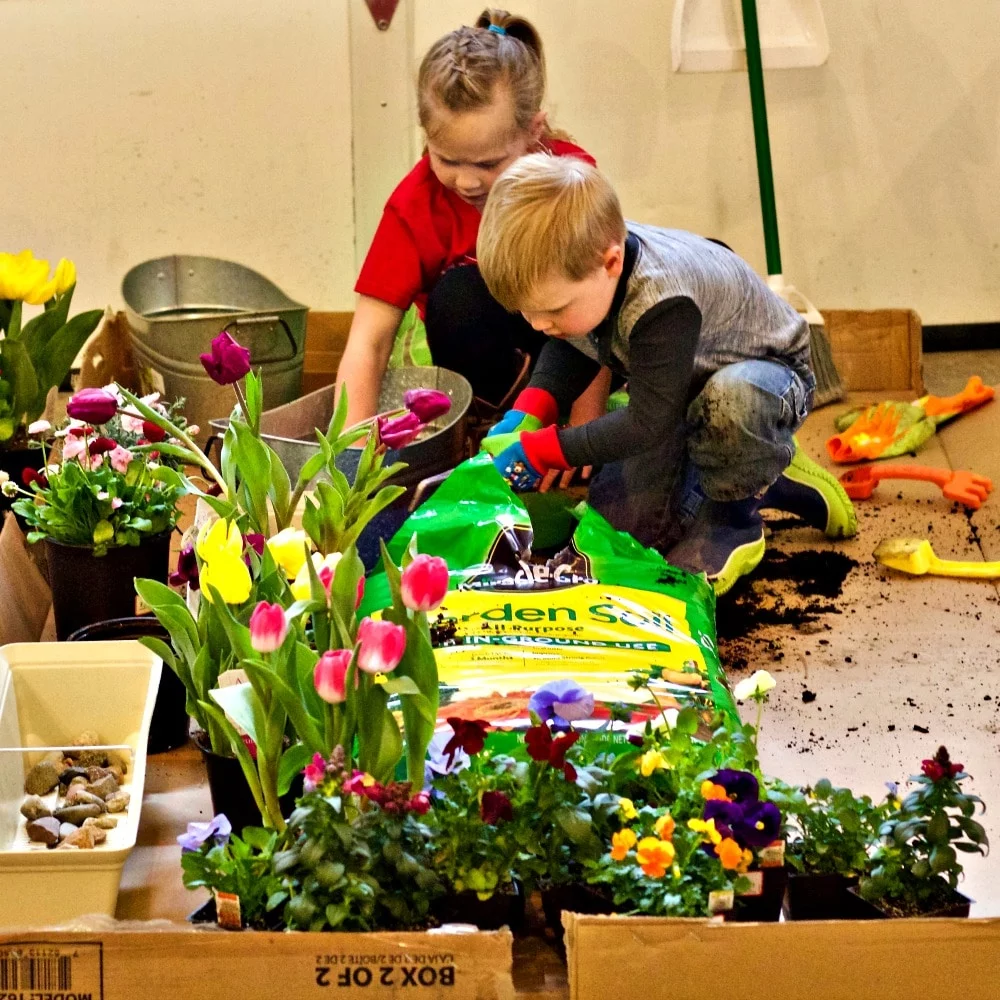
My Montana helpers, Nora And Dane. Their youthful energy put the drain rock and dirt into those pots.
Prepping Containers:
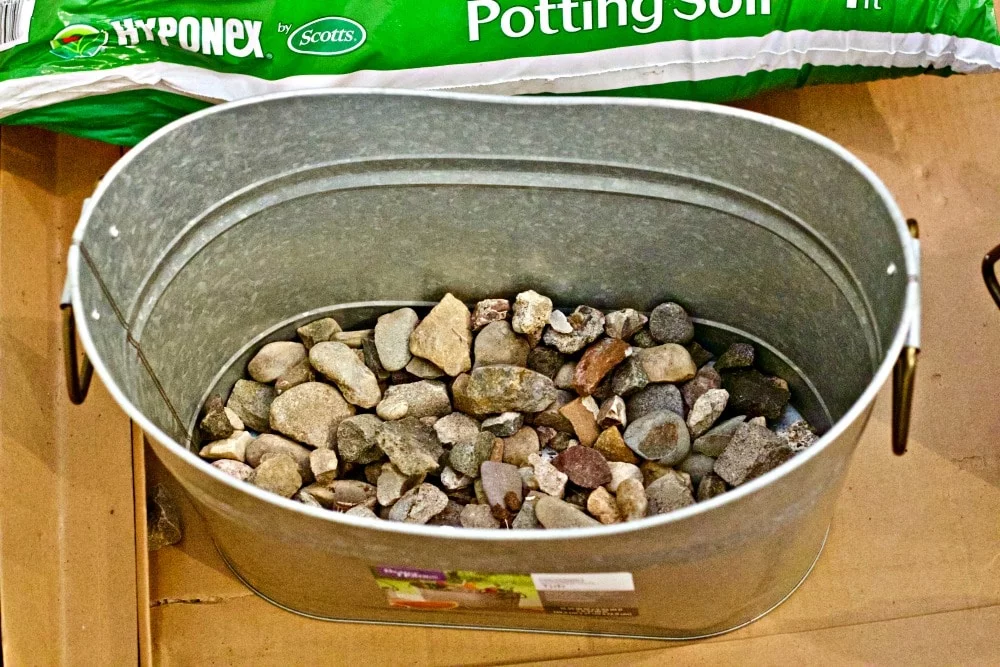
Notice the containers we are using. One type is a light shallow plastic style with lots of drainage built in. I took out those rocks because the plants needed more depth.
The silver buckets are deep and undrained. I punched holes in the bottoms with a hammer and nails.
Rocks offer drainage and ballast in the bottom (Unless you have a very shallow flower box and have no depth.). The rocks in your container help keep the pot stable and provides a place for water to drain away from the roots.
Potting soil is next. For best results you really do need to buy a bag of potting soil. It is light and fertile and designed to help your plants flourish in a pot. I have used garden soil. It doesn’t give the plants the best growing conditions. Often it won’t balance the water correctly to the plant either. ONLY fill the container about halfway at this point!
EXTRA TIP: If you have trouble with your pots constantly drying out (I do!) Mix Miracle-Gro water storing crystals Miracle-Gro water storing crystals into your potting soil as directed.
Water your dry soil at this point and let it begin to absorb some moisture.
Arrange your plants in the container.
- Thrill, Spill and fill. The choice of plants offered in your local area will come in different, heights, colors and textures.
- Some stand erect, The Thrill.
- Some are bushy fillers, the fill
- And trailing plants are your spillers. All add a new dimension of interest to your pots as you desire.
- Arrange your plants as you like them in the pot. It’s nice to artfully arrange them. If you don’t know how or you are working with kids, don’t stress about the arrangement.
- Chances are it’s going to fill in and look fantastic. Just go for a general look and color scheme you like and have at it!
- place the flower you are planting upside down carefully. Support the flower with your hands and pull off the pot.
- Look at the roots. Often small starts in stores are root bound. Roots need room to grow. If they are twisted together on the bottom of the pot and especially if the roots protrude out of the pot, you will need to pull apart or gently cut the roots straight down the side to allow the plant to seat well in your pot and absorb water into its roots.
- Once your roots are prepared and you have the arrangement decided, place your de-potted flowers into your moist container soil.
- Press gently and add more soil around your flowers until the soil is firmly pressed around each flower. The point here is to eliminate any air pockets around the flower roots. Roots will dry out fast if they are exposed to air.
The Final step
- Water the pot thoroughly and again press the soil around the roots. Make sure the plants root ball, when finally planted, watered and pressed, are level with the soil surface.
- Frequently and thoroughly water and fertilize your pots. If the plants were planted correctly and well maintained they will give you beauty, color and form all summer long.
- One last note: Do Not overwater I just told you not to let the pots get too dry. But you can kill your pots with kindness too. Read your flower labels and learn what the plant requires.
- Watch your pots and learn how they look when flourishing. And when they look pale and droopy they may need a shot of water and fertilizer, or pinching back.
Here are our Blog hop Contributions this week. So glad you joined us. Please visit every blog and comment on the posts. We love to hear from you! Happy Gardening!
Creative Living with Bren Haas
For a more in depth look at this subject University of Illinois.edu

Tina
Monday 20th of August 2018
Plants are good companions indeed. This is the reason why I also started gardening but with not enough space, I am considering container gardening, probably some flowering plants like yours. They are pretty.
Diane
Monday 20th of August 2018
Thank you Tina and good luck with your project. Happy Gardening!
Michelle Marine
Friday 28th of April 2017
I have galvanized steel planters too and love them! Cute pictures with your family, Diane. It's always fun to hear about reality behind the scenes. :-)
Diane
Friday 28th of April 2017
Thank you Michelle, Have a great day!
Jami
Tuesday 25th of April 2017
Oh how sweet that you blessed your daughter with those great galvanized planters - they look fabulous! I appreciate how you explain so many details for planting for success. :)
Diane
Tuesday 25th of April 2017
Thank you Jami. Have a great day and Happy Gardening
Shelly
Tuesday 25th of April 2017
If I didn't container garden I would be so limited in the flowers I could grow, we have a lot of shade and in the sunny areas there's not a great place to grow, but with containers, I can place them anywhere. I love all the tips you shared and that water feature is so cute as well as your little helpers.
Diane
Tuesday 25th of April 2017
Thank you Shelly. That is a great point I completely overlooked. Our yard is also shaded with few area of full sun. Container gardens can make the best of those sunny spots!
Angie
Tuesday 25th of April 2017
I absolutely LOVE gardening in containers. The soil is easy to plant in and it adds gorgeous color to any home! What a great video you added, so helpful! I always love to gift my mom some vibrant container creations every Mother’s Day :) That pansy planter is just stunning. You are lucky to have three wonderful daughters! I always skip the rock drainage step, but I’m trying to fix this when I plant this season. Thank you for the awesome tips Diane!
Diane
Tuesday 25th of April 2017
Thank you for stopping by Angie. Container gardening is so creative and fun. we've been planting containers for generations in our family. I love those cheerful spots of color wherever I put them. have a great day!