This tutorial shows you how we built a strong, DIY Grape Arbor from free materials. Step by step instructions and some thinking points are included. We encourage you to use this as an idea post. What do you have around your place that can be upcycled or recycled for this project?

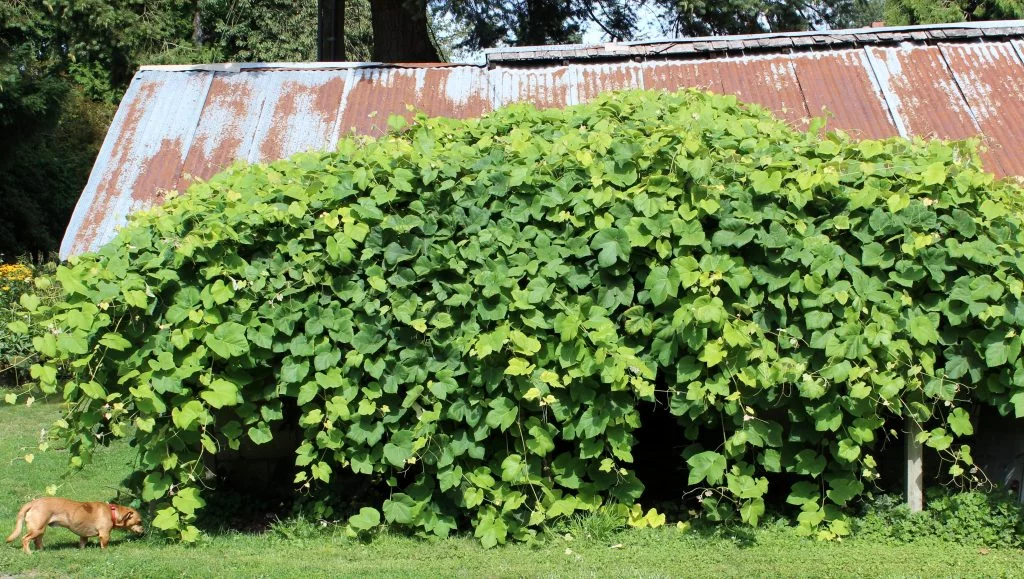
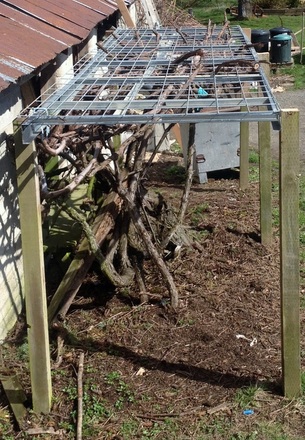
The uncontrolled grape sprawl goes on for several years until the old shop groans under the weight of it all and we decide it’s time to cut back the vines; repair the arbor and start the process all over. This is that year. Here is the arbor we built and instructions for how we did it!
DIY Grape Arbor Instructions:
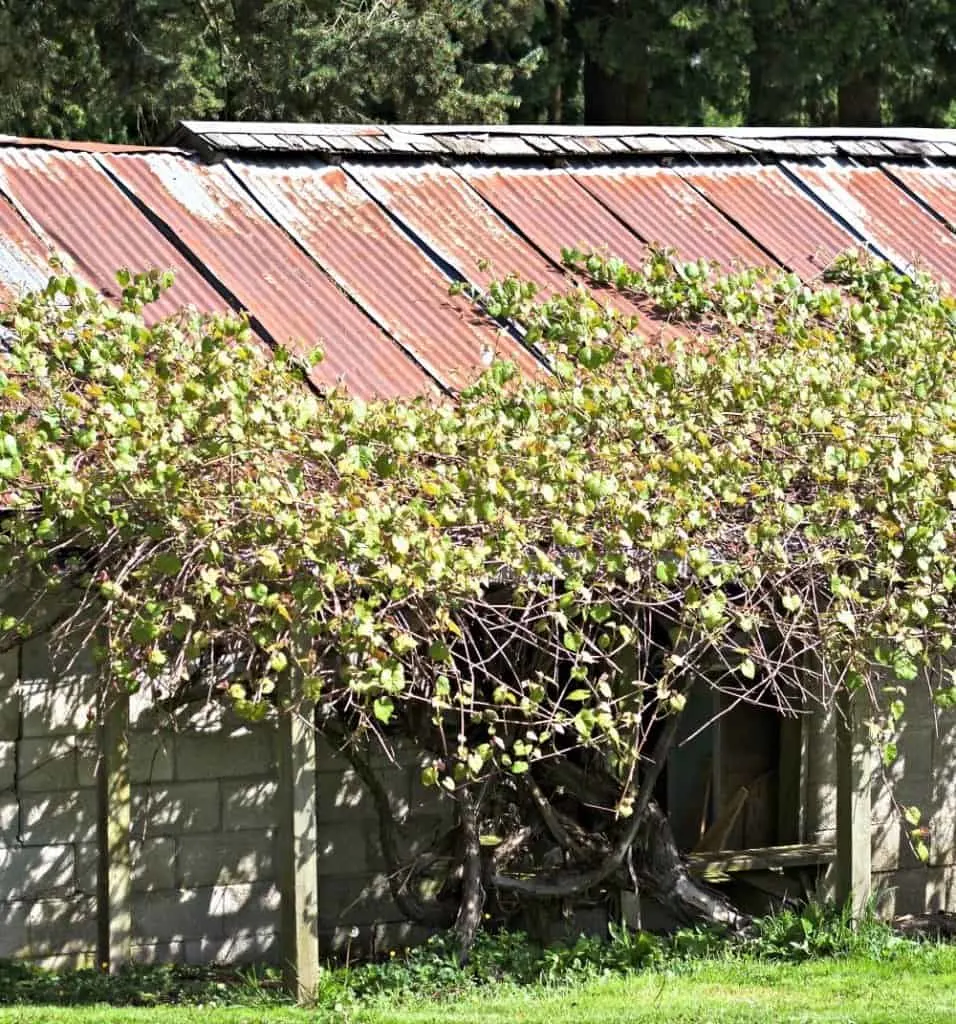
The old arbor top was a completely rotten, collapsed piece of cedar lath. This year we are trying something we hope will last longer. Our oldest son just made a fence using hog wire. He gave us three sections he had left over. Thank you Bill!
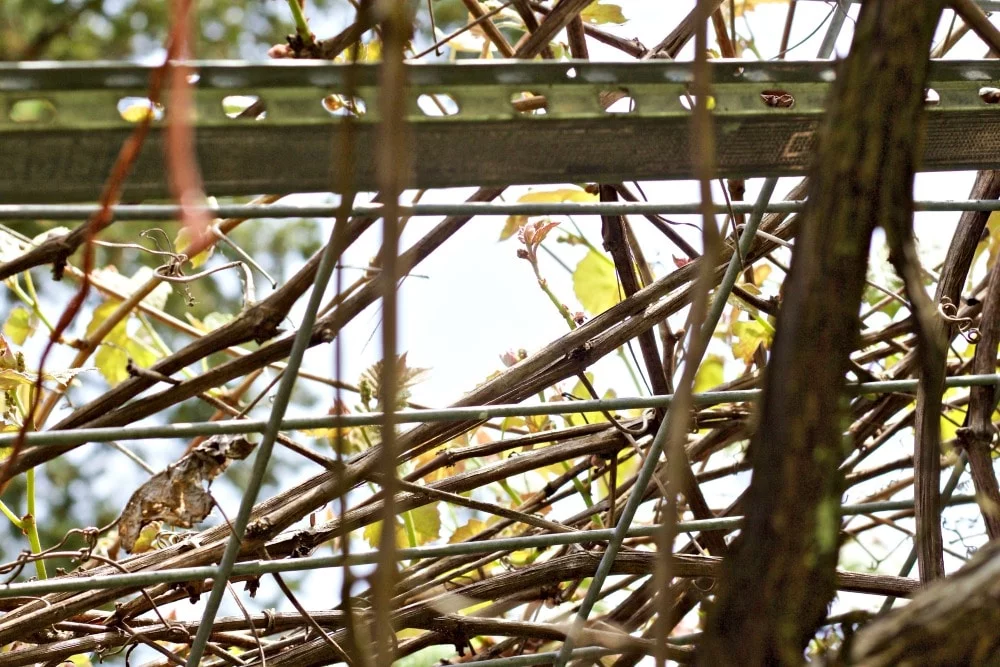
Hog wire panels are great for all kinds of projects. We have used it for railings, Dave’s double tomato trellis in the greenhouse and Dave uses it in our garden too. Now it’s making us a sturdy arbor that is strong enough to support the ever twisting grapevines and won’t quickly rot in our damp climate. You can find these panels at feed stores, home depot, garden centers or the like.
Step by Step: READ this before you buy materials!
Remove the old grape arbor and take stock of its layout .
Decide if you need to alter the position or size of the arbor to accommodate your vine’s size and growth. For us, the shop roof is part of the grapes arbor system. It will grow over the long, sun warmed metal roof. We make the arbor to support the heavy primary vines and give it some structure as it grows. So the old size and placement are perfect.
Our arbor requires walking on a low roof to pick and trim the vines. Not ideal. It’s also next to our driveway. This is good for access, but the arbor is squeezed pretty tight. We didn’t put the vine or arbor where it is. But we are not moving it now! So we deal with it!
Our Grape Arbor is MUCH too small for this grapevine by itself. If you have no supporting structure (like our shop roof) for your vine to sprawl upon, you will need at least 25 feet of length by 5 to 8 feet wide by about 6 plus feet high, if you want to walk under and inside the arbor. That would make is easy to pick the grape clusters. They will fall under the arbor as they mature, making easy pickings.
Before you Place a new DIY grape arbor, Consider this:
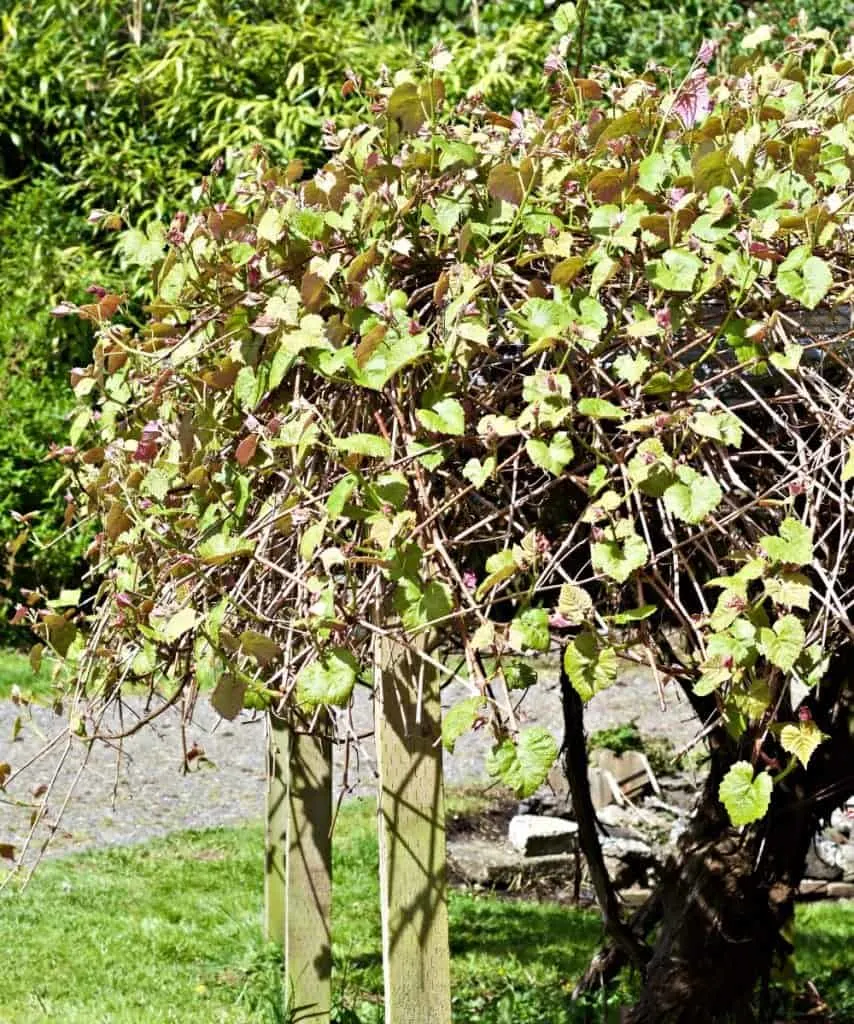
- Grapes vines get HUGE! They will sprawl and intertwine for large distances (60 to 90 feet if left untrimmed).
- If you want a system that is low maintenance with little annual trimming, provide your grapes a warm sunny place to grow.
- Build A Sturdy arbor that can handle growing strong vines twisting through them.
- Also, for ease of picking, make the arbor high enough to walk under. Many of the grape bunches will be easy to reach if you plan the arbor correctly for your location.
TRIM YOUR VINE WAY BACK. BEST DONE IN DORMANCY. REMOVE THE OLD ARBOR:
Pull off the old arbor top and its supporting frame. Pull any rotten posts as well.
HOW TO REPLACE OR PLACE POSTS:
If you have to redesign or build a new arbor get enough posts to hold up the structure’s top and give it strength for the vine mass it will eventually support. Dave is using a 16 foot long hog wire panel with a steel stud frame. He placed his TREATED posts every five feet with 6 inches of arbor top overhang on each end.
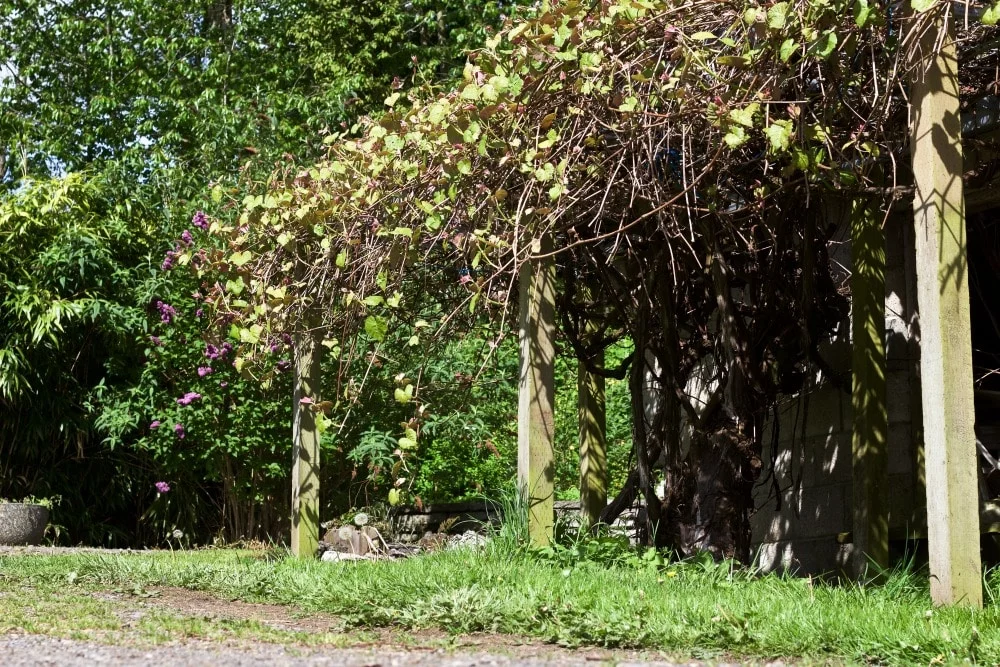
If you want your arbor tall enough to walk under easily, use long treated posts. We were working with free materials. So ours is a bit cramped underneath.
NOTE: YOU MAY PREFER TO CEMENT THE POSTS. DAVE CHOSE HIS METHOD because the driveway gives great post support!
- Pull or dig out the old post after tearing out your old arbor top.
- Re-size the existing post hole for the new posts by using, preferably, a post hole digger, or shovel, to make the hole about two feet deep and twice the diameter of the post.
- Lay drain rock, or gravel, several inches deep under the post to help drain water away from the post bottom so it won’t rot out too quickly. Put the post in the hole.
- While holding the post up; pour(you can do this alone but a helper is nice) gravel, or drain rock, into the hole on all four sides of the post several inches deep. This supports the post and helps water drain away.
- Move the post around a bit in the hole to help the rock settle. Use a narrow pole(shovel ends work), to firmly tamp the rock around the post until the post is firmly supported without holding it.
- Fill in the remainder of the hole with dirt and tamp the dirt firmly around the post with the shovel end. Your post is done!
How to build a frame for the DIY grape arbor top :
Dave used some free metal studs he had lying around. A friend gave them to him. These are available in drywall supply outfits. Wood works but will rot and need replacing every several years. If you plan to use wood, pressure treated 4 x 4s will hold up for years but they may leach chemicals into your grapes. Use what you have or go to the store and buy some new materials. Metal is a very practical choice for our wet climate!
-
level the post tops to approximately level.
Take a long level and lay it on the posts and cut them to level(Dave used his skill saw), yes he did this while the posts were upright, seated in their holes. The posts will not be perfectly level after you seat them in their holes unless you are incredibly lucky. Just cut them off close enough to level so you can attach the top easily.
- Cut 2 long boards or metal pieces to the long length end to end of your posts. Attach your framing
with screws with a screw gun or impact driver(Dave’s favorite), or hammer and nails to the inside of your posts, level with the tops of the posts.
- Measure and cut several short framing pieces:
(Dave cut his about every two feet along the length of his long frame pieces), and screw or toe nail them into the long frame supports. Again put them in between your long pieces and keep them level with the top of the posts.
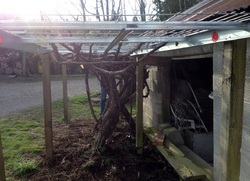
You can make the arbor out of expensive materials and make it lovely. Make a patio under it with benches for a lovely breakfast or gazebo spot as my brother did with his!… or go utilitarian and practical as we did.
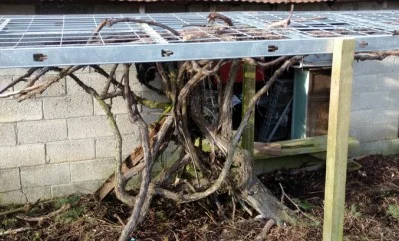
Our system works well for a leafy vine like this enormous grape that will completely conceal the arbor most of the year. It’s not really beautiful unless you appreciate the free cost, long life and excellent material quality for this job! To us it’s perfect!
Install Your Grape Arbor Top:
The hog wire is incredibly easy to install as a top for the arbor. Just lay it on your finished top frame and pull the vine leaders through from underneath.
HINT:
It’s better to do the vine maneuvers before wiring it to your framing! Quite a bit of pushing, pulling and some final vine cutting may be necessary before the vine leaders and top are well settled in place.
NOW wire,(as we did) or nail or screw the top to your frame! All done.
The arbor is ready for the new growth. Soon it will disappear under the new leafy vines; providing the support our dear old grapevine needs to produce juicy, sun kissed, concord grapes. An important job!
FYI: If you are now deciding NOT to make your own arbor here’s an idea. My brother has a purchased square metal gazebo for his grape arbor in his yard. It’s VERY attractive and has all the elements needed to make a useful grape arbor. And it’s fun to sit under 🙂 Just sayin.
Pin it!


Kerri
Monday 5th of February 2024
Thank you for the information on the grape Arbor - have a question - can you place a weather proof roof on the arbor under the Grapes- we have to redo ours and love to use as shade
Diane
Monday 5th of February 2024
Hi Kerri, You can place a weather proof top on your arbor. But you will need to bring the vines around the sides and secure the leaders so they will grow over the top. It will work, but you may have to have longer vine leaders so you can tie them onto the top to get them to grow where you want them.
In our case, there was no room to do this, but it's a great idea. As I said at the end of the post my brother bought a square, pretty metal frame gazebo and trained his grapes to grow up the four corner posts and over the top. If you are starting out with new grape sets, something like this would work great and look very attractive. You can easily put a tarp or other weather proof transparent surface over the metal. I'm sure you will come up with something that works well for you. Happy Gardening!
22 Ideas De Enrejado De Uvas | Cómo Hacer Un Enrejado Para árboles De Uva -
Wednesday 22nd of June 2022
[…] Este árbol resistente está hecho de materiales gratuitos, lo que te ayudará a ahorrar mucho dinero mientras cultivas esta fruta. Obtén detalles aqui. […]