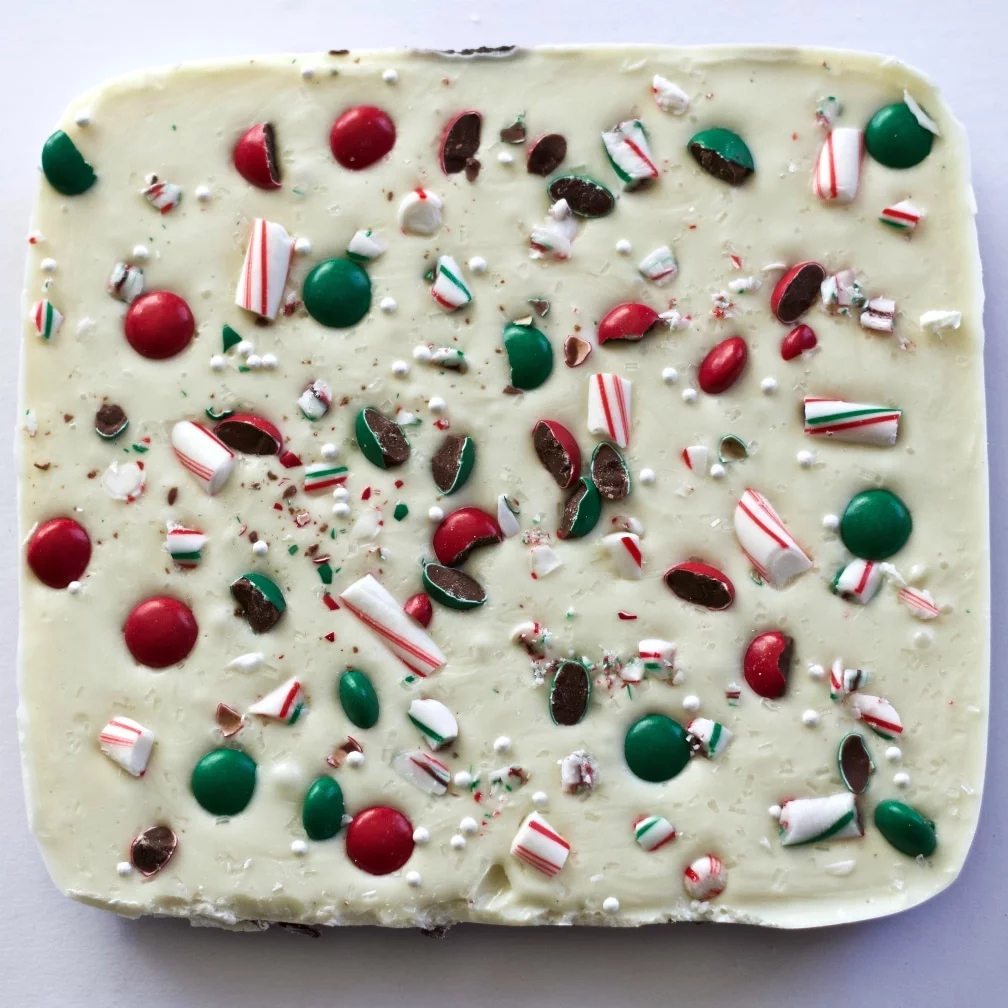
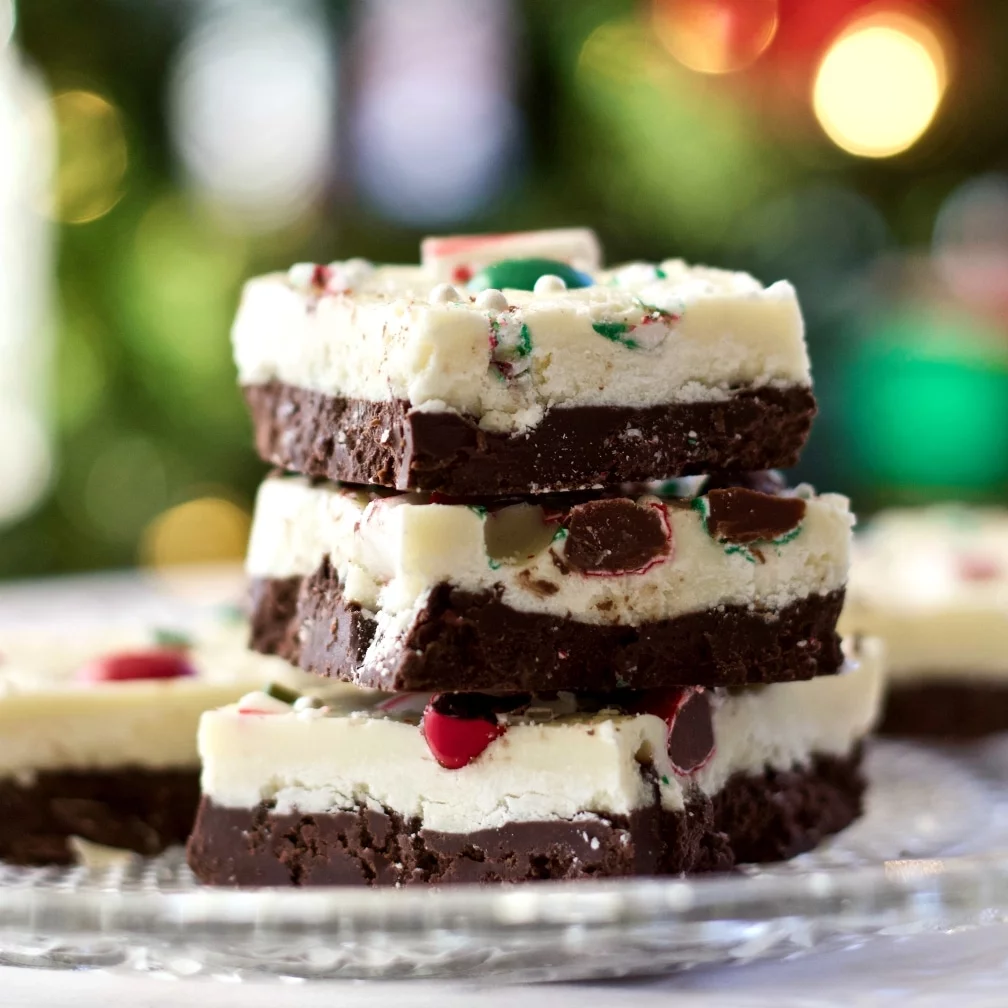
Holiday Bark is an INCREDIBLY easy and popular NO Cook, MAKE AHEAD, foodie gift and holiday candy recipe. You can make a batch in very little time with almost no fuss.
Kayti and I were thinking about Bark recipes for the Holidays. Imagine my surprise when I received an email from my sister Susie with this recipe. Her friend Carol gave her this recipe (and our Fat bomb recipe too). I’m passing them on to you. Aren’t sisters awesome?
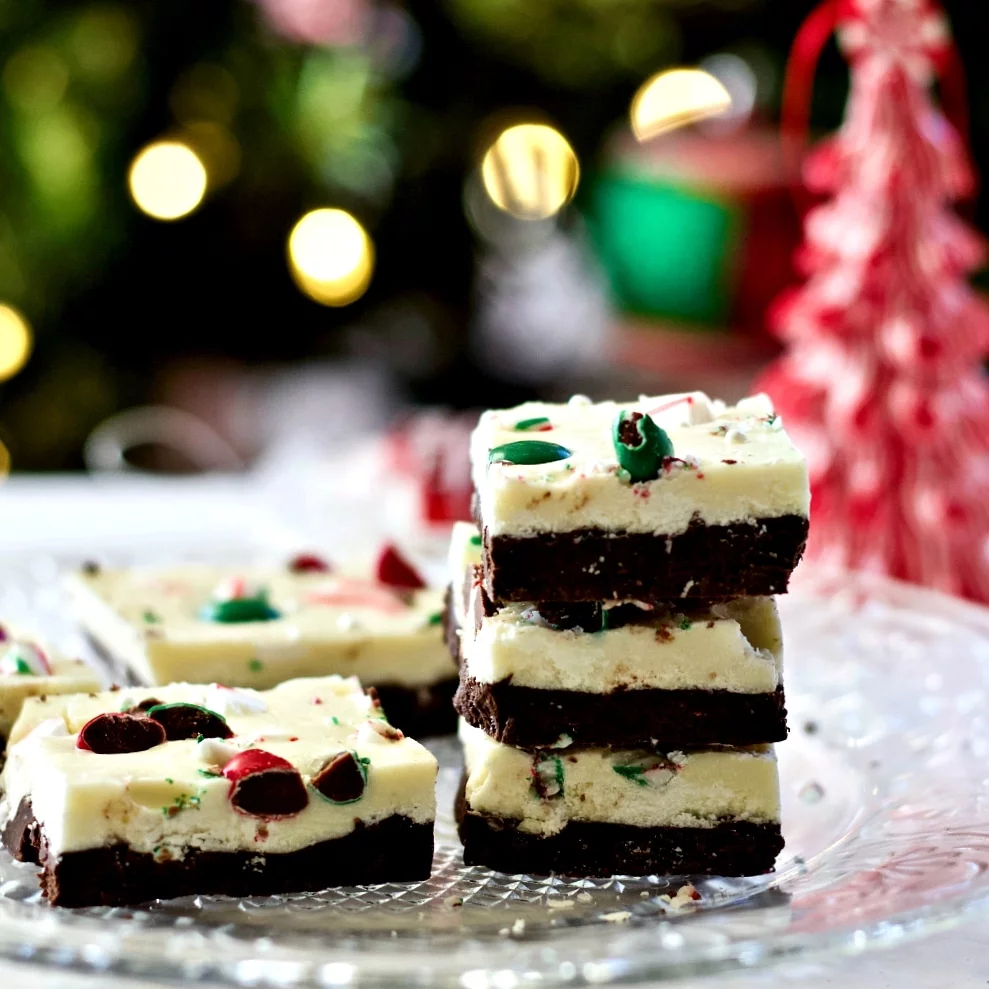
This treat is very popular and lends itself well to personalization. Use whatever candies you like on the top. Make this treat in distinct layers like we did or swirl them. Want different colors? Try using colored candy melts instead of the chocolate chips.
OR the white chocolate could be replaced with vanilla almond bark or candy melts of various colors. The flavoring extract can be any you prefer. My sister Susie loves raspberry extract. We used peppermint extract for Christmas. SO many options!
Holiday bark makes an excellent foodie gift for your friends and family. It’s an easy recipe even children can accomplish. And who doesn’t like candy? It’s a fun treat for most of us.
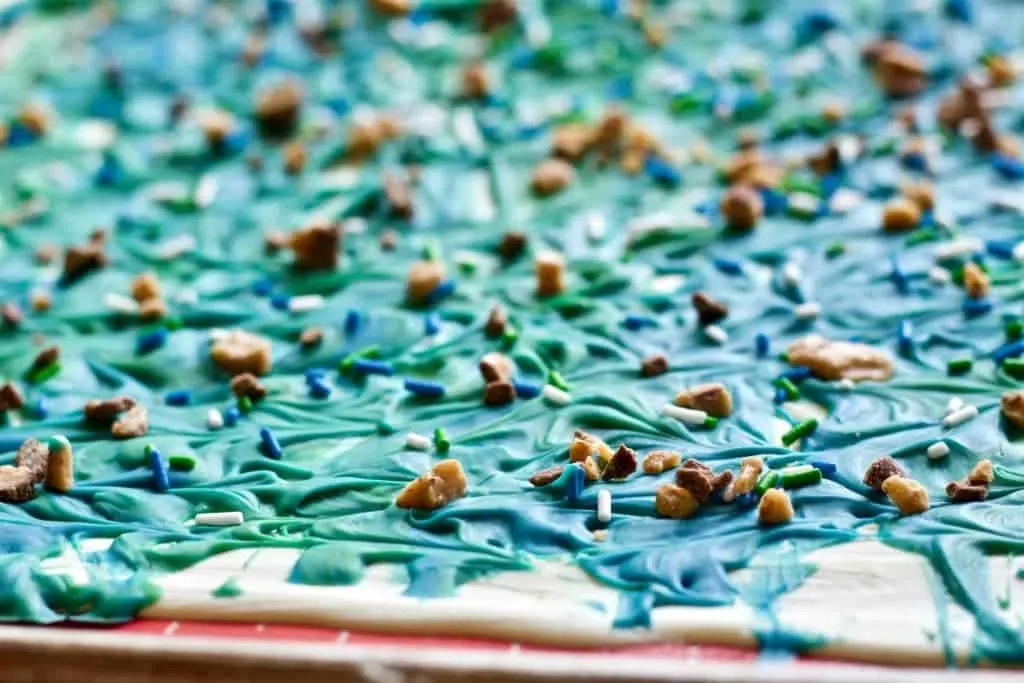
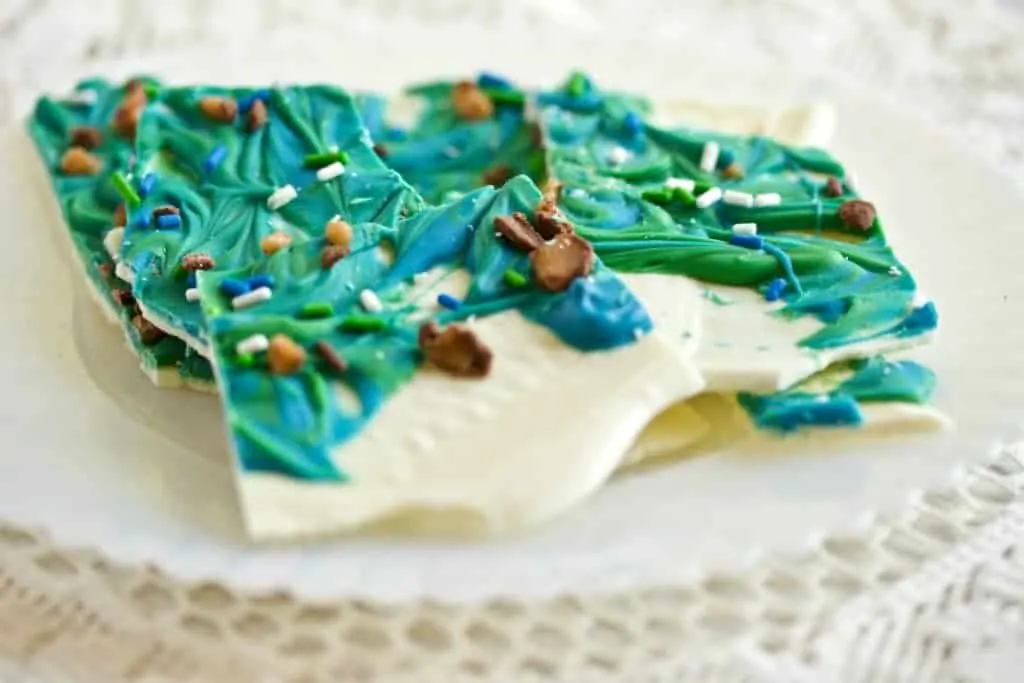
Holiday Bark can be themed to any event (game day treat, Easter, birthdays…) by changing the colors, candy, and extract flavors. Holiday bark can be adjusted into myriad variations. For instance to kick off the football season we made this version in the SeaHawk Colors with sprinkles and heath candy bits on top. Yum!!!
Notice the thinner bark. The character of the candy changes just by using a cookie sheet rather than the 8 x 8 pan we used for our Christmas bark. The thicker bark cut in more formal (sort of) squares looks like more traditional candy. The irregular thinner bark says party fun in a really interesting casual way. Do what works for you!
I’m going to make this recipe with my grandgirls. I have the ingredients all ready. It will be a blast to make this candy with them. I can’t wait to see what they do with it!
If you purchase Items from our affiliate links we may receive a small commission at no extra charge to you. Thank you for supporting Homemade Food Junkie.
Holiday Bark Recipe Notes:
Tips:
- The only trick to Holiday Bark making is the melting of the candy properly. Use your microwave on 50 percent power to avoid burning the chocolate or candy melts. If your candy overcooks and hardens add a bit of coconut oil and return it to the microwave for a few seconds. Stir until it loosens up.
You Will Need:
- A Large cookie sheet or other flat pan or baking dish.
- Cover the pan with wax or parchment paper. OR I used a Silpat mat on my cookie sheets and that worked fine. I used an 8 x 8 baking dish lined with parchment on the bottom and sprayed with oil for the thicker holiday Christmas bark you see. It popped out easily.
Susie’s (and a few of mine) Instructions for Holiday Bark
- Melt the chocolate morsels in the microwave on 50 percent power.
I have not pinpointed an exact melting time. Don’t over heat these as they will turn tough and unforgiving real quick. Heat for 30 -60 secs, push morsels with a spatula to see if they’re soft & creamy. If not, heat for another 30 seconds or so. - Once the chocolate chips are melted put in your extract and pour quickly onto prepared cookie sheet. Smooth out to a thin, even layer. No need to be perfect as the beauty of the bark is in the inaccuracy.
- Once the layer has cooled follow the same instructions for the white chocolate bits. Spread over the cooled layer of the semi-sweet.
- Crushing the candies. Susie likes to put hard candies into a brown paper bag and beat them with a rolling pin in a clean, smooth flour-bag type towel will also work. Paper bags and towels tear but linen towels don’t.
- Sprinkle the crushed candy cane pieces over the top. Susie likes to push down on them a wee bit so they are well embedded. Add as much or as little candy on top as you prefer.
- Pop your pan of Holiday bark candy into the fridge for an hour to set.
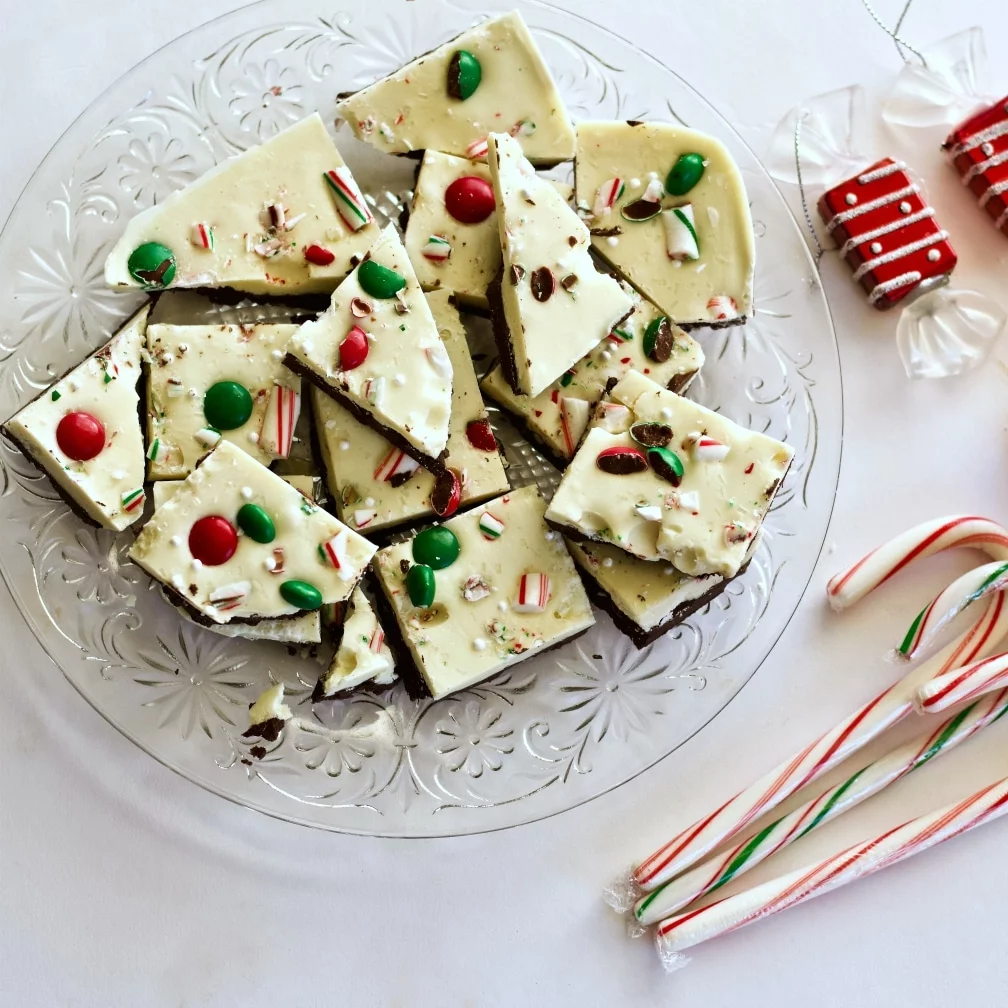
- Once completely cooled, break apart with your hands or a large butcher knife. Big pieces and little pieces all add to the perfection of this holiday candy treat. If you are cutting into formal squares allow the candy to come to room temperature before cutting after set.
Nutritional Information:
179 Calories / Serving
- Fat 15% 11 g
- Carbs 6% 22 g
- Protein 3% 2 g
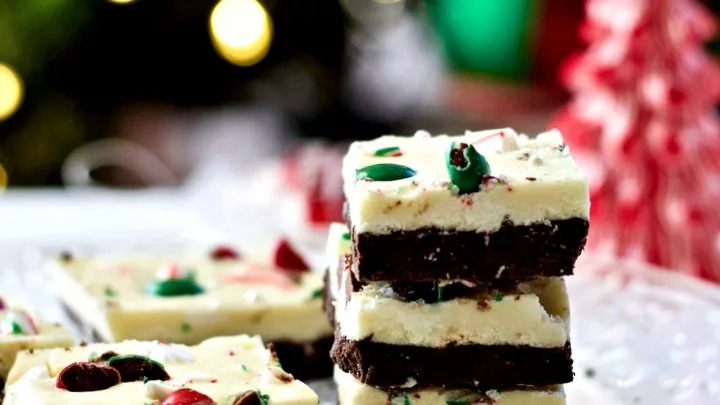
Holiday Bark Candy
An incredibly easy, fun candy recipe. Use different candies and chocolates to create your own unique Holiday treat. This makes a popular foodie gift even kids can make.
Ingredients
- 1 12 oz. bag of semi-sweet chocolate morsels, OR try any colored [easyazon_link identifier="B00FMWYWEQ" locale="US" tag="homefoodjunk-20"]candy melts[/easyazon_link]
- 1 12 oz. bag of white chocolate morsels, OR vanilla almond bark
- 1/2 tsp. of raspberry extract, or any extract you prefer
- 1/8 Cup candy cane and assorted crushed candies
Instructions
- PREP pan with parchment on the bottom (OR SILPAT). An 8 x8 pan for thick candy(we used this) or 9 x 11 pan Or 13 x 9 pan, or a cookie sheet for thinner bark texture.
- In your microwave, melt the semi sweet chocolate chips at 50 percent power until you can stir the chocolate smooth. (DO NOT OVER HEAT ON TOO HIGH A POWER).
- Pour into pan. Smooth the top as needed and refrigerate (Or freeze) 10 minutes or so while you make the next layer.
- Melt the white chocolate chips(or candy melts) in your microwave on 50 percent power until they can be stirred smooth. (about 1 or 2 minutes. DO NOT overheat or heat too long.)
- Stir in your flavoring extract for added flavor.
- Pour the white chocolate over the partially set darker chocolate layer. Set in fridge.
- Crush peppermint and other candy until you have enough crushed candy to sprinkle on the top as you desire. I cut the green and red hershey candies in half and used a rolling pin to crush the peppermint. We added white pearl sprinkles on the top for extra texture.
- refrigerate until firm (about 15 more minutes) and then remove from pan. (We used a knife around the pan edge and then it popped out in one piece.
- Once completely cooled, break apart with your hands or a large butcher knife. Big pieces and little pieces all add to the perfection of this holiday candy treat.
Notes
The only trick to Holiday Bark making is the melting of the candy properly. Use your microwave on 50 percent power to avoid burning the chocolate or candy melts. If your candy overcooks and hardens add a bit of coconut oil and return it to the microwave for a few seconds. Stir until it loosens up.
The nutritional information depends entirely on which candies and how many you choose to use. This is our best guess.
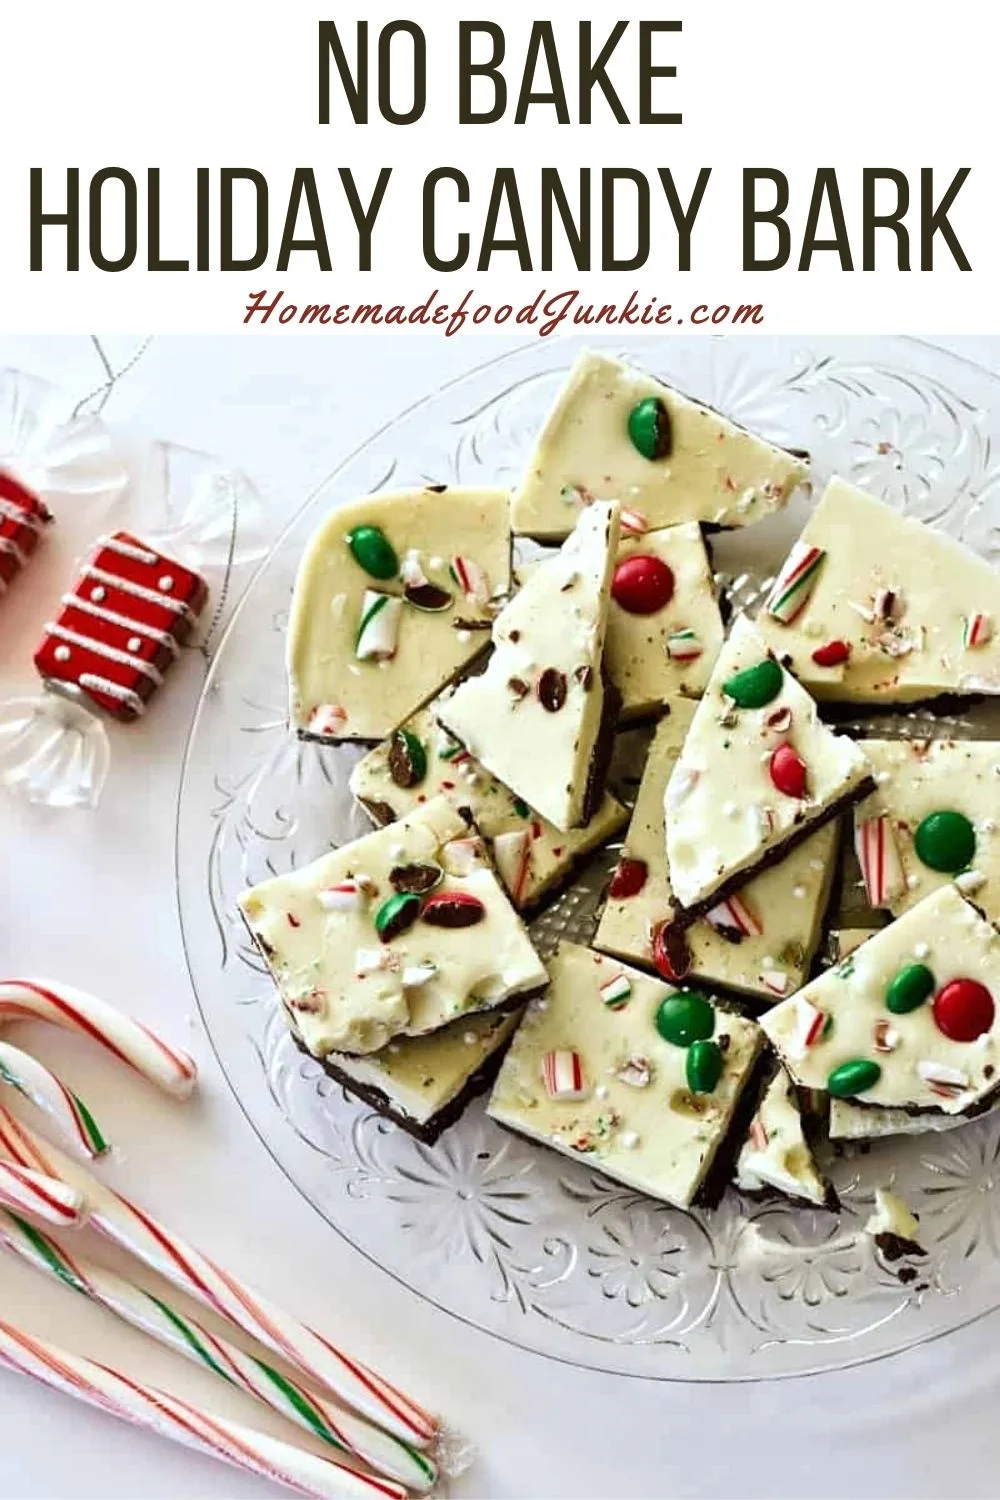
Holiday Bark is an easy and popular no bake, make ahead foodie gift and holiday candy recipe. You can make a batch in very little time with almost no fuss. Wonderful for any holiday gathering.

