This Oatmeal Bread is a wonderfully healthy textured sourdough bread. This recipe is completed with the no knead method and baked in a dutch oven. The long cold rise method does not require kneading at all, just planning and time.
Sourdough bread recipes like this depend on natural fermentation as they have for thousands of years. Add some gentle stretch and folds to activate the processes.
It’s all very simple and the result is definitely worth the wait. When you allow sourdough bread to naturally ferment without the addition of commercial yeasts or high powered bread machines it improves the texture, flavor and keeping abilities of the bread.
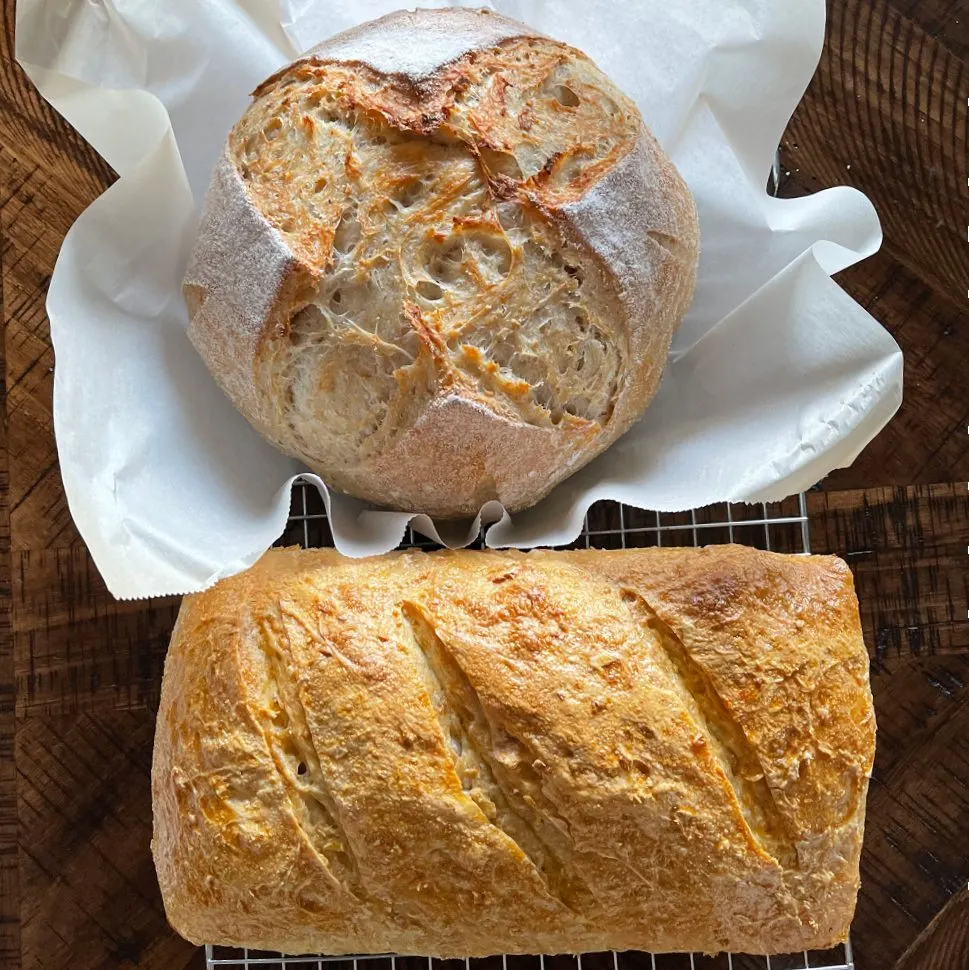
The videos you find in this post do not make this bread recipe but they do use the same processes.
If you plan to shape the dough for loaf pans please watch the soft sourdough recipe demonstration video.
More Sourdough Recipes:
Visit our sourdough section for a complete listing of all our sourdough breads and recipes.
Here are a few of our favorite sourdough bread recipes.
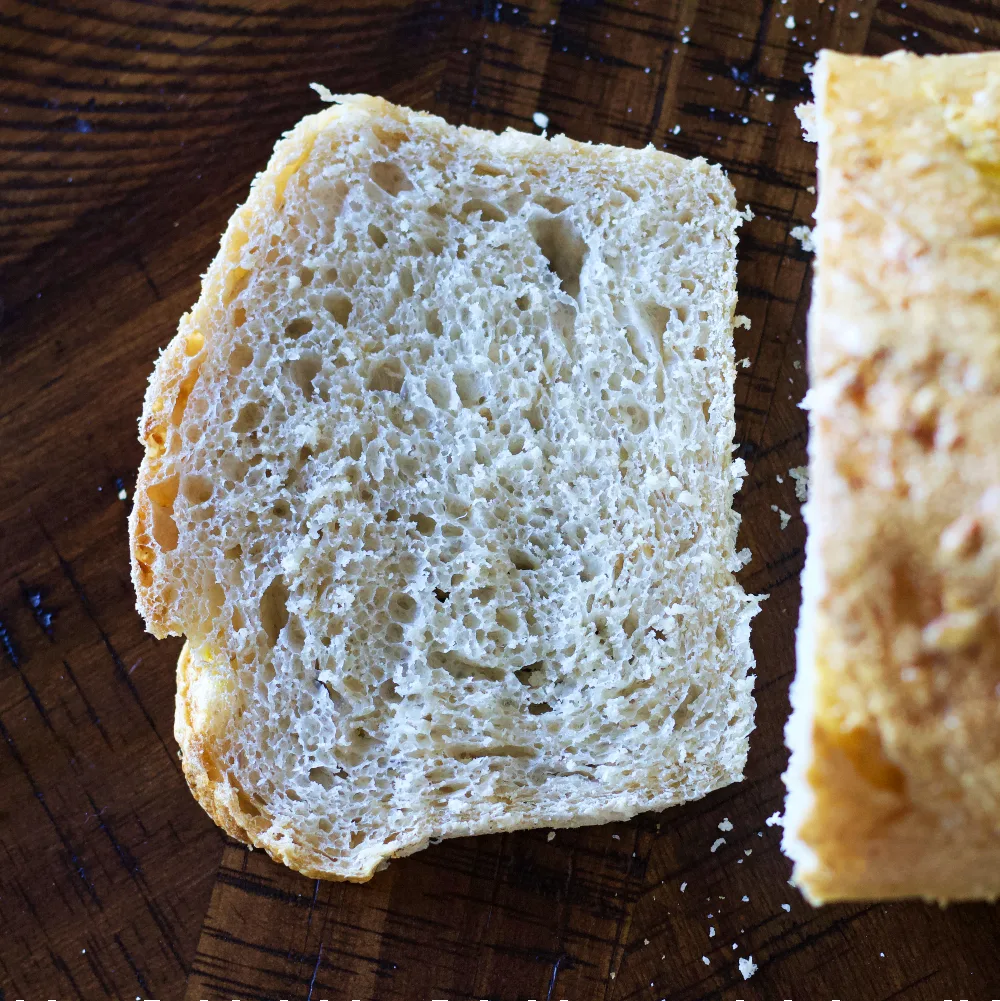
Can Sourdough be made from Oat Flour?
Sourdough bread needs a high protein bread flour to support is simplicity. Sourdough relies on a strong flour and starter to achieve the rise and crumb that you find in these breads. Oat flour and rice flour do not contain gluten which is necessary to give your bread the rise it requires.
For this recipe we added oats into our traditional sourdough to make this no knead oatmeal bread.
This recipe also uses a whole wheat flour for a healthy boost of fiber, flavor, and a stronger structure to support the added weight of the rolled oats.
What is the healthiest flour to make Sourdough with?
Whole wheat flour is usually what folks reach for when they want to increase the health factor of the already healthy sourdough breads. We have a delicious whole wheat sourdough recipe if you would like to give it a try.
Rye flour is said to be the most nutrient dense flour that will support your starter for a healthy loaf. Rye flour is rarely used as the sole flour in sourdough because it is low in gluten and produces a dense, sticky dough that is challenging to work with and yields a weak rise.
Flour blends are a popular option to reap the benefits of these heartier flours while keeping the gluten high for a strong rise and rich flavor.
Can Oats be used in Sourdough Starter?
Oats can be added to sourdough starter to make fermented oats sourdough breads. This no-knead oatmeal bread is made by adding cooked rolled oats to the bread when the water is added and mixed with the starter.
Oatmeal Sourdough Bread Recipe:
You can see the very soft bread this high hydration sourdough recipe creates. It is a wonderfully soft and moist bread that slices easily and makes delicious toast and sandwiches.
Flour, water and starter are the three key elements of all sourdough baking. This method does not require any kneading, but it does require at least 12 hours of long cold rise and 24 hours or so until ready to bake.
Sourdough Bread Tips
Please watch our videos for demonstrations of this recipe. The soft sourdough recipe is made into loaves.
That will also help you see all the techniques we use for stretch and folds and the dough development processes.
The Flour
- We recommend high protein flour with over 12% protein or 5 grams on the label. Sourdough baked with these flours is superior in rise and texture. King Arthur, Bob’s Red Mill and Montana flours all work well.
- We recommend white whole wheat flour when baking our breads since white whole wheat flour creates a less dense bread crumb.
- If all you have is brown whole wheat flour made from hard red wheat berries it will give a bit different result.
The Starter
Starter is necessary in sourdough baking and a strong starter that has been recently ‘fed’ is necessary for a strong rise.
We show you how to balance your sourdough starter for bread baking in the recipe card. Please feed your starter as instructed for consistent results.
When is Bread Done?
Remove your bread from the oven when your digital thermometer reads 200 degrees F. If you hear a slight crackling noise when your bread is resting and fresh from the oven, you have baked a successful loaf.
The crackling is due to the thick hearty crust being pushed against as the interior crumb continues to bake and balance out.
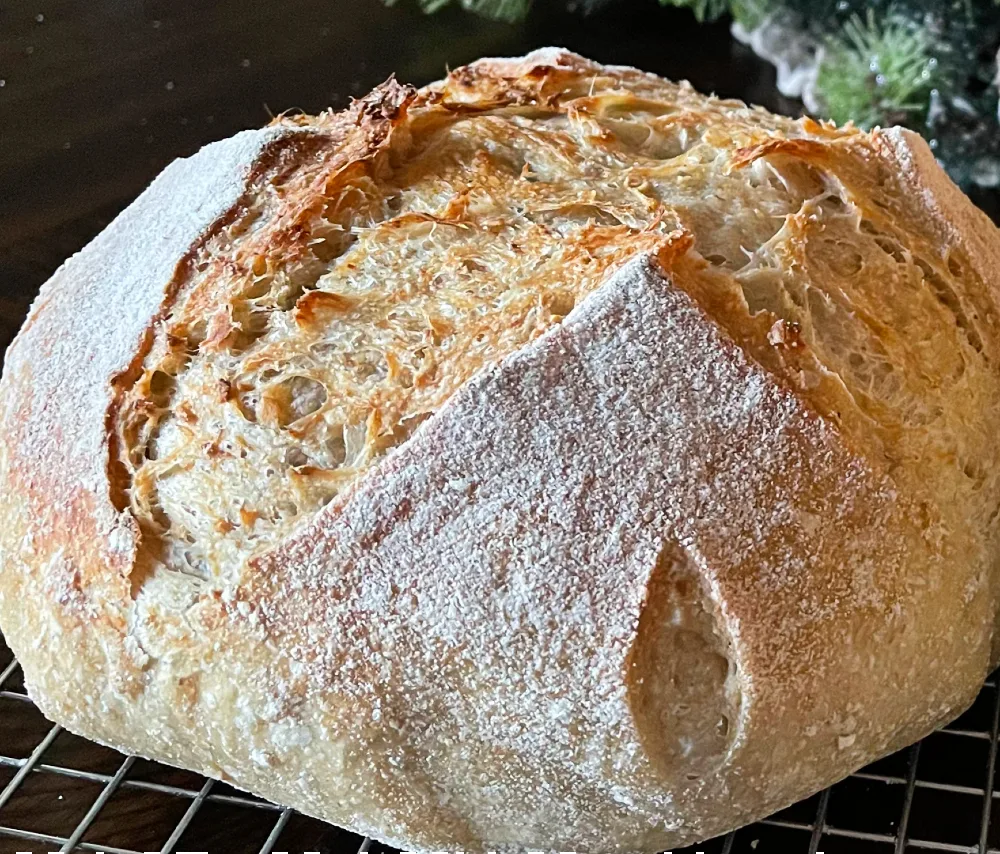
What is special about Sourdough Bread?
Sourdough bread is a healthier bread because it uses a natural yeast as opposed to a commercial yeast. Known as ‘the starter’ this fermented flour and water paste allows good bacteria to live and produce the rise of the bread. If you need a reliable recipe to make your own starter we have a full post to help you.
The starter also provides the slightly tangy flavor and chewy structure that sourdough breads are known for. You can read a more in depth post that we wrote about why sourdough bread Is good for you.
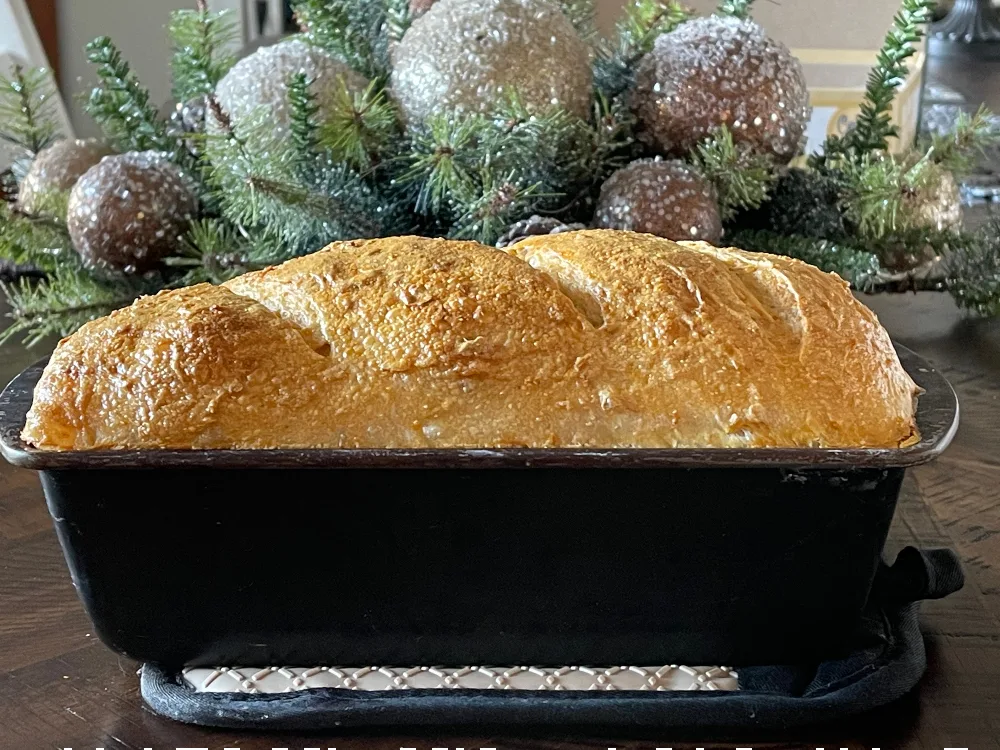
Is Sourdough Bread good for sandwiches?
Yes, sourdough bread has a rich, slightly tangy flavor which is delightful for sandwiches. Whether you are using a strong, crusty rustic style loaf, or a soft sandwich dough with an open crumb and a lighter crust; this bread is a great choice.
We have a soft milk and honey sourdough bread that is specially made for sandwiches. The tender, sliceable loaf has a sweet note as well.
This Sourdough Oatmeal Bread can be made in loaf pans for ease of use with sandwiches and toast. Finish with an egg wash for a gorgeous shiny crust.
Your Printable Oatmeal Bread Recipe Card
If you print out the recipe the picture will not print. This is to save your paper and ink.
For help making boules watch the demonstration video at the bottom of the recipe card just below the notes section. Again it shows all the processes used in this recipe.
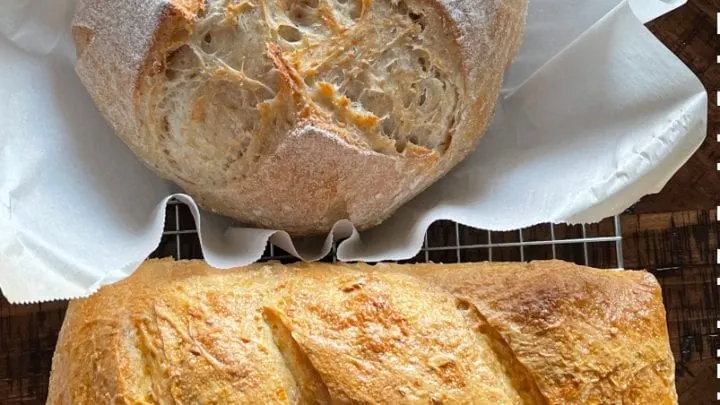
Oatmeal Bread- No knead Sourdough Bread Recipe
A great chunky textured no knead sourdough bread. Soft and moist oatmeal bread made from sourdough starter. This is a lovely rustic bread for sandwiches and toast with tons of flavor, fiber and satisfying chew.
Instructions and video demonstrations included for both the boule and bread loaves forming and baking.
Ingredients
- 300 grams starter- fed and balanced
- 850 grams water-(DIVIDED-80 to 105 degrees F.
- 200 grams rolled oats
- 680 grams flour (12 percent protein or 5 grams on label)
- 90 grams whole wheat flour (white or red berries)
- 20 grams salt
Instructions
NIGHT BEFORE BAKING:
- Remove starter from fridge and allow to come to room temp.
- Mix together 100 grams starter +100 grams warm water+100 grams flour. This balances the starter for baking bread.
- Let sit overnight or until starter doubles in size.
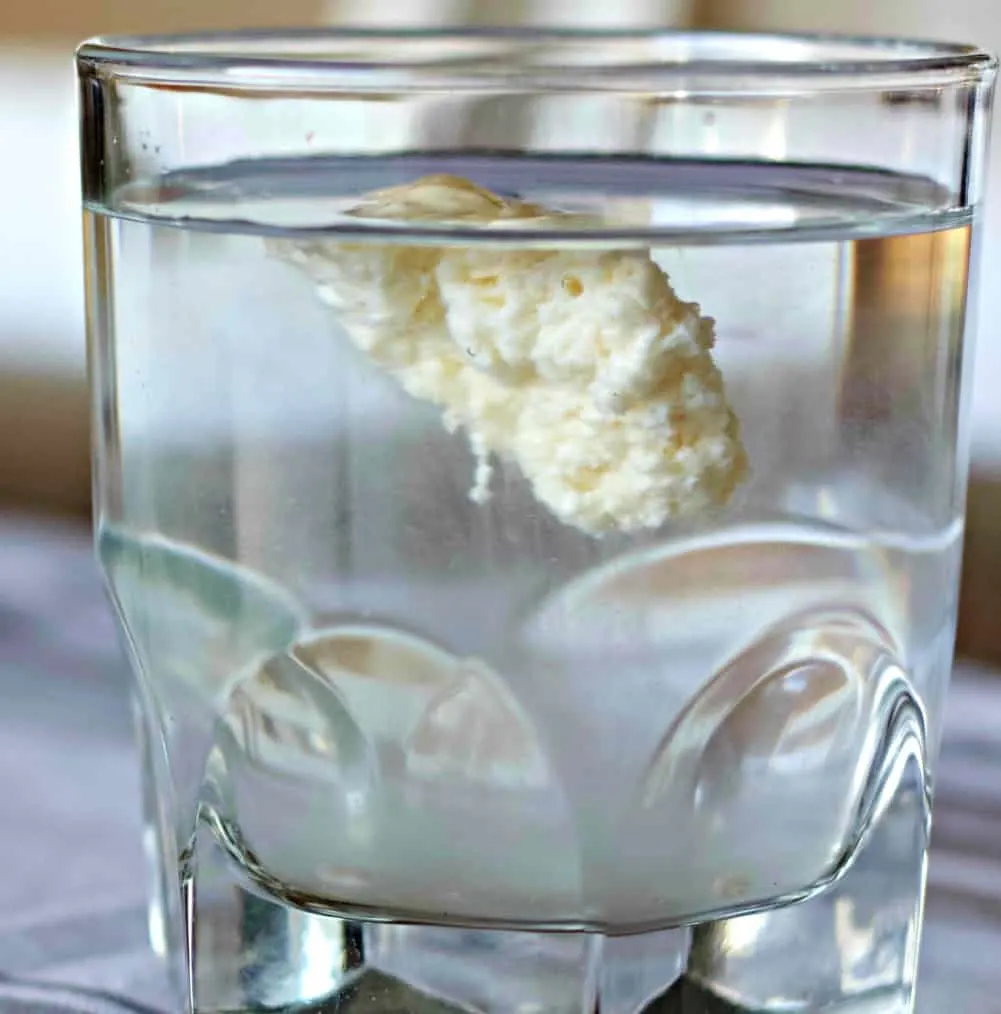
- Do the float test. If starter floats in a cup it is ready to bake bread. If it sinks repeat feeding.
Cook Oatmeal:
- Mix the oatmeal with *250 grams of water.
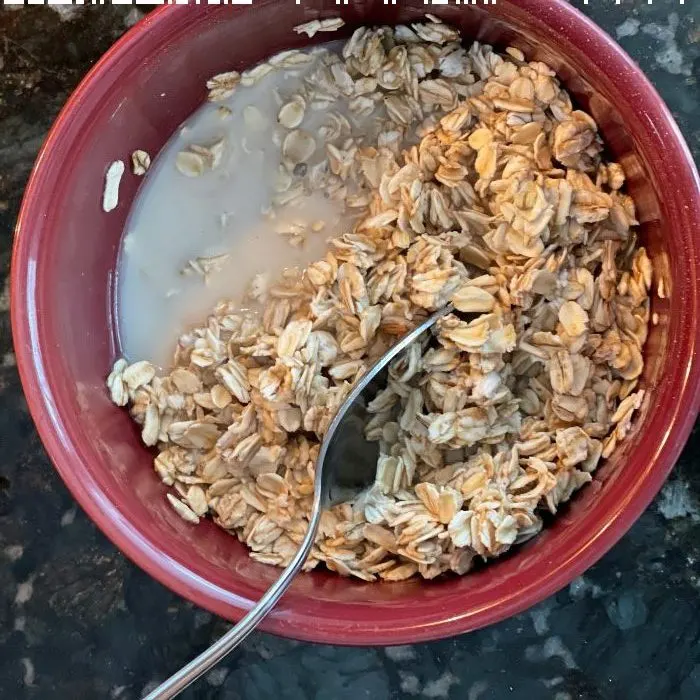
- Mix and microwave covered one minute.
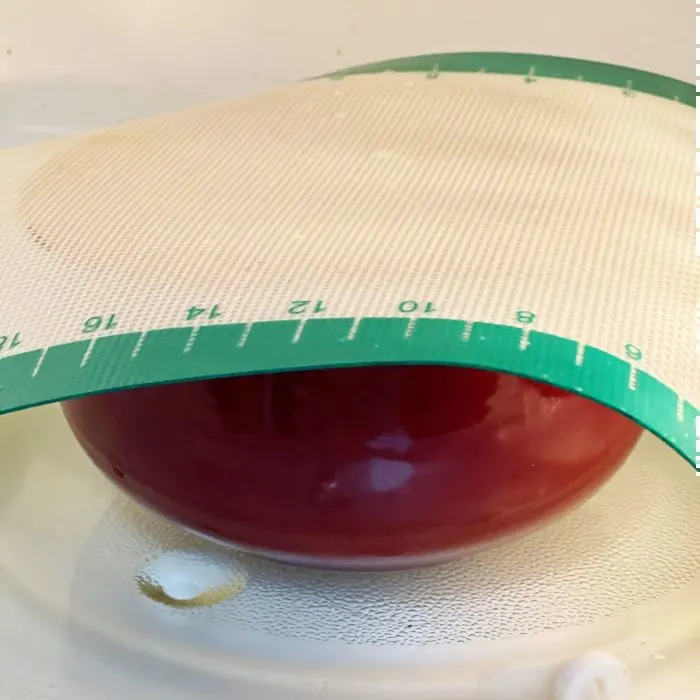
- Set aside to cool to 105 degrees F.
Make Bread Dough:
- Set a large bowl on a digital scale.
- Set the TARE button to zero.
- Add the remaining 500 grams of warm water to the bowl. Set tare to zero.
- Add the prepared starter. Set the TARE to zero.
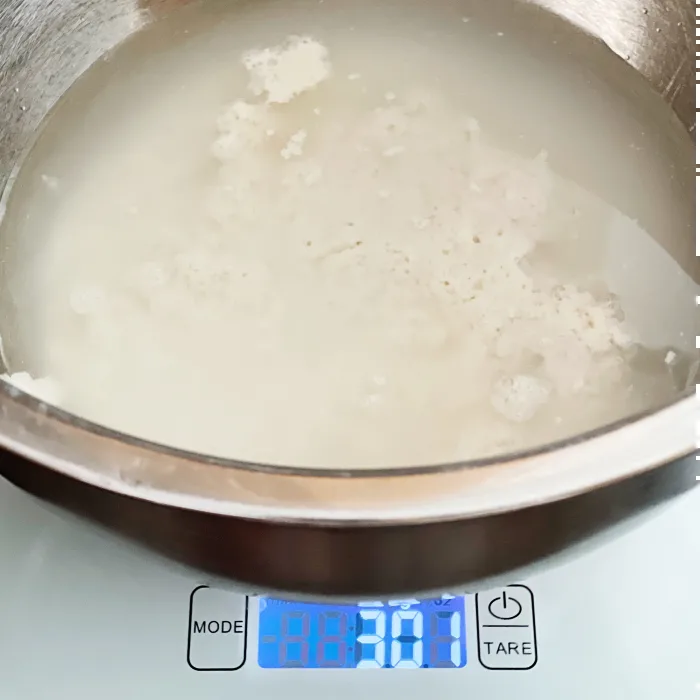
- Add the cooked and cooled oatmeal.
- Mix together until cloudy.
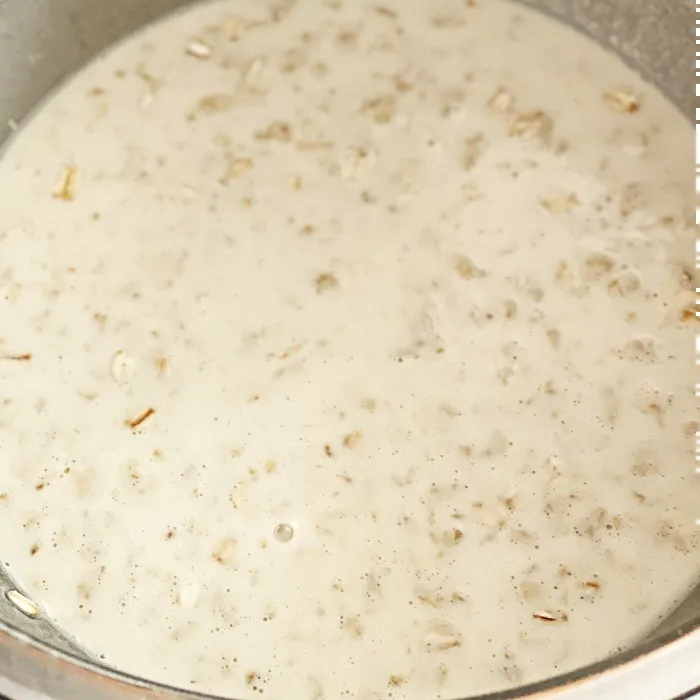
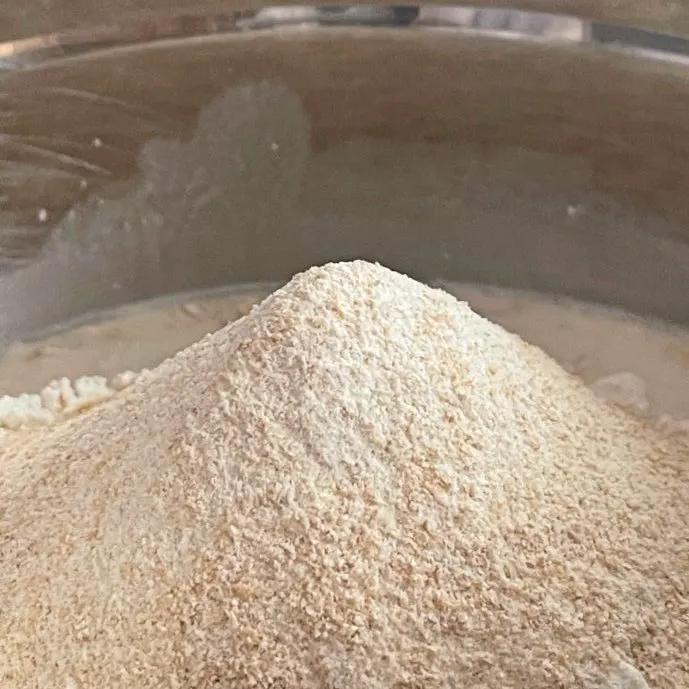
- Set Tare to zero. Add flours.
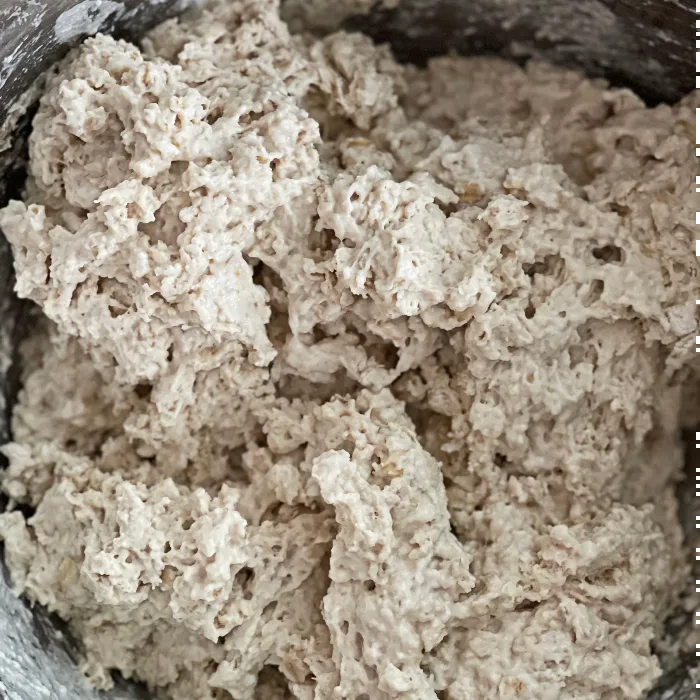
- Mix it all together into a shaggy ball in the bowl.
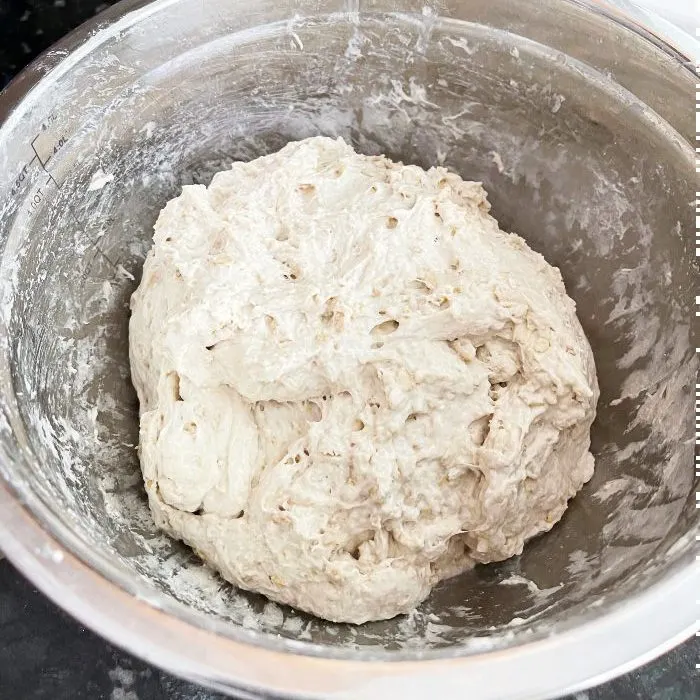
Autolyse:
- Let the dough sit covered 60 minutes. This hydrates the dough and allows the oats to also further soften.
- At the end of the autolyse, sprinkle the salt ove the dough. Now drive the salt in with your fingers.
- Make a loose ball of the dough and begin stretch and folds.
Stretch and folds:
- Complete four stretch and folds 30 minutes apart. As follows
- Grab the dough on one side. (watch video for complete demonstration of stretch and folds)
- Lift and stretch the dough to fold it across the dough ball.
- Repeat this action on all four sides of the dough ball.
- Cover and set timer for the next stretch and fold.
- When all four stretch and folds are complete stretch the dough between your hands. It should be elastic and almost able to stretch to transparency. This is the window pane test. The oatmeal in the dough will confuse this a bit so just get close.
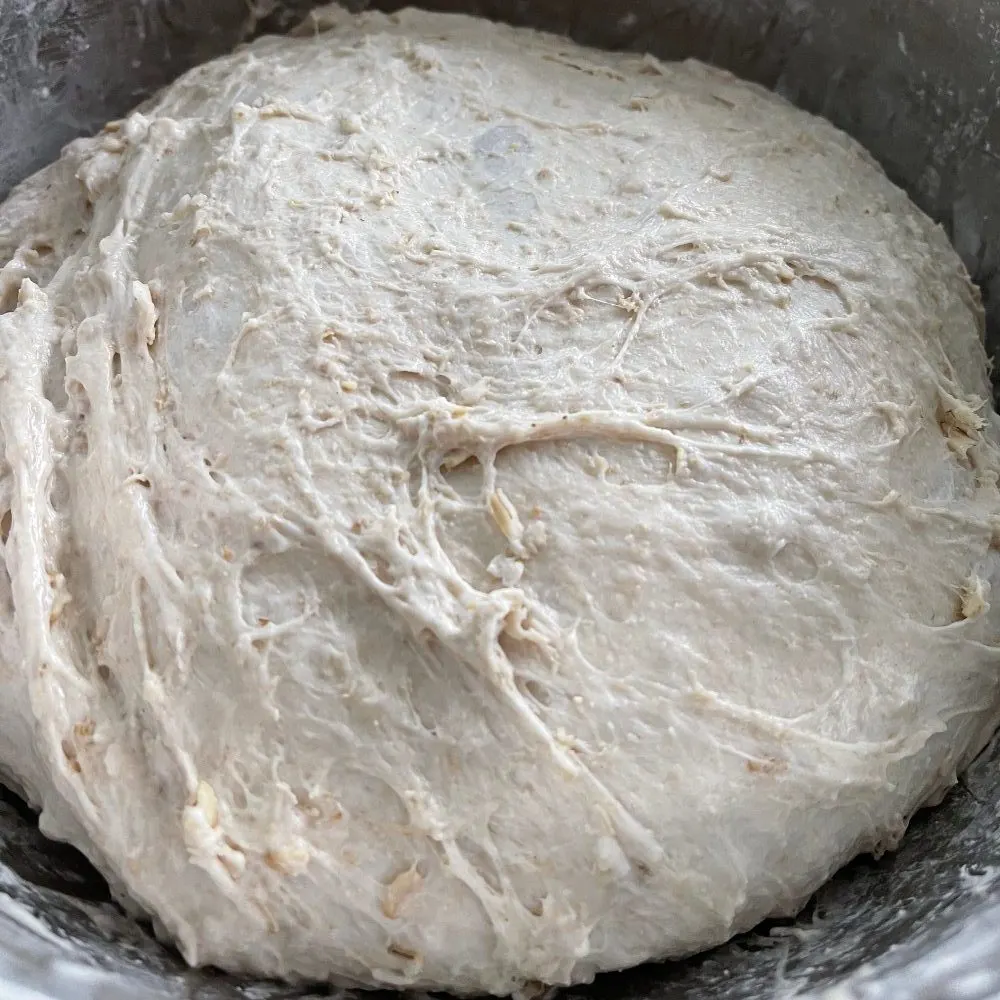
- If your dough breaks easily do another stretch and fold and test again. When it is elastic and stretchy continue the recipe.
Bulk Rise:
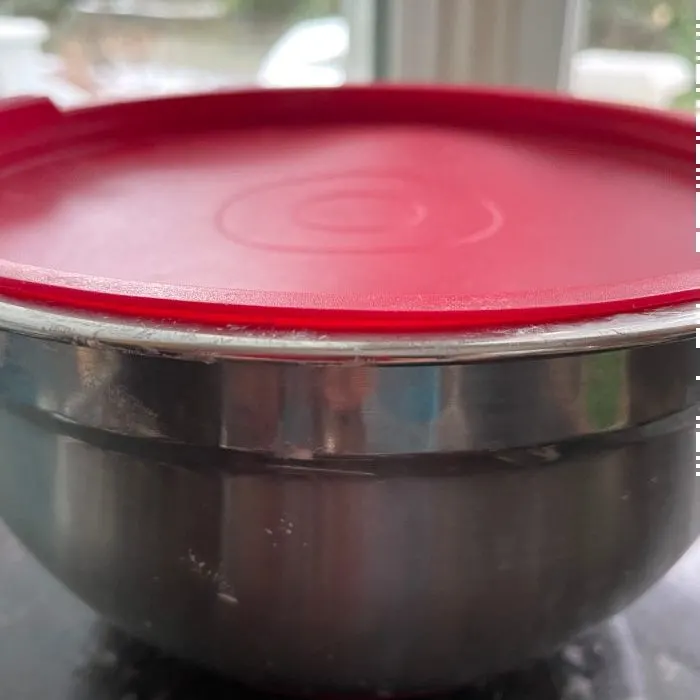
- Let dough sit in the bowl covered for 60 minutes at room temperature.
Long Cold Rise:
- Set covered dough in the fridge 12 to 24 hours. The cold rise can be adjusted to suit your schedule but try to keep it in 12 hours minimum for best dough development. You can extend the long cold rise to 36 hours if necessary.
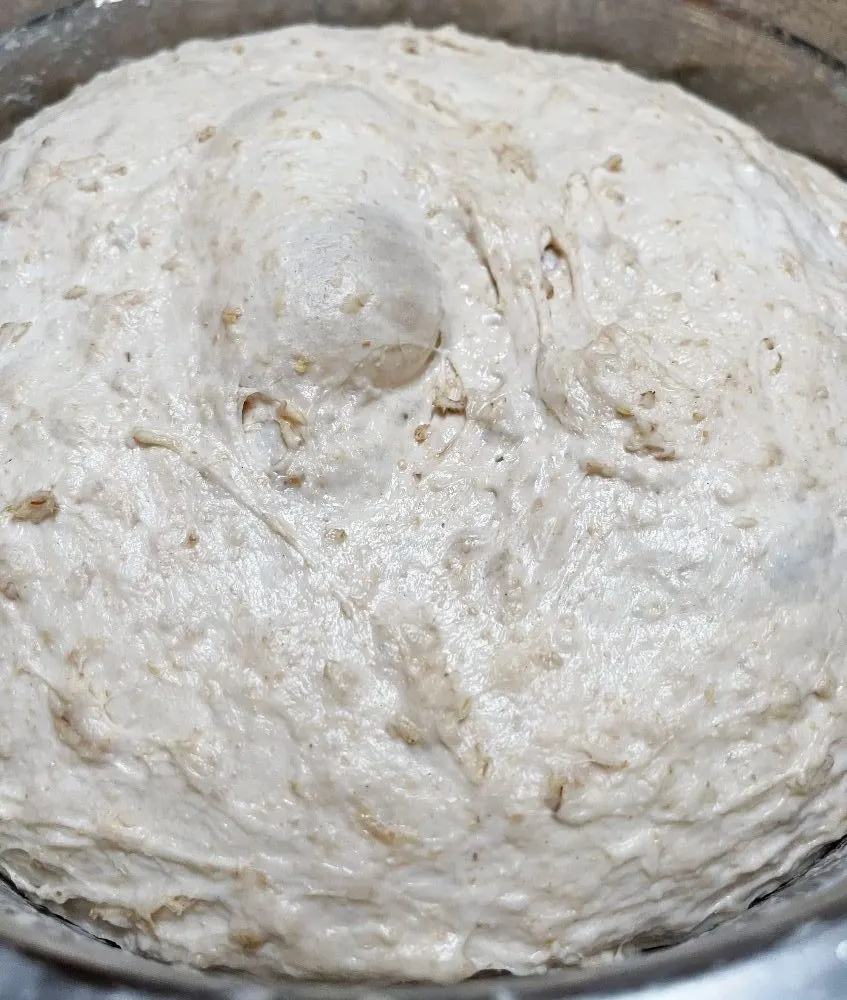 notice the bubbles in the dough. This will happen as the dough ferments. It is normal and will continue through all development stages. You can degas the dough as much as you prefer at the bench rest and final forming stage.
Bench Rest:
- Remove dough from fridge and bring to room temperature. (or pretty close so it's manageable- 2 hours or so)
- Divide the dough into two dough balls of equal size. This recipe makes two 935 gram dough balls (or pretty close).
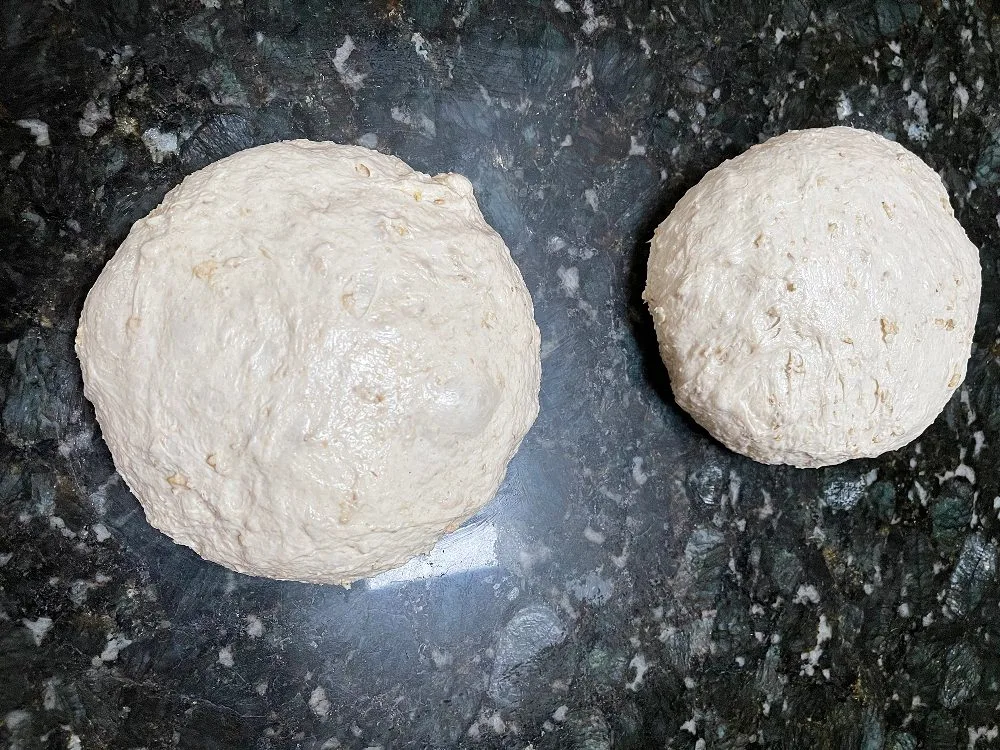
- Roll the dough into tight balls by pulling the dough across your work surface until the dough surface is tight and the ball is round.
- Leave the dough balls covered with a towel on your counter for 45 minutes.
Final Shape, Score and Bake:To form Boules:Watch our video below the notes section below for a recipe demonstration of forming and baking boules.
- Prepare your banneton by liberally sprinkling with rice flour.
- If using a bowl oil it. Use a smaller bowl that will support the dough.
- Form the dough into a round and retighten the dough surface by pulling it tight several times. (watch video below notes for demonstration)
- Flip the boule upside down and pull the sides all round to create a seam showing on top.
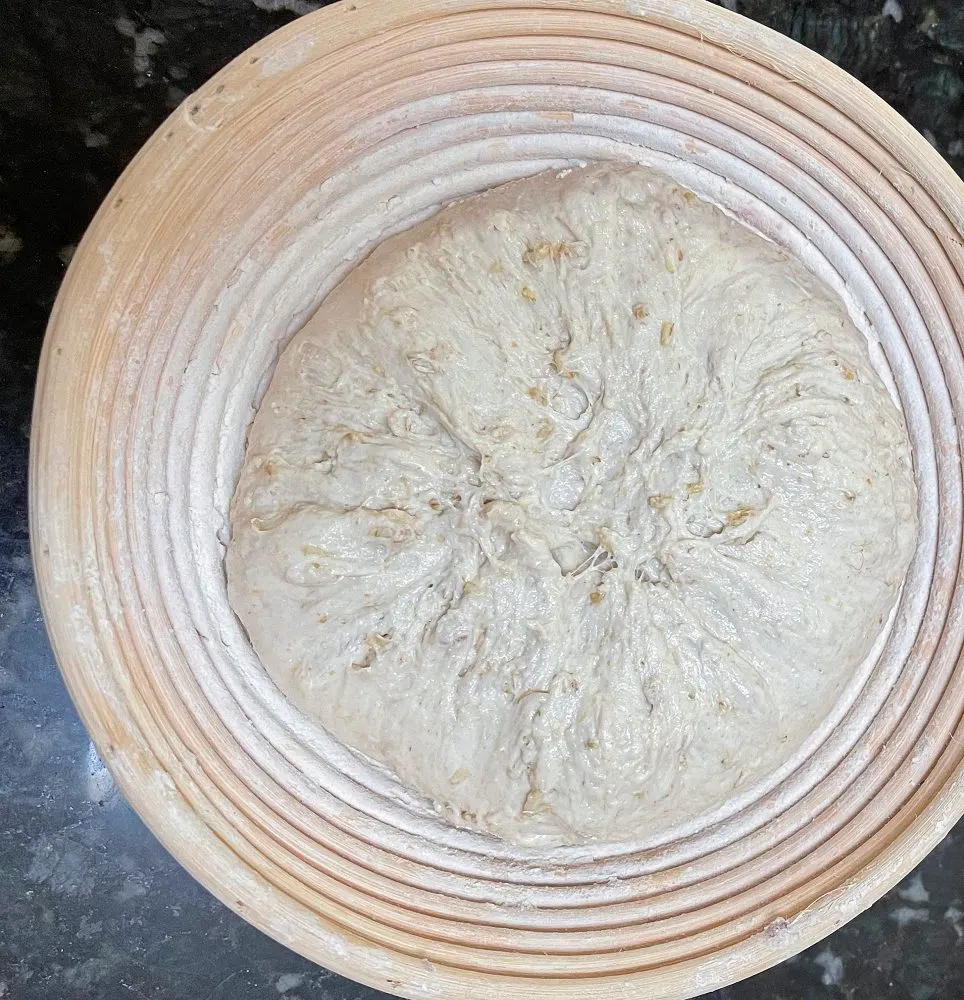
- Put the bowl in a loose plastic bag and set in fridge 2 to 4 hours to chill.
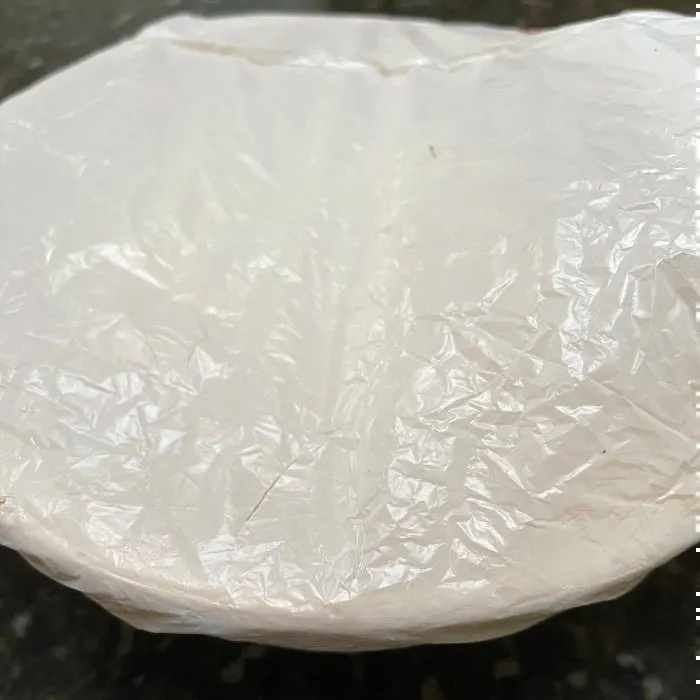
To Bake Boules:
- Set your COLD dutch oven with lid on the middle rack.
- Preheat oven to 450 degrees F. for an hour.
- Remove one boule from fridge and turn the bowl quickly and firmly upside down on parchment paper.
- Score the boule across the top both directions to allow rising. (or use your own method to score)
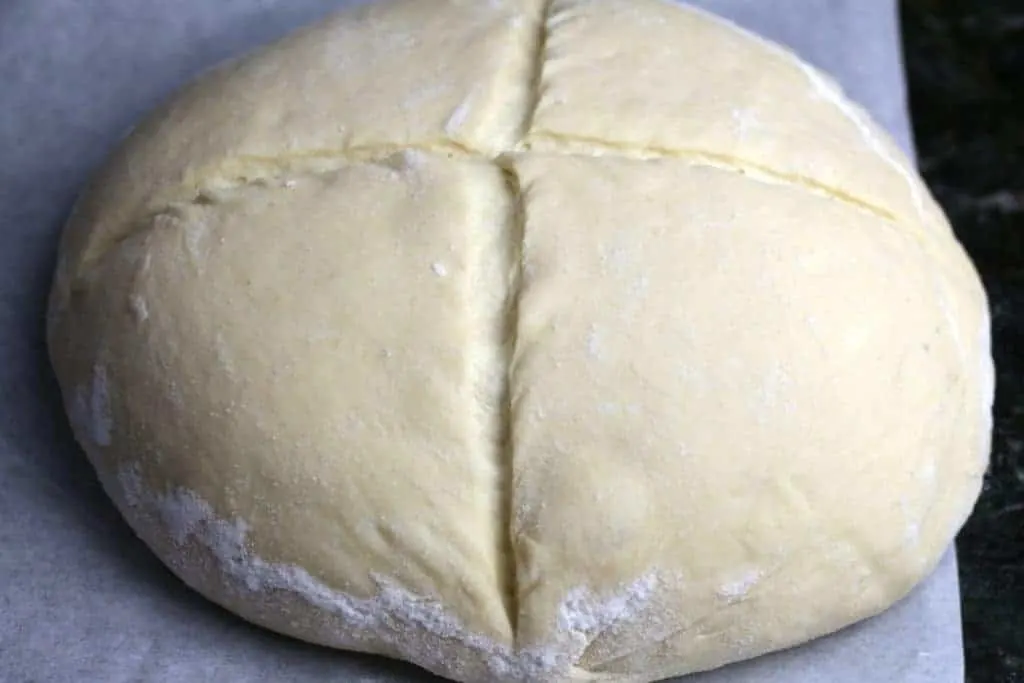 This is our milk and honey sourdough bread scored as directed.
 - lift the boule on the parchment paper and set it carefully into the HOT dutch oven.
- Cover and bake 20 minutes.
- Reduce oven temp to 400 degrees F.
- Remove the lid and bake an additional 15 minutes or until a digital thermometer reads over 200 degrees F. in center of boule.
- Repeat with next boule. Preheat dutch oven at least 15 minutes covered.
To form loaves:
- For each bench rested round of dough to make into a loaf
- With your hands or a rolling pin squish out all the air from the dough. This gives a dense soft crust with no holes in the bread.
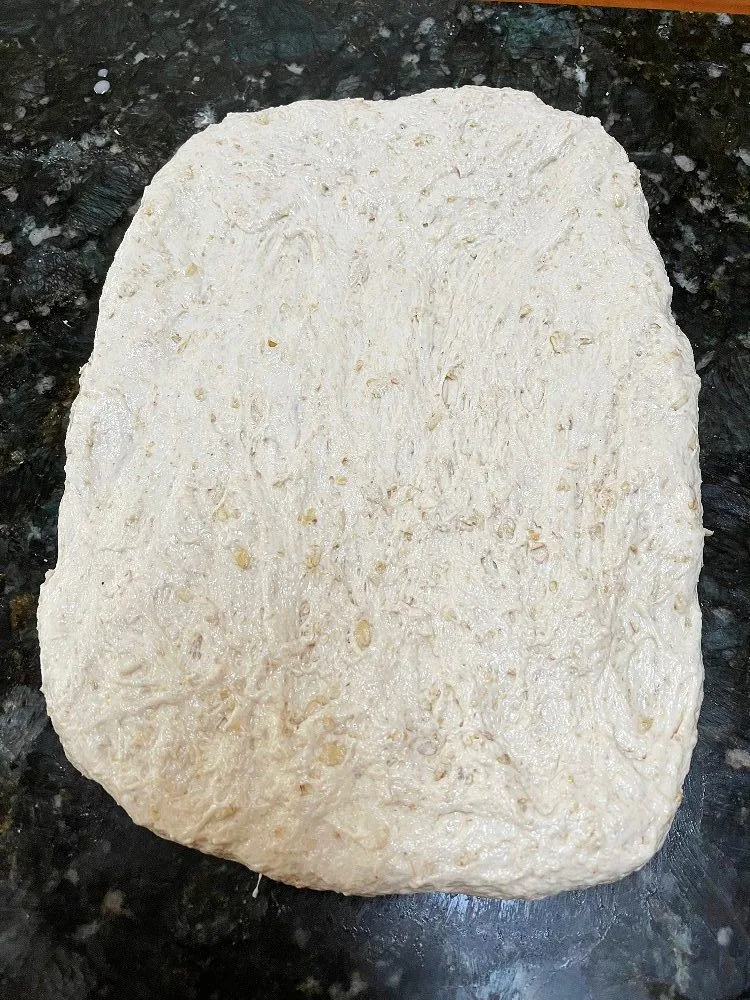 Form the dough into a rectangle.
 - Pull the dough from the side and fold it to the middle of the rectangle.
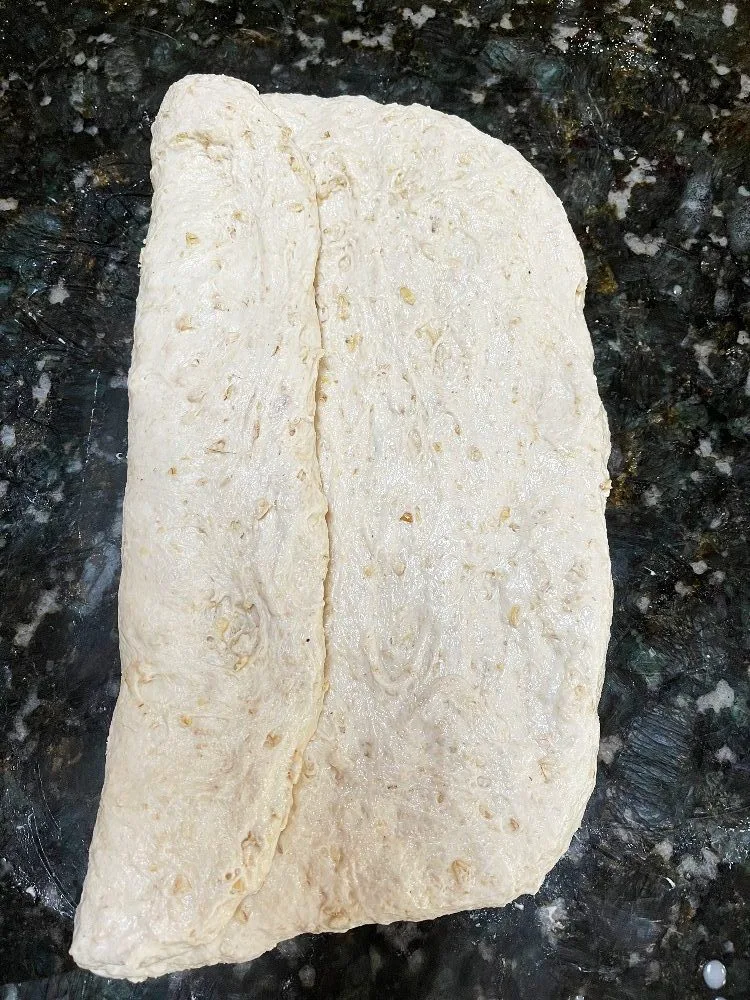
- Pull from the other side and fold it to the middle. Create a seam down the center of the rectangle.
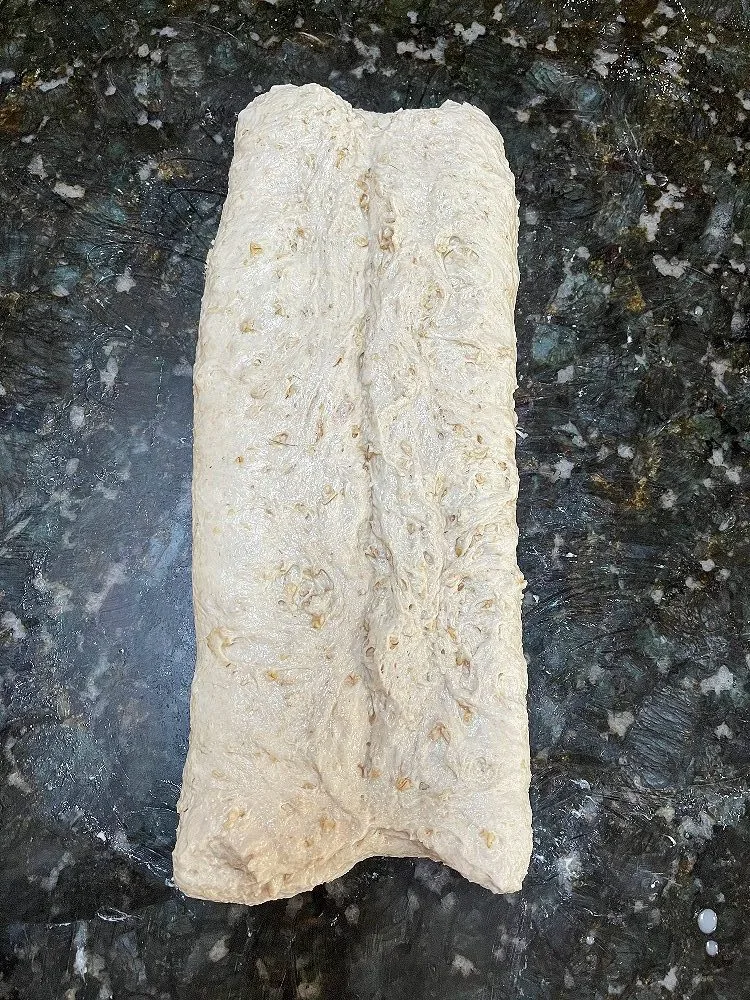
- Fold the front points of the seamed rectangle up to the seam. This creates a point.
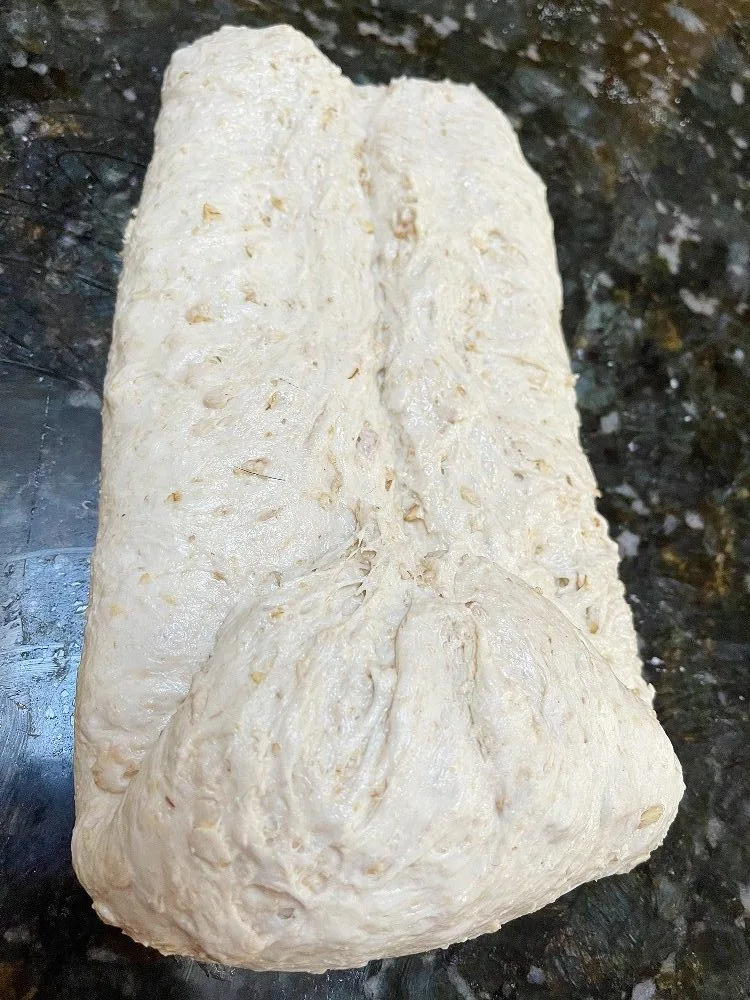
- From this end of the dough roll the dough tightly all the way up.
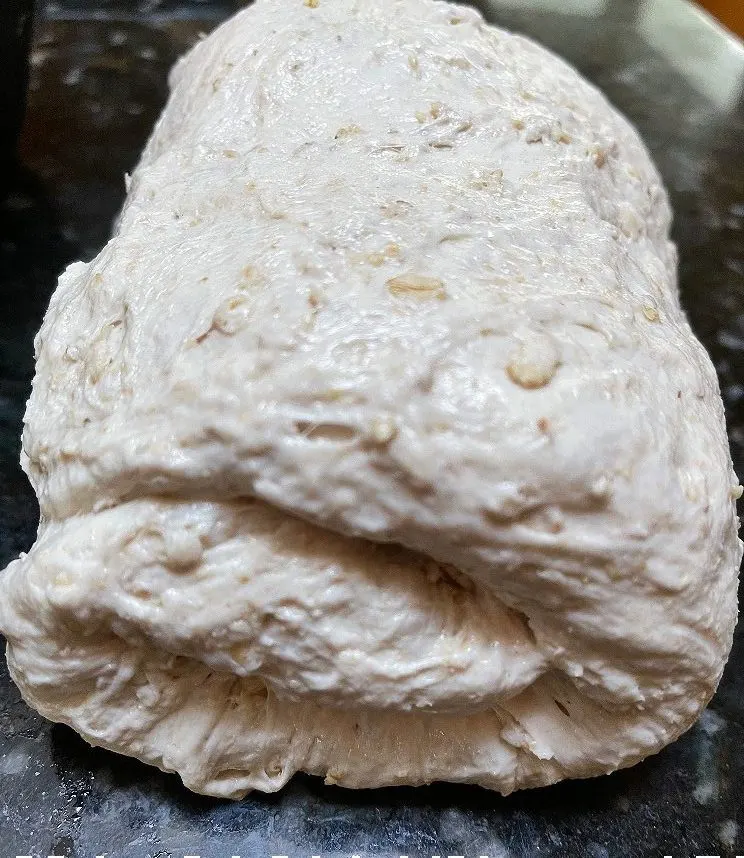 so on the side of the rolled dough you see a spiral as shown.
 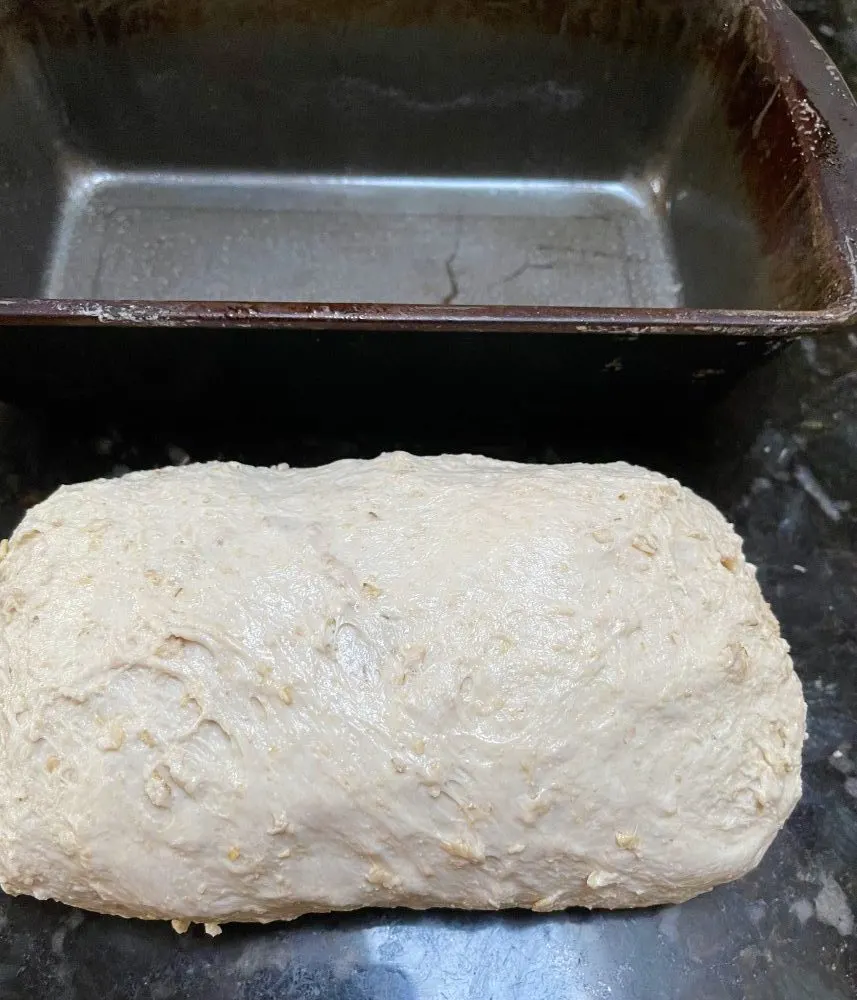 Adjust the length of the dough roll to about the length of your oiled bread pan. (i'm using standard 9 x 5 pans).
- Pinch the ends on the roll so it's tight and has no air pockets. Pinch the bottom seam if necessary also to smooth the loaf bottom and remove any air pockets.
- Set the dough roll into the pan. It should touch the ends of the pan (or close).
- Let rise on the counter for 2 to 4 hours until the dough reaches to top of the pan.
To Prep your bake:
- When bread dough rises to the top of the bread pan preheat oven to 400 degrees F. for 30 minutes.
- Set a pan with water in it on the bottom rack for a water bath. (this will steam the loaves and keep the crust softer.)
OPTIONAL egg wash:
- In a small bowl whisk an egg with a fork until smooth. add 1 Tbs. water if thick. Brush the wash over the tops of the loaves. This makes the crust shiny
Bake:
- Bake loaves in preheated oven for 40 minutes.
- Check with digital thermometer by inserting through the end of the loaf and pushing it into the center.
- When the thermometer reads 200 degrees F the loaves are finished.
- Remove to counter and let sit 10 minutes in pans.
- Insert a knife between the pan and the loaf to free the loaf.
- Turn the pan upside down and allow the loaf to release.
- Cool completely on a reck before cutting. (the long cooling before cutting at least 30 minutes helps set the crumb)
Notes
*the amount of water to cook the oatmeal is not enough to completely cook it. You are rather only par cooking it to soften the oats. They should still be separate rather than gelatinous.
The video below will help you see the stages of the dough development and the techniques used in this Oatmeal bread recipe for making and baking boules.
Nutrition Information
Yield
24Serving Size
1 sliceAmount Per Serving Calories 147Total Fat 1gSaturated Fat 0gTrans Fat 0gUnsaturated Fat 1gCholesterol 0mgSodium 325mgCarbohydrates 30gFiber 2gSugar 0gProtein 5g
Follow Us:
We enjoy meeting you on our social networks. Follow us on Facebook, Pinterest, Instagram . Tag us with your pictures of our recipes and comment on how it went for you. We would love to see what you do with them.
We often like, comment and share your posts of our recipes on our daily Instagram stories.
Ask questions and rate the recipe in the comments section below. Please share what you did with this recipe. We are always looking for more and better ways to make homemade food. Other cooks love your ideas!
Recent Posts:

Monica
Tuesday 4th of March 2025
I am so happy I came across this recipe. I wanted to find a healthier version of Sourdough bread and this one is perfect. I takes a few times to perfect it but I am now obsessed! I am adding more wheat flour than bread flour.
I am making bread every weekend and gifting to family and friends !
Thank you!
Diane
Tuesday 4th of March 2025
Hi Moncia, Your very welcome. We are so happy this recipe is working well for you. Thanks for letting us know!
Mary
Monday 9th of October 2023
Hi! After a long cold rise of 18 hours I followed the directions and I baked it today; once it rose to the the level of the top of the pan (about 31/2 hours ) I preheated the oven forn30 min and baked it but it never rose any further in the oven. I had a healthy starter and followed the directions but turned out nothing like the picture! Thanks1
Diane
Monday 9th of October 2023
Hi Mary, it may be related to how much protein was in your flour. To get a good rise you will need a flour with about 5 grams of protein in it, along with that active starter. I hope this helps. Thanks so much for the feedback!
Mary
Sunday 8th of October 2023
I have done 5 stretch and folds and still cannot reach the window pane stage as the dough is rather thick and stiff; it is sticky though. am i doing something wrong?
Diane
Sunday 8th of October 2023
Ho Mary, Go ahead and continue with the recipe. Be sure to do a long cold rise of at least 12 hours. This will helps develop the dough. I think it will still turn out fine for you. Please let us know if you have any further questions .We'd love to know how it turns out for you. Happy Baking!
Sue
Tuesday 22nd of August 2023
How long can you keep the oats in the fridge? I made too much and don't want to make more bread at the moment. Can I safely keep it for a week or two in the fridge?
Diane
Tuesday 22nd of August 2023
Once the oatmeal is soaked and cooked you can keep it for several days in the fridge. For longer I'd freeze it in a ziplock freezer bag with all the air sucked out. Then when you want to use it, let it thaw and get to room temp or slightly higher before making it into bread. I hope this helps!
Cindy
Friday 28th of April 2023
This is the third oatmeal SD bread recipe I've tried. I mistakenly added 600g of water, I didn't subtract the 100g from the starter in step 1 (and didn't read the directions closely enough). The dough was very wet! Due to the heat in my kitchen the dough proofed rather quickly. I just baked it this morning, skipping the bench rest, and it came out beautifully! I buttered the tops right after removing the bread from the oven. Took a little longer than suggested. I'm so glad I have my thermometer. The bread is light and delicious. Thank you
Diane
Friday 28th of April 2023
Hi Cindy, I'm so happy your bread worked out well for you. This method of no knead is pretty forgiving. Happy Baking!