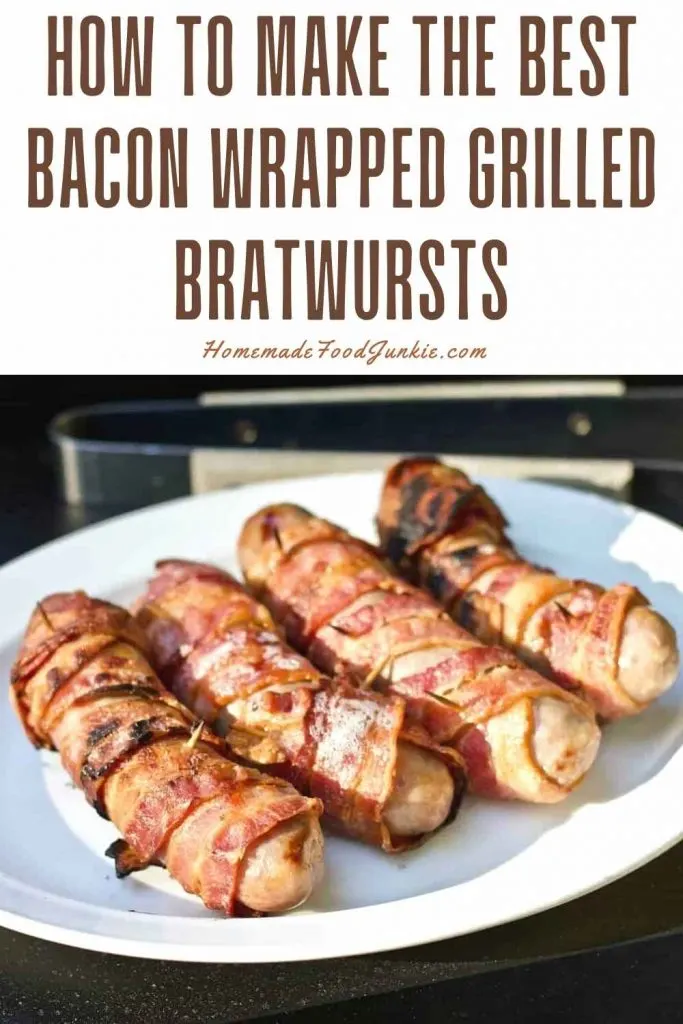
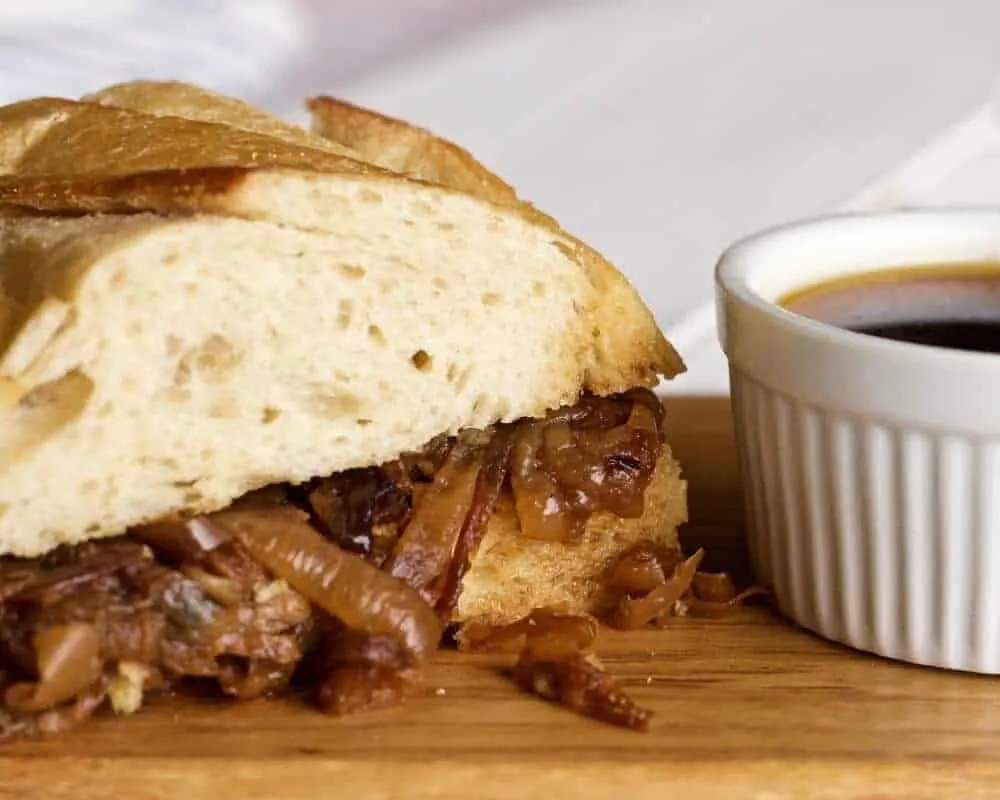
Serve Caramelized Onions with grilled burgers, steaks, sandwiches, bacon wrapped bratwurst, hot dogs… and so much more! A bowl of delicious, sweet onions deserves it place right next to the mustard, relish and ketchup, or a top of the line steak and mushrooms side.
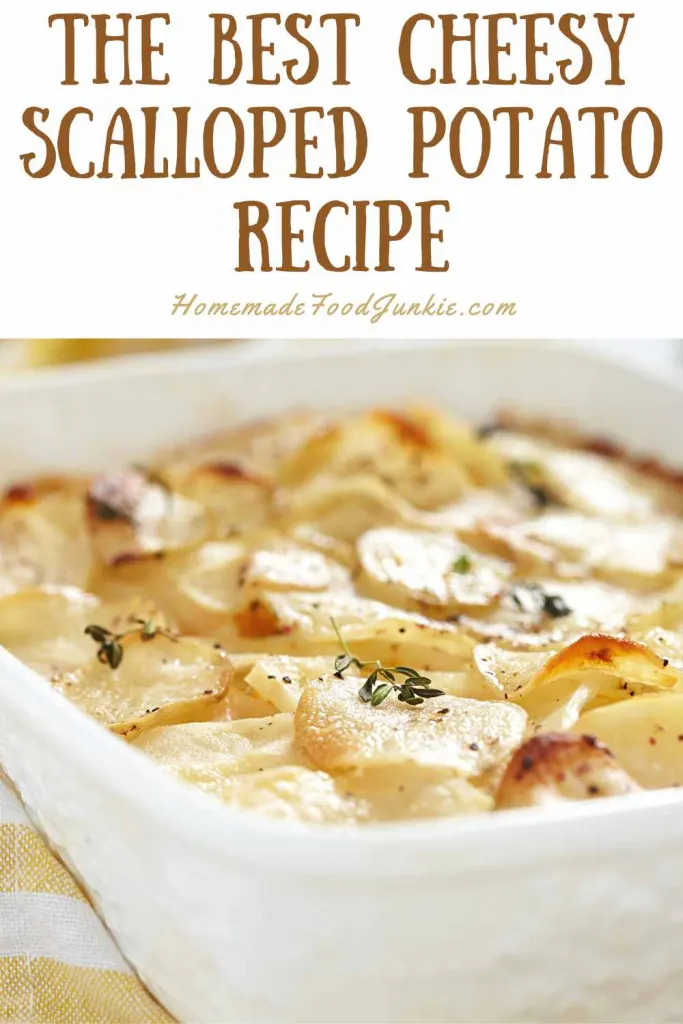
The process is simple and can be done ahead of time, so don’t be afraid to add these to your BBQ parties, add caramelized onions on pizza, make your scalloped potatoes with caramelized onions, or a loaf of focaccia with caramelized onions.
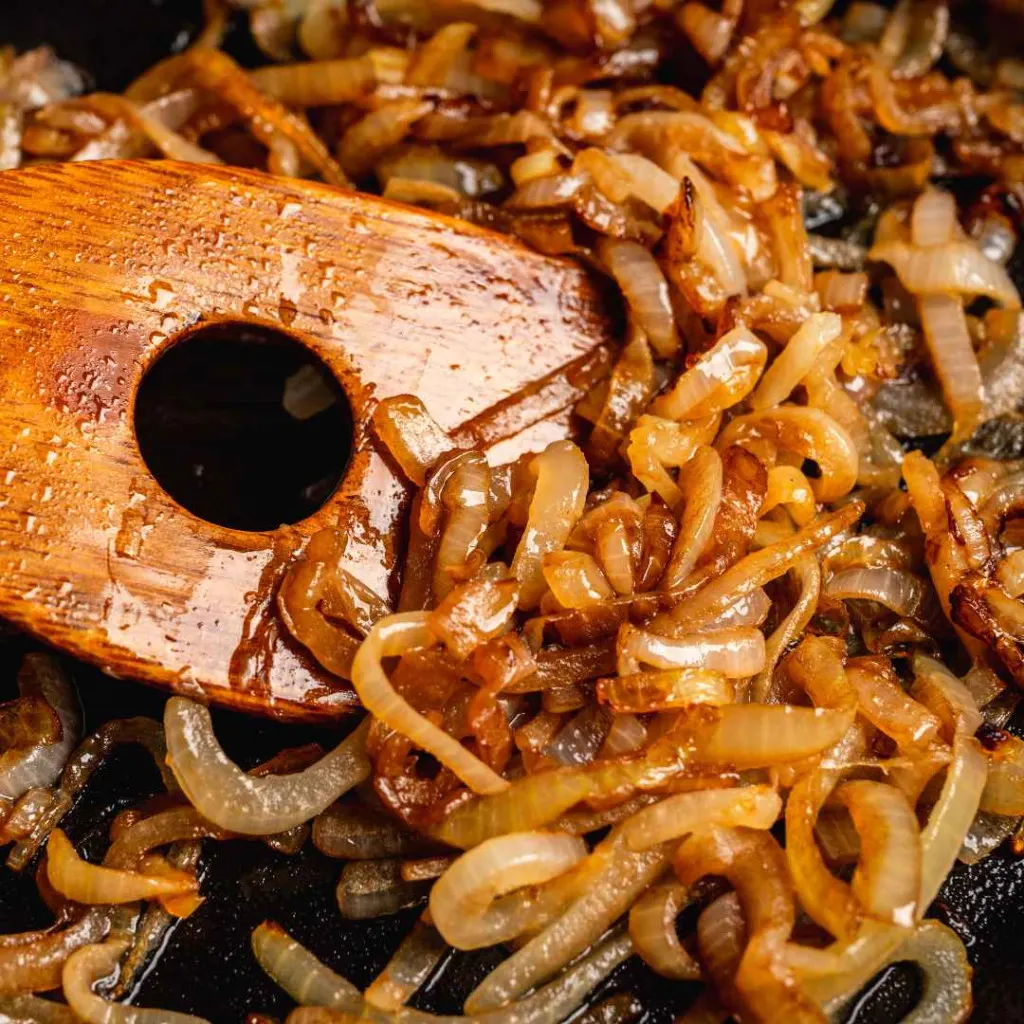
How are caramelized onions made?
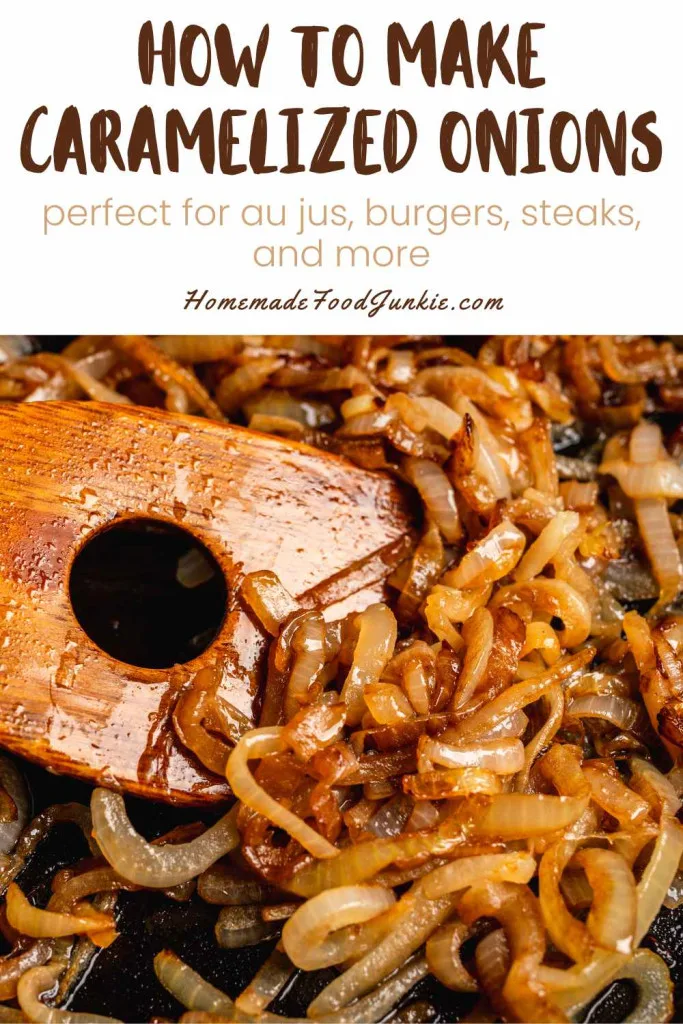
Yellow or red onions are sliced and cooked on low heat until they sweat and turn brown. As they cook the natural sweetness in the onions intensifies. Adding balsamic vinegar and a bit of brown sugar enhances this process and creates sweet caramelized onions that can be used in a variety of recipes.
What is the trick to making them?
Sugar is the most important ingredient as it will not only caramelize the onions and add flavor, it will help to speed along the process. For quick caramelized onions you definitely want to be using sugars.
Allow the onions to cook slowly, so be careful not to set them too hot. If the onions burn it will introduce a bitter flavor which will spoil the experience.
Make sure you don’t cook too many onions at a time, otherwise they will not be able to caramelize properly.
Can you make them ahead of time?
These do take a while to make, so make sure you plan accordingly. In order for the onions to caramelize they need to cook low and slow. Make a large batch of caramelized onions and it will hold in an airtight container in the fridge for up to three weeks.
Can you freeze caramelized onions?
Freezing caramelized onions is a straightforward process and quick to execute. On a piece of plastic wrap lay out the cooked and cooled onions. Squeeze out all the air and wrap them up air tight. Now double wrap them, seal and label with the date. Pop them in your freezer.
They will last in your freezer a month or more if carefully wrapped. Once you are ready to use them, defrost the frozen caramelized onions on your counter. Reheat on a skillet on low heat until they get sizzling a bit.
Caramelized onions also are needed for onion soups and other recipes so it’s not a bad idea to put some by for later. This is a good option for your onion harvest or if you find good sales on onions at harvest time.
Watch the video
How to cook perfect caramelized onions
- Slice the onions into 1/4 inch slices.
- With your hands separate the sliced onions into rings and set them in a loose pile
- Set a 12 inch skillet with a lid on low heat, and melt coconut oil in the skillet
- Place the onion rings into the skillet, covering with a lid
- Let them cook a while, about 20 minutes. Occasionally come back and stir them a bit. They should not burn or stick to the pan bottom. Adjust your heat if necessary
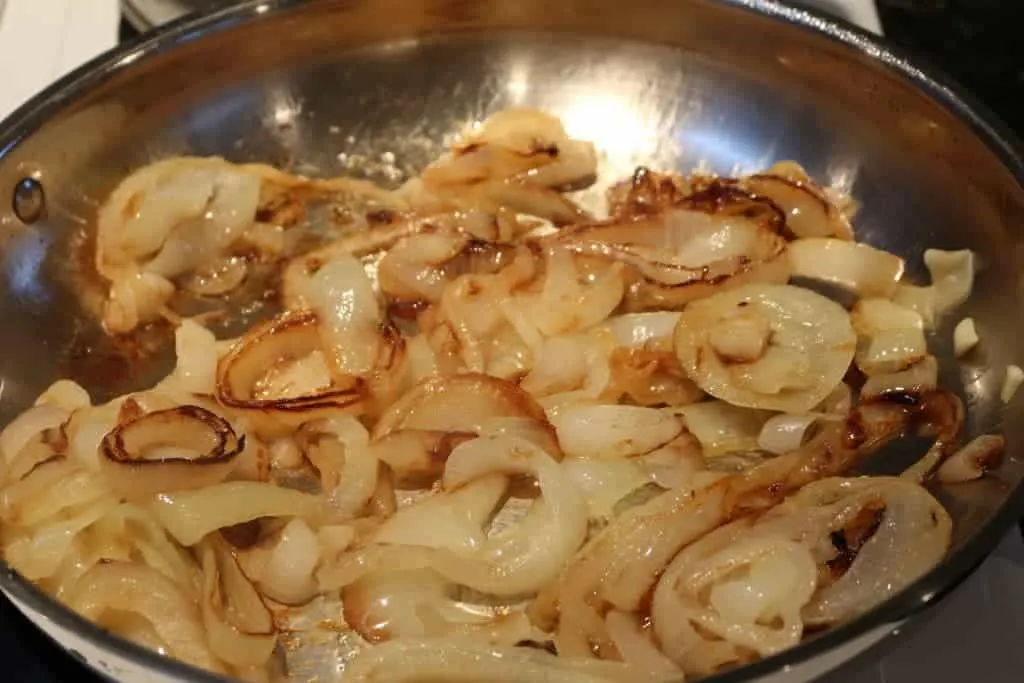
- Add the brown sugar and balsamic vinegar when the onions are translucent and just a touch browned
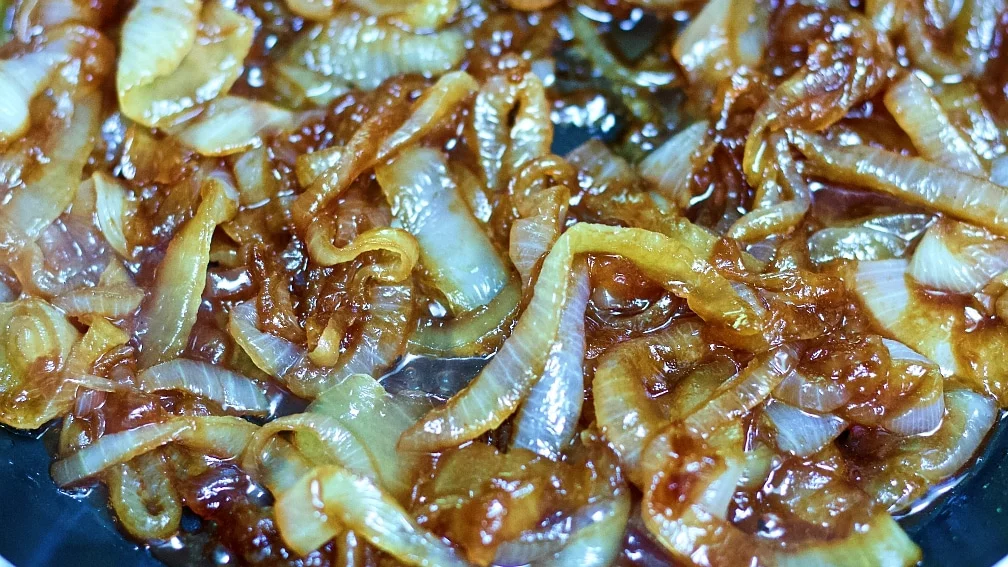
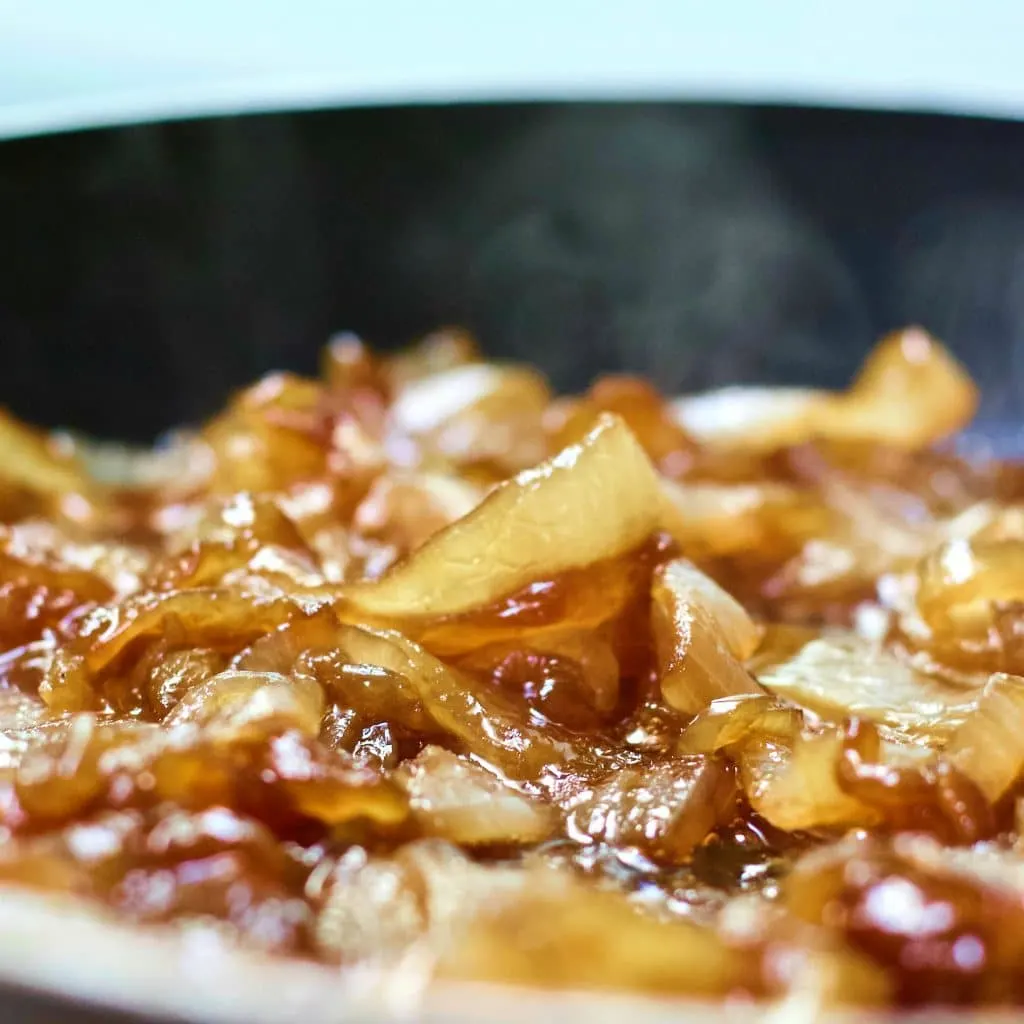
- Continue cooking the onions until they turn a dark brown and are coated with the caramelized pan juices
Coconut oil is a great choice for medium and low heat cooking. You could choose any oil you like but try to find a healthy oil like a good extra virgin olive or avocado oil.
The onions will go through several stages of doneness before they reach caramelization. From translucent and soft to browned to deep browned and caramelized. This can take quite a while if you really keep the heat low. That will give you very sweet caramelized and flavorful onions.
This recipe is easily doubled, or even tripled with these cautions. The onions will cook down so if you have a large enough skillet tripling will work. Adding triple the brown sugar and balsamic is not necessary, however. They are added to enhance the flavor and quicken the process of caramelization. If you over do those two ingredients you may not enjoy the results.
You can omit the brown sugar if you prefer to lower your carbs. The onions will naturally sweeten as they cook. The sugar just enhances and quickens the process.
Your Printable Recipe Card
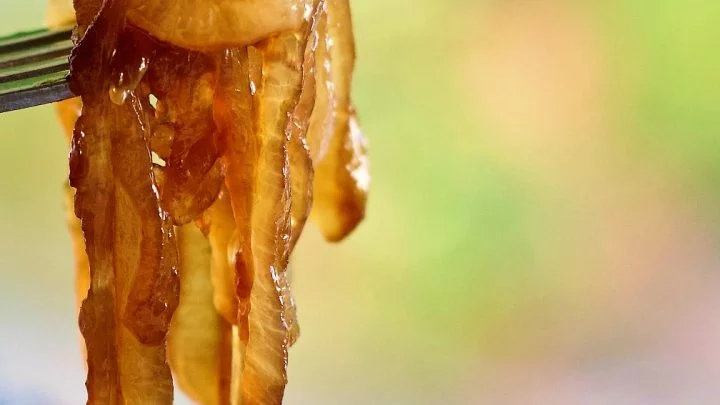
Caramelized Onions With Balsamic Vinegar
Delicious caramelized onions are slow cooked in this special way to add mountains of flavor to many recipes. Put them on hot dogs, brats, beefy sandwiches and hamburgers.
Ingredients
- 2 medium to large onions-thick sliced
- 1 Tablespoons Coconut Oil
- 2 Tablespoons Brown Sugar
- 2 Tablespoons Balsamic Vinegar
Instructions
- Slice the onions and use your hands to separate the onion slices into rings
- Melt the coconut oil in a skillet on medium low heat.
- Cover the skillet and let them sweat. Check the onions every so often and stir them a little.
- When the onions are transparent and soft add the balsamic vinegar and brown sugar.
- Continue to cook them uncovered and watch for the onions to darken and develop a delicious caramelized color. The juices will reduce to a thickness that will tend to cling to the onions adding extra flavor.
Notes
The onions will go through various stages of doneness. Transparent to slightly colored to deep caramelized brown. Take the lid off and let the juices concentrate after the onions are soft and translucent and just a tiny bit browned. As the cooking continues the onions will darken but should not burn. Pull them off the stove when they reach the shade of caramelizing you want.
The amount of time required for this process can vary. The amount of onions, the liquid in them and the heat level all come into play here. Adding the brown sugar and balsamic vinegar will enhance the flavors and quicken the process.
Nutrition Information
Amount Per Serving Calories 70
Follow Us:
We enjoy meeting you on our social networks. Follow us on Facebook, Pinterest, Instagram . Tag us with your pictures of our recipes and comment on how it went for you. We would love to see what you do with them.
We often like, comment and share your posts of our recipes on our daily Instagram stories.
Ask questions and rate the recipe in the comments section below. Please share what you did with this recipe. We are always looking for more and better ways to make homemade food. Other cooks love your ideas!
Recent Posts:
- Easy Mint Chocolate Chip Ice Cream Recipe
- Blackstone Breakfast Burritos
- Best Blackstone Crunchwraps Recipe
- Ultimate Blackstone Tacos Recipe: Deliciously Easy to Make
- Ultimate Blackstone Hibachi Recipe

What Is the Difference Between Grilled and Caramelized Onions? – Bainbridge Today
Tuesday 4th of September 2018
[…] Homemade Food Junkie […]