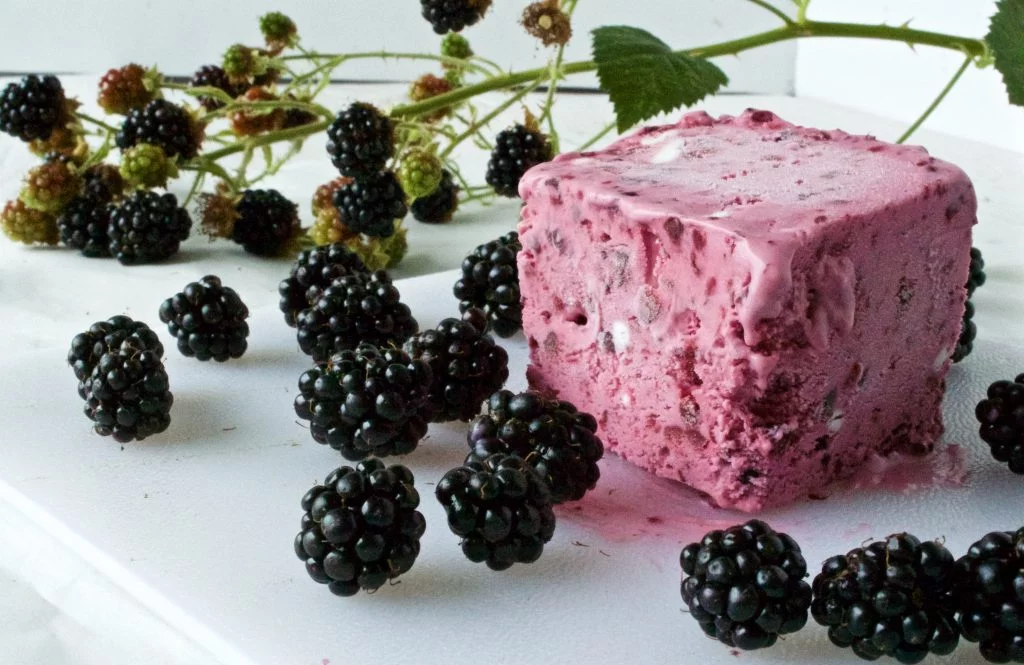
Blackberry Cheesecake Ice Cream is a luscious, decadent frozen treat that is always a favorite in late summer when the blackberries are in season in the PNW. This recipe is made with cream cheese, heavy cream, and Greek yogurt to give it that silky cheesecake base. Finished with fresh blackberries and a bit of sugar, it is the perfect summer dessert.
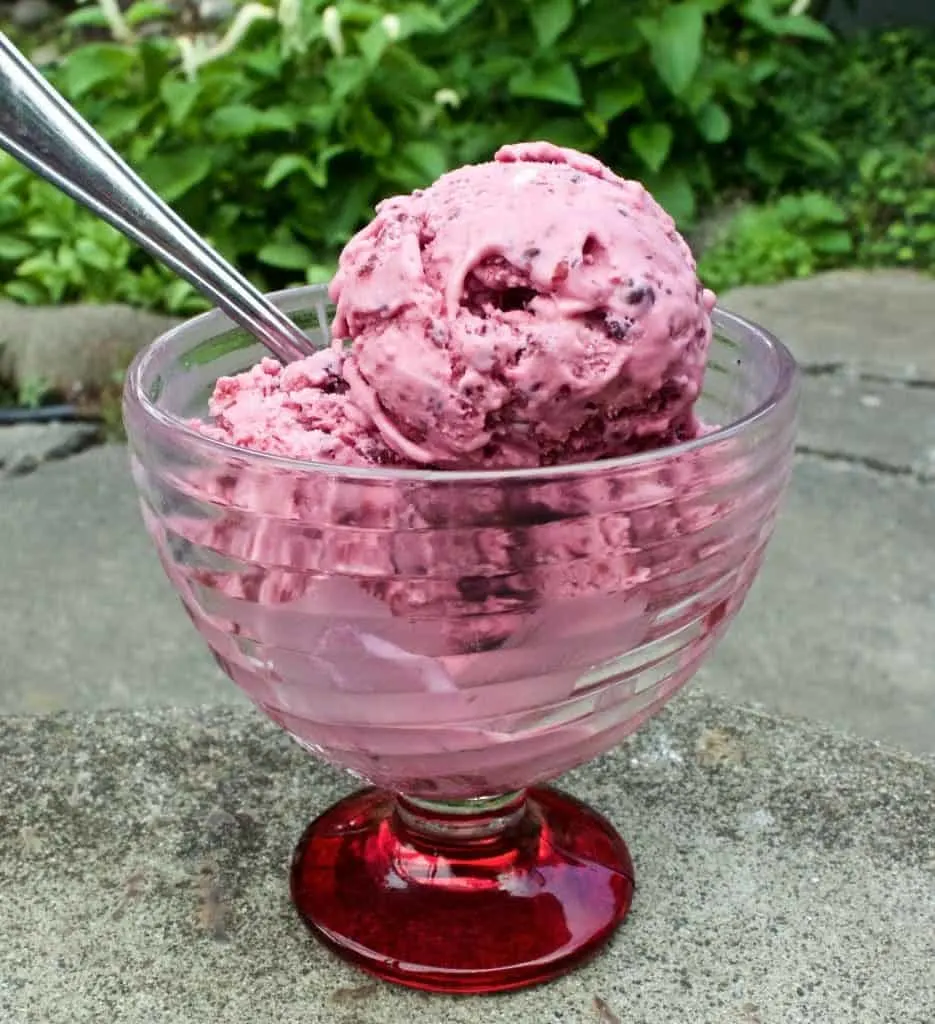
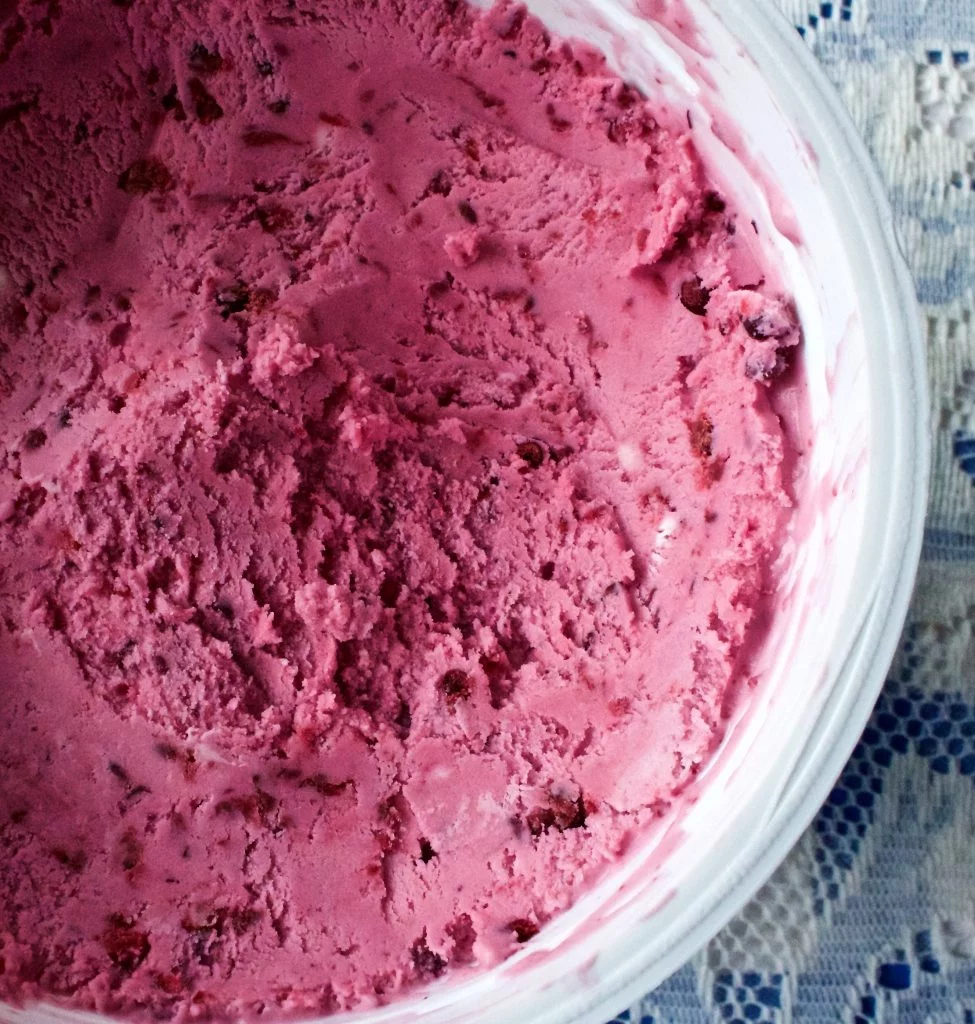
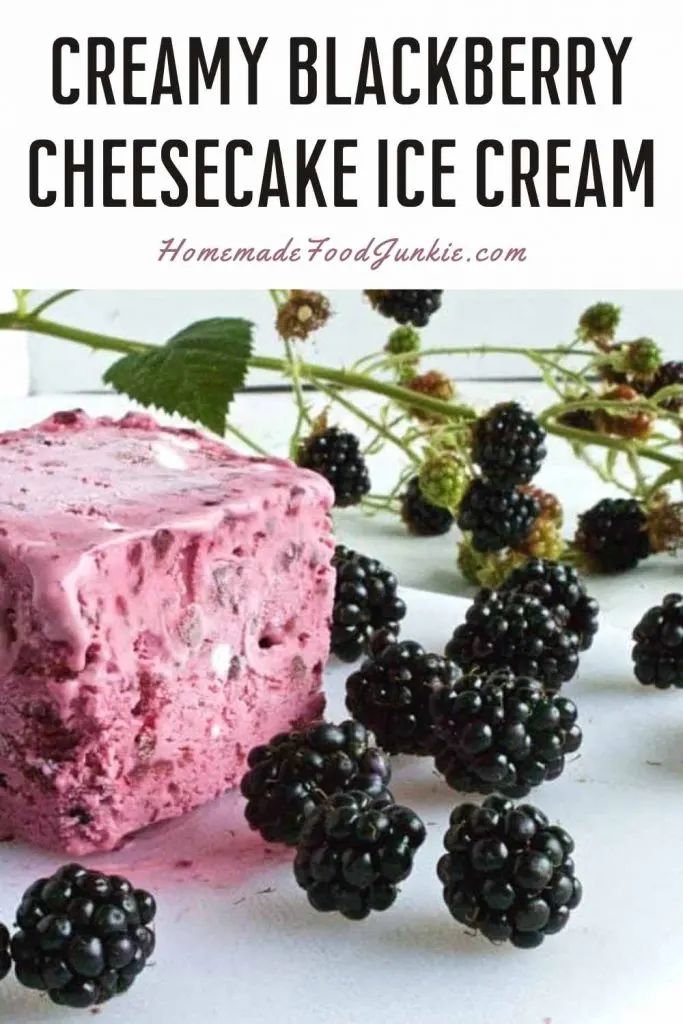
Blackberry cheesecake ice cream is thick and can be chilled to a soft-firm consistency and enjoyed right away. It makes a statement with it’s beautiful, showy purple pink color and delivers a wonderfully fresh berry flavor that everyone loves.
Homemade ice cream recipes are some of our favorite desserts, and they can be made in so many different ways. We love that fresh fruits can be used to flavor and sweeten ice creams with healthy nutrients and vibrant colors.
How do you make homemade ice cream?
This is the easiest ice cream to make! No long waiting for the ice cream to set in the freezer after it’s mixed. Just prep your ingredients, pour it in the ice cream machine, and set the timer for 15 minutes. Make your blackberry sauce, pour it into the forming ice cream when the timer dings. Five minutes later you can eat it!
The entire process takes less than an hour.
Making ice cream in this freezer bowl Cuisinart ice cream maker is so easy, and it is our preferred method. The ice cream turns out every time with a lovely texture and flavor.
What is the difference between custard and ice cream?
Ice cream and custard are very similar, save for one difference. Custard includes egg yolk in addition to milk and cream. There are also differences in how the two are prepared. Ice creams are made with a lot of air incorporated into the mixture, while custards have very little air mixed in.
This makes custards very thick and dense. We have some delicious custard ice creams like our French Vanilla Bean Ice Cream and our rich Dark Chocolate Cherry Ice Cream.
This Blackberry Cheesecake Ice Cream recipe is not lacking in creamy lusciousness despite not being a custard. The cream cheese that bold cheesecake texture that we all love, while bringing a slight tanginess to mellow out the sweet nature of berry ice creams.
Can you use frozen blackberries for this ice cream?
Using fresh blackberries is always a plus around here in mid summer. Our voluminous blackberry vines are producing berries for us right now and will continue to do so for about a month, weather permitting.
They are a blessing since blackberries are extremely healthy berries to eat, taste amazingly fresh off the vine, and they freeze well!
If you do not have access to good quality, fresh blackberries you can use frozen. Just be sure to thaw and drain them well so that the juices and extra water from the freezing process does not dilute the ice cream.
How do I make my own Blackberry Cheesecake Ice Cream?
This blackberry cheesecake ice cream recipe is simple and stress free. Place all of the ice cream ingredients in your ice cream maker and get that going, make your blackberry reduction and add that to the ice cream. Once it is all mixed together to a thick, creamy frozen mixture it is ready to enjoy!
This is an excellent base recipe to use for any fresh or frozen berry of your choice. It creates a wonderful easy to eat dessert that can be infused with any berry reduction that you prefer.
- In a stand mixer fitted with a mixing paddle, or with an electric hand mixer, beat the cream cheese until very smooth, scraping down the bowl sides as needed.
- With the mixer running add 1 Cup sugar, salt, vanilla, heavy cream and lastly the Greek yogurt; one at a time until the mixture is smooth.
- Turn on the ice cream maker and pour this mixture into the freezer bowl. Set a timer for 15 minutes.
- Meanwhile mix together the blackberries and sugar until everything is reduced. Strain this mixture if you don’t like the seedy texture. Set aside.
- When the timer goes off slowly add the blackberry mixture, a little at a time, until the ice cream fully incorporates the blackberry mixture. Mix another 5 minutes or until firm.
- This is a very thick ice cream and will set to a firm-soft set that can be immediately eaten, or transferred to a freezer container and set until hard. This thick, creamy textured ice cream will need about 10 minutes to set out on the counter before serving.
How long can homemade ice cream be stored?
Homemade ice cream can be stored and enjoyed for up to 2 weeks when properly contained in an airtight, freezer safe container. If your recipe has a heavy diary fat base the risk of crystallization is low and shouldn’t be a problem.
To prevent freezer burn it is very important that the container is sealed fully to keep air out.
After you make this delicious ice cream try topping it with this decadent blackberry reduction
This sauce is perfect for topping not only your dish of ice cream, but also for pouring over waffles, crepes, pancakes, and any other pastry treat that you love to enjoy with a little extra.
- 2 cups fresh washed blackberries (frozen works as well. reduce water in sauce as instructed)
- 1/4 Cup granulated sugar to taste
- 2 tablespoons cornstarch mixed with 4 tablespoons water. For frozen, thawed berries eliminate the water and use blackberry juices. You can drain some of the juice into a bowl and mix the cornstarch in, then pour it into the gently boiling berries.
Put the blackberries and sugar into a 2 quart pot on the stove and heat to boiling. Add the cornstarch mixture and whisk constantly on medium high heat for a minute or until the sauce thickens to your needs.
Remove from heat and get it very cool in the fridge before pouring it over your ice cream. Remember this sauce will continue to thicken as it cools.
How do you make the best homemade ice cream?
The secret to the best ice cream is all in the fat content. The diary is a very important ingredient because it creates that silk, creamy, luscious texture that we all love. It also helps to prevent crystallization because there is less water in the recipe.
Water molecules will crystallize, harden, and lend to freezer burn which will ruin your ice cream. The fat from dairy will keep your blackberry cheesecake ice cream smooth, creamy, and full of flavor.
If you’re looking for more delicious ice cream recipes, click on any of the ones below
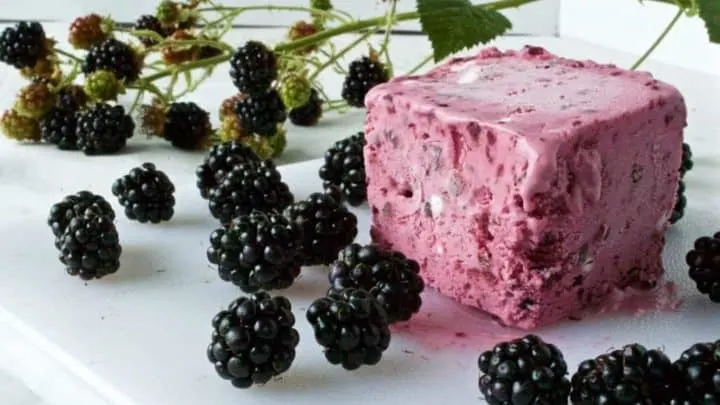
Blackberry Cheesecake Ice Cream
Enjoy the rich decadence of Blackberry Cheesecake Ice Cream. Frozen Blackberry cheesecake is to die for! No egg custard required!
Ingredients
- 12 oz cream cheese
- 1 1/4 Cup granulated sugar, divided
- 1/2 tsp. salt
- 2 tsp. vanilla extract
- 1/2 Cup greek yogurt
- 1 Cup heavy cream
- 1 1/2 Cups blackberries
Instructions
- In a stand mixer fitted with a mixing paddle beat the cream cheese until very smooth, scraping down the bowl sides, as needed
- With the mixer running add 1 cup of your sugar, the salt, vanilla, heavy cream and greek yogurt; one at a time. Mixing until all ingredients are smooth and creamy
- Turn on the ice cream maker and pour this mixture into the freezer bowl. Set a timer for 15 minutes
- Meanwhile mix together the blackberries and remaining sugar until sugar is dissolved. Puree this mixture if you don't like the seedy texture. Set aside
- When the timer goes off slowly add the blackberry mixture, a little at a time, until the ice cream fully incorporates the blackberry mixture. Mix another 5 minutes or until firm
- This is REALLY thick ice cream and will set to a firm soft set that can be immediately eaten. Otherwise, put it into a freezer container and set until hard
- This thick, creamy textured ice cream will need about 10 minutes to set out on the counter before serving, for ease of scooping
Nutrition Information
Yield
10Serving Size
1Amount Per Serving Calories 315Total Fat 20gSaturated Fat 12gTrans Fat 0gUnsaturated Fat 6gCholesterol 62mgSodium 234mgCarbohydrates 30gFiber 1gSugar 28gProtein 4g
Follow Us:
We enjoy meeting you on our social networks. Follow us on Facebook, Pinterest, Instagram . Tag us with your pictures of our recipes and comment on how it went for you. We would love to see what you do with them.
We often like, comment and share your posts of our recipes on our daily Instagram stories.
Ask questions and rate the recipe in the comments section below. Please share what you did with this recipe. We are always looking for more and better ways to make homemade food. Other cooks love your ideas!
Recent Posts:
- How to Make Rich and Creamy Chocolate Syrup at Home
- Easy Goat Cheese Appetizer with Cranberries and Pistachios
- Best Ever Pecan Pie Bars Recipe
- Best Pumpkin Cookes with Cheesecake Filling
- Creamy and Cheesy Lasagna Soup

Mazie
Tuesday 27th of September 2022
Just wanted to thank you for the recipe, this is the first time I've made real ice cream. I made it for my brother and wasn't sure what I was doing half the time, but your instructions were clear and gives me confidence to expand my food skills! Tastes divine btw, the cream cheese really embodies a savory, rich fulfillment, what a luxurious treat!
Side note: (I saved some of the berry puree, and glopped it on top of the icecream; zipping cool designs with a chopstick all over the surface of the ice cream, like cool latte art.)
Diane
Wednesday 28th of September 2022
Hi Mazie, Welcome to the world of homemade ice cream! I'm so glad you and your brother loved the recipe and you used the sauce as a topping. Brilliant! We have more ice cream recipes you might enjoy so keep looking around on the blog for them. there are so many fun ways to make it. When you get comfortable making your own and using the recipes you'll be able to take it in many different directions all on your own. Thanks for the great review and enjoy!
Jason
Monday 17th of August 2020
I love this recipe, but thank God for Recipe Filter. The amount of ads and other noise on this page nearly crashes the Chrome app on my iphone...!
Diane
Monday 17th of August 2020
Hi Jason, I'm so happy to hear you enjoy this ice cream recipe. It's one of our favorites too. Thanks for weighing in on the ads. We put the Jump to recipe button on to circumvent the ads and post content when all you need it the recipe. I'm glad it's working for you.:)
Megan
Friday 22nd of July 2016
Such a pretty color!
Diane
Friday 22nd of July 2016
Thank you Megan
ashley - baker by nature
Wednesday 20th of July 2016
What a refreshing Summertime treat!
Diane
Wednesday 20th of July 2016
Enjoy Ashley and thanks for stopping by :)
Megan @ MegUnprocessed
Wednesday 20th of July 2016
What a delightful looking dessert.
Diane
Wednesday 20th of July 2016
Thank you Megan. It's a yummy ice cream.