Homemade Greek Yogurt will change your life.
Am I kidding? I don’t think so. It certainly changed mine.
This economical healthy food creates a staple in the kitchen for both your savory and sweet tooth.
Greek yogurt is so useful for baking and dressings. Your kids will love it for snacks and breakfast and so will you.
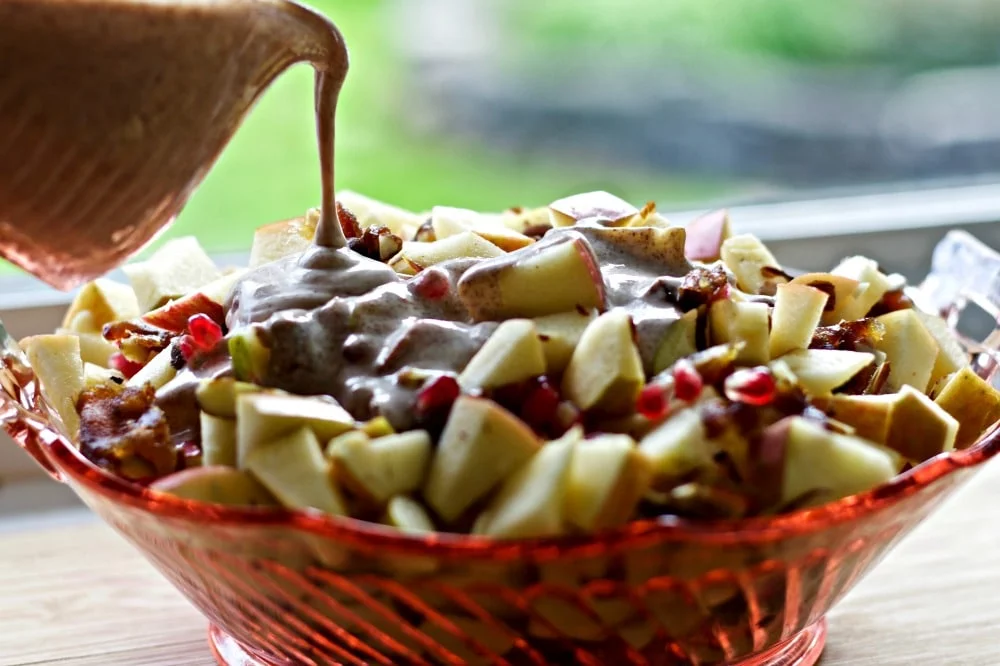
Homemade Greek yogurt is very healthful. Mix is up with Delicious and Nutritious Homemade granola poured over the top.
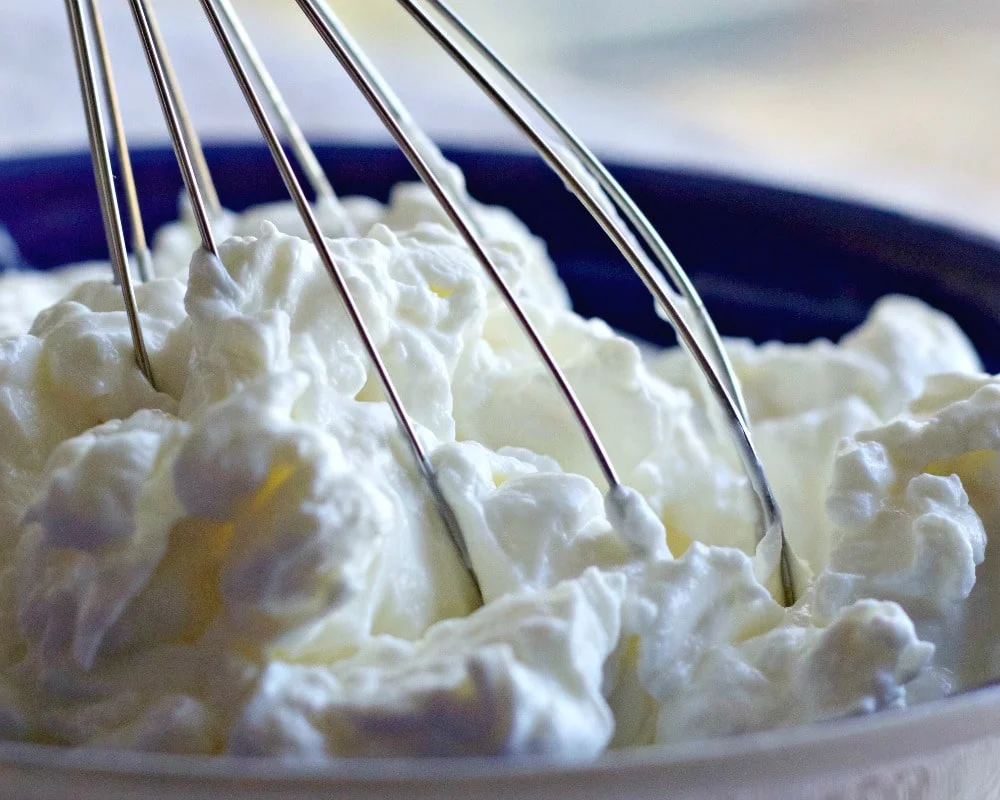
Greek yogurt is also a great base for Creamy balsamic salad dressing. Yogurt parfaits make great desserts or breakfast.
Greek Yogurt Recipes:
Greek yogurt is endlessly useful in the kitchen. Salad dressings, dips, sauces and desserts are all enhanced nutritionally with greek yogurt. It holds fantastically in the fridge too.
Try my Greek yogurt pancakes for a delicious, light healthy pancake. I use homemade Greek yogurt as a direct substitute for sour cream in many recipes, including cheesecakes.
NOTE: Below is a long, detailed discussion of everything I can think of you may want to know about making homemade greek yogurt.
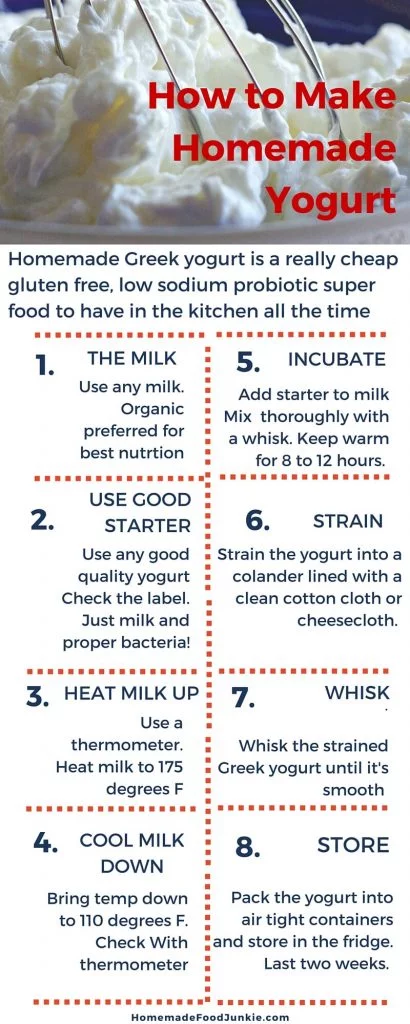
Go directly to the printable recipe if you just need the short list of directions. For your convenience, I made an infographic to outline the basic steps. This is really a very easy process. And so worth it!
Why do we want to make, eat and enjoy Homemade Greek Yogurt?
Making your own homemade Greek Yogurt is a great money saver. You save about fifty percent off store bought yogurt by making your own.
But the best part for me is that I can adjust it to my personal taste, recipe needs and nutritional preferences. I prefer to make it thick. It’s very versatile in this form and I enjoy the texture in my recipes.
For dips and other thick recipes Strain your yogurt at least 6 to 8 hours in the fridge:
This is easy to do. Just pull out what you want to stay looser earlier in the straining process. The rest can be strained until it’s almost a cheese. Straining it to cheese texture, you will yield about 50 percent of the original milk volume you begin with. and kept in the fridge several weeks until you need it.
What is the nutritional difference between Greek Yogurt and regular yogurt?
Here is a complete run down of the nutritional differences between greek style and regular yogurt.
They are made from the same bacteria and milk. The difference is the Greek yogurt is strained to about half its original volume. This process brings up the protein content by 20 to 50 percent.
The sugar content is reduced when we strain yogurt and the protein level increases. The calcium is lower in Greek Style yogurt too.
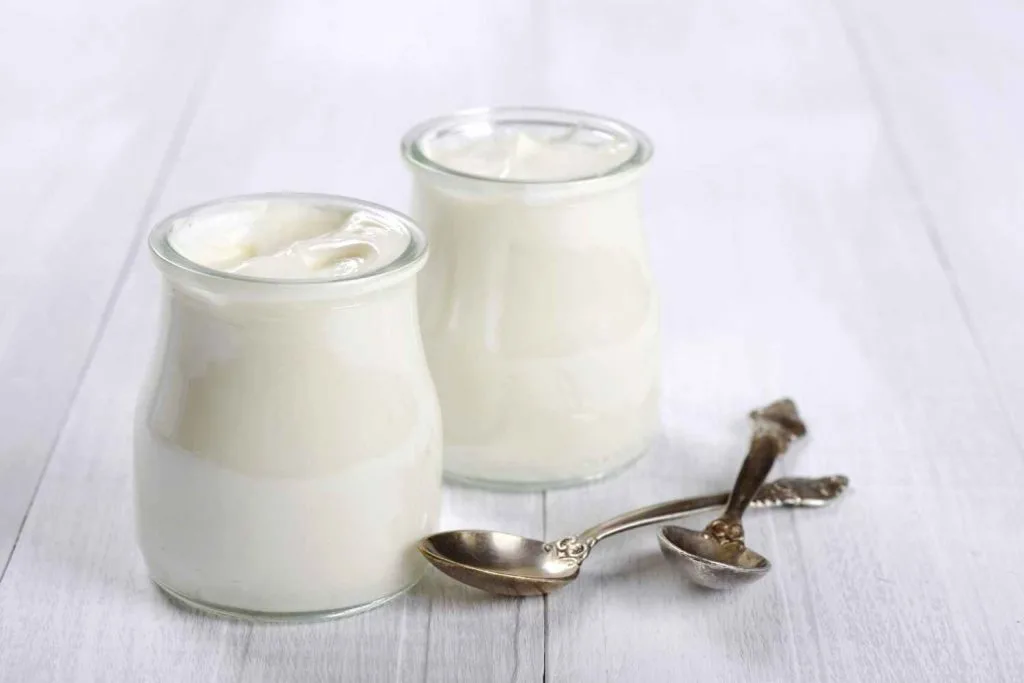
Greek yogurt is traditionally made from full-fat milk to keep the creaminess high. So that increases the saturated fat. But we no longer worry about fat in dairy, do we? So creamy is where I’m going.
How do we make it?
One note on the timing: The yogurt takes about 8- to 12-hours of oven, crock pot or instant pot . I usually do this in the evening and the yogurt sets while I sleep. See the infographic below for a quick guide on this process.
UPDATE: I now use my Instant Pot. If you have one this is a very easy way to make your yogurt. I show you how in my Instant pot Greek Yogurt post.The machine does all the work to the straining stage. No more worrying about burning the milk either. The instant pot is amazing!
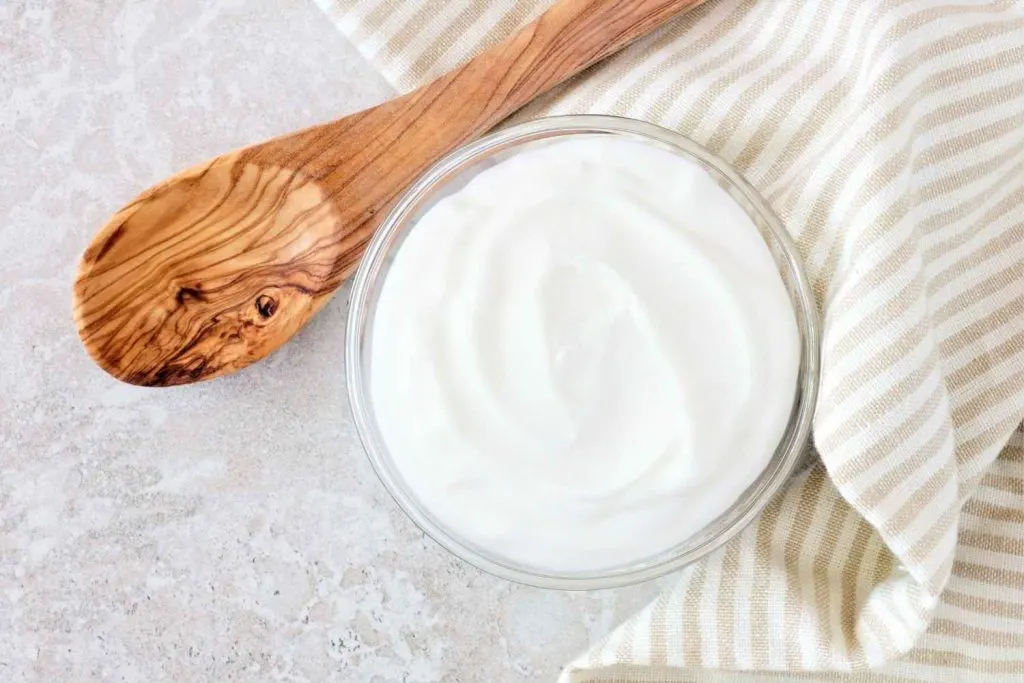
Homemade Greek Yogurt Recipe Process:
INGREDIENTS:
- One gallon of organic milk (I prefer the richness of full-fat milk)
- Approximately 1/4 C fresh yogurt WITH MILK AND BACTERIA ONLY.
This is important:
The plain Greek yogurt you choose for a starter must have ONLY milk and bacteria listed on the label. NO chemicals,colors, flavors or gellied additives! Fage, Chobani or Kirkland are my favorites.
Others will work if they have NO additives. You can add in your own vanilla and sweeteners as you prefer at the cooled milk stage.
NOTE: After you make your first batch of homemade yogurt, you can use your own yogurt for starter. So keep back a bit for the next luscious yogurt adventure.
Every several batches, it’s a good idea to buy a small container of fresh yogurt for starter. They wear out after several batches.
UTENSILS:
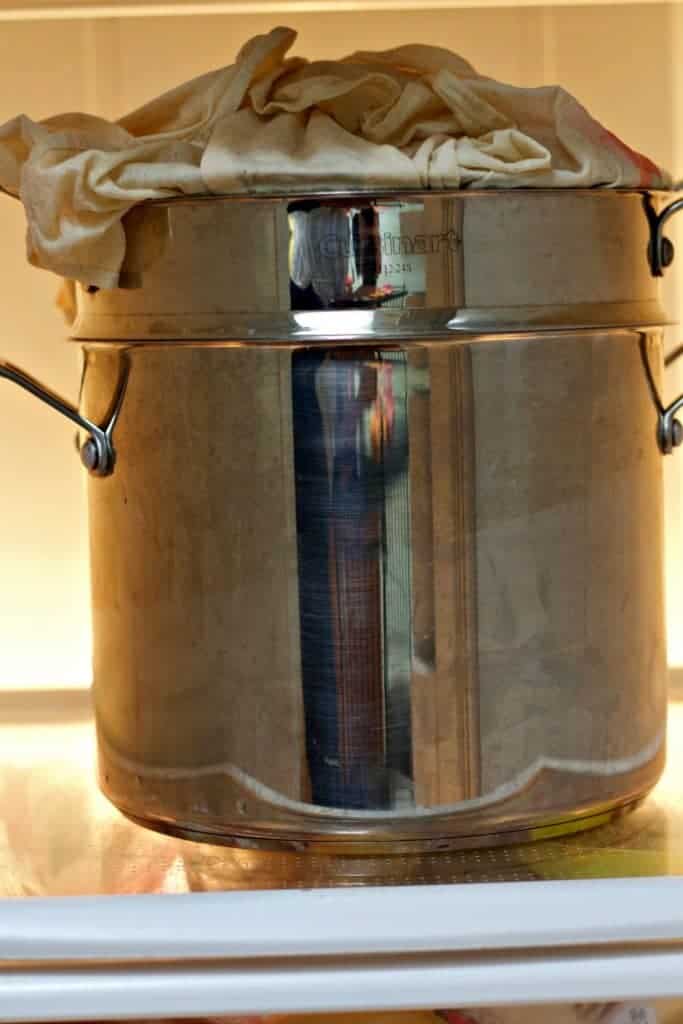
- You will need a large pot for the stovetop. Mine has a strainer that fits right in it.
- A thermometer. I use a meat or candy thermometer.
- A large, long stirring spoon
- Straining bag, tea towel, or cheese cloth.
- A big strainer or colander.
ALTERNATE HEATING METHODS:
- Pour 2 quarts of milk into a microwaveable bowl. I use a 2 quart batter bowl. Repeat with the last 2 quarts if you are making a gallon.
- Microwave on high heat for 17:00 minutes (at least that is correct on my microwave, yours may differ) check the temperature of the milk after the timer goes off. It should be right in the 170 to 180 degree F. Range.
OR YOU CAN:
- Pour the milk into the pot and warm the stove to med Hi.
- Stay with it and stir it often.
- You want it to heat to about 175º to 180º. DO NOT BOIL or let it burn on the bottom! Stir to keep the milk from burning on the bottom of the pan. Turn it down a little to find that sweet spot for your stove. Test often with the thermometer to get it just hot enough and then remove it from stove onto a heatproof surface. OR use your instant pot for this step. It automatically heats the milk correctly up to a gallon.
- Pour the milk into a large bowl to cool to 110 degrees F.
- The hot milk needs to cool to about 110 to 115 degrees. This will take awhile so I set a timer for about an hour and then check it. Pouring it into another large, very clean, stainless bowl is fine and will help cool it a bit faster as the surface area of the milk will be cooled as it pours. I have tried refrigerating it but it doesn’t seem to cool much faster.
PREHEAT the Oven:
- If you have a bread proofing function on your oven, that is the perfect temp for incubating the yogurt. OR use your instant pot for incubation. So easy and hands off.
- Regardless, the yogurt needs to be incubated at about 95ºF to 100ºF.
- If your oven cannot be set that low, you may have set it in the oven with just the light on OR use your crock pot wrapped in a towel.
- My daughter Amanda makes her Greek yogurt in a crock pot for this reason. Now she has an Instant pot and uses this method.
BE SURE TO REMOVE THE SKIN OFF THE MILK!
- It can’t be whisked back into the yogurt. Leaving the skin on the yogurt will give you unpleasant hard bits in the yogurt you make. Most milk will form a skin of some sort as it cools. Skim that skin off for the best textured yogurt.
- When your milk is cooled (checked with your thermometer) to 110º, add the yogurt starter.
- Mix it well. I use a whisk. Put the pot or bowl into the oven on bread proof or about 95 degrees F. and cover it with a lid. Set your timer for 8 to 12 hours. (Here is where personal preference and different ovens come in) I like mine to set pretty firmly so I often set it for 10 to 12 hours.
If you’re busy and forget about it it will be fine in the oven much longer but may get a tangier flavor.
Today I took out my batch after 10 and 1/2 hours. I have also removed it after 7. Just as good usually, but I do not get as a much yogurt. More whey. Experiment. See what works best for you.
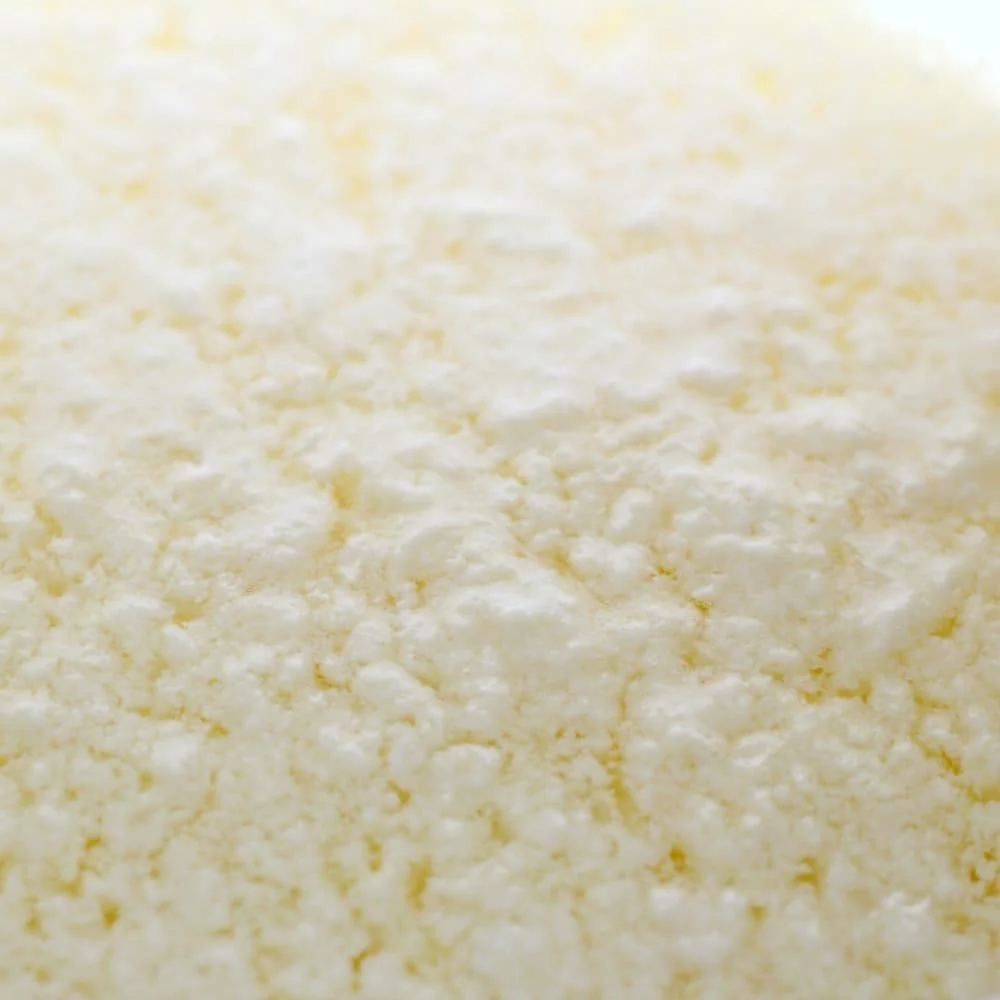
- Now it’s time to strain the set yogurt. Put your very clean, WET, and wrung out close weave cheesecloth, nut milk bag or Pure Cotton (lint free) tea towel into your strainer or colander. You can also use a nut bag or large sized coffee filter.
When you pull the yogurt pot out of the oven, crock pot or instant pot the yogurt will be firm if a bit jiggly.
Pour the yogurt into the strainer and let it sit several hours in your refrigerator covered. My strainer is large & fits into my pot.
About Straining the Yogurt.
- It should lose about half its volume in 1 to 2 hours. This makes a rich, creamy, yogurt.
- I tend to strain it much longer. More like 4- to 8 hours to increase the thick, creamy texture, and concentrate the protein content.
- You can leave the yogurt at room temperature, if you like it sour. It will continue to incubate the bacteria while it strains out the whey.
- I cool it immediately in the fridge because my personal preference is to produce a creamy, thick yogurt that I can enjoy plain and I don’t like it sour. I often eat it with granola and no further sweetener. Tastes So great!
- If you strain it 8 hours, you will get a yogurt cheese. Which I love and always do! It comes out about the consistency of cream cheese. There are many uses for this thick concoction in the kitchen. I highly recommend you strain your yogurt to the cheese consistency. Keep at least half of your yogurt this thick for dressings and other handy sour cream type recipes. The other half add some of the whey back in and whisk until your happy with it.
- The final step to producing the yogurt is whisking it until it is smooth. Don’t overdo it. Whisk it just until you like the consistency. It will loosen as you whisk it even if you start with a compact ball of yogurt. You may need to add some whey back into the yogurt and whisk a little more if its just too thick. Put into containers and enjoy! Store it in your fridge. Lovely stuff. It will set up a bit overnight, making it even better!
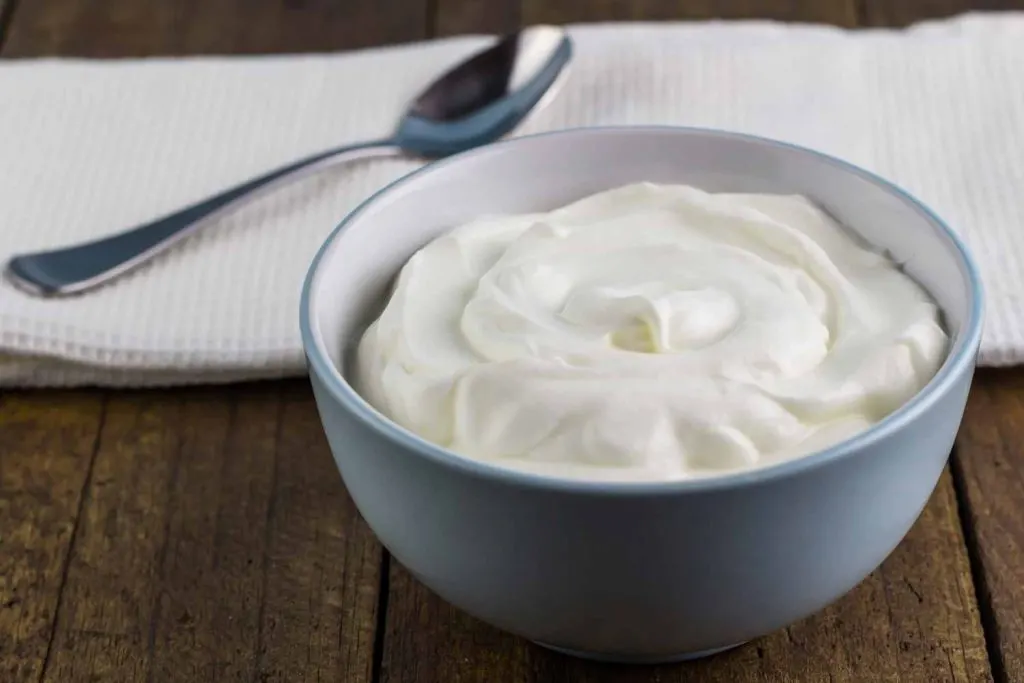
Homemade Greek Yogurt:
Control this homemade greek yogurt recipe.
Which milk and yogurt starter you choose has a lot to do with the outcome. Nonfat, 2% and full-fat milk for this recipe will all affect the richness and fat content of your yogurt.
Try adding 1 cup of powdered milk to increase the set. You will get different results. Making Greek Yogurt is a versatile, forgiving process.
I have screwed up just about every instruction I’m giving you over the course of time. My fails are very rare (Yes, if you forget to add the starter, or kill it…the yogurt will not set)
My favorite recipe is the one I have given you. Just milk and starter. Preferably full fat, organic milk for the richest creamiest yogurt!
It’s a bit chalky with the powdered milk. But that is ok if you’re using skim milk.
I prefer my yogurt plain without adding extra sweeteners or flavorings. But we have had cooks do both with this recipe. it should work for you.
Here’s Your Printable Recipe:
Get your lab coats on and Have fun experimenting in your kitchen. This recipe is very easy, almost no fail.
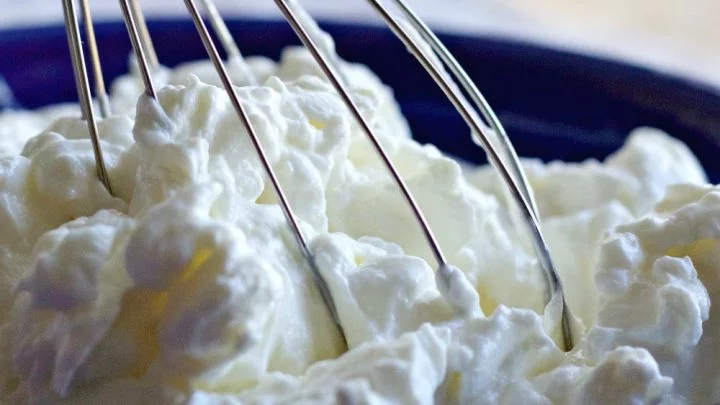
Homemade Greek Yogurt Recipe
This economical healthy food creates a staple in the kitchen for both your savory and sweet tooth. Your kids will love it and so will you. Make sauces, replaces sour cream and makes a fantastic healthy breakfast and snack food the whole family will enjoy!
Ingredients
- 1 Gallon homogenized full fat milk, I recommend organic, full fat milk for the best nutrition, flavor and yield
- 1/4 Cup GREEK YOGURT, NO ADDITIVES!
Instructions
- heat milk to 175 degrees.
- Cool milk to 110 degrees.
- Stir a few Tablespoons of Plain Greek yogurt into the warm milk.
- Let sit in a warm place (about 95 to 100 degrees) for 8 or up to 24 hours
- Place the set yogurt into a sieve with a lint free pure 100 % cotton dish towel, nut bag or cheesecloth liner.
- Strain the Greek yogurt in your cheesecloth lined sieve. Set it either on your counter if you like a sour yogurt, or in your fridge, for a milder taste. Sieve your batch 2 to 8 hours. The longer it sieves, the thicker and creamier it gets!
- Remove the strained Greek yogurt from your sieve. I use a spatula for this and sort of roll it off the cheesecloth. Store the greek yogurt in airtight containers in your fridge.
- Keeps in the fridge up to 2 weeks (maybe longer, I never keep it that long)
Notes
There are MANY ways to accomplish this process. These are the basic steps. Straining the yogurt in a warm place increases the tangy flavor. I prefer the milder taste of cold straining yogurt in my fridge.
Cool the milk, once scalded, to NO MORE than 115 degrees F. or the hot milk will kill your starter.
Nutrition Information
Yield
32Serving Size
1Amount Per Serving Calories 67Total Fat 3gSaturated Fat 2gTrans Fat 0gUnsaturated Fat 1gCholesterol 11mgSodium 68mgCarbohydrates 7gFiber 0gSugar 0gProtein 5g


Gabriel
Thursday 4th of March 2021
Hey. I loved this article, very helpfull and well written. But I would like to know if the callories content in the cheese yogurt is the same or if it's higher. Greetings from Brazil.
Diane
Thursday 4th of March 2021
Hi Gabriel, Great question thanks. Every 1/2 Cup of whey you strain out of the yogurt contains 30 calories. So when you are done straining out the whey you can measure the whey and do the math to determine the exact calorie count.Hope this helps! Have a wonderful day in Brazil!
Rabia
Saturday 7th of November 2020
Awesome explanation.you covered everything. My greek yogurt is great but my plain yogurt becomes slimy. Is there any solution to this problem. Please let me know.. thanks a lot.
Diane
Saturday 7th of November 2020
Hi Rabia, I have not had this problem but I went and did a bit of research. I found this link for you on Chow Hound. This article has several links to threads where they discuss and trouble shoot this problem. There is no hard and fast answer.
However, from my own experience and what I've read it's possible the milk you are using is ultra pasturized milk? It will not have the necessary cultures in it to properly make good yogurt. Also the temperature of the milk has to be exact when going through the processes. If you have an instant pot you can try making your yogurt in it. I show you how in this post. This is a really simple way to make sure the milk is brought to the correct temperature when heating it. I hope something here helps. Have a great day!
Khristy Hunt
Friday 24th of May 2019
I’ve always wanted to make my own Greek Yogurt, I truly can’t wait to try this recipe. Greek Yogurt is my ice cream, chocolate cake, MY Fix! Besides I have a couple types of berries that I grow and now i’ll have a good use for them . : )
Diane
Friday 24th of May 2019
Hi Khristy, You are going to love all you can do with homemade Greek yogurt. It's so CHEAP to make and you can adjust the consistency and creaminess to whatever you like. The flavor is fantastic. Enjoy!
Madelyn
Friday 11th of November 2016
Thanks for sharing! I can't wait to try this. I noticed there are 64 servings, how much is one serving?
Diane
Friday 11th of November 2016
Hi Madelyn, I am so glad you are going to make your own yogurt. It's amazing! 64 servings is based on a gallon of milk in this recipe. The serving size is 4 oz. or about a 1/2 cup. Enjoy! I'd love to know how the recipe works out for you. I've made it this way for years.
Greek Yogurt Sale | healthxfood.com
Sunday 28th of February 2016
[…] Homemade Greek Yogurt Recipe for … – This homemade greek yogurt recipe is so easy and SO yummy! Greek yogurt is a super food to have in the kitchen all the time. Gluten free and Low Sodium […]