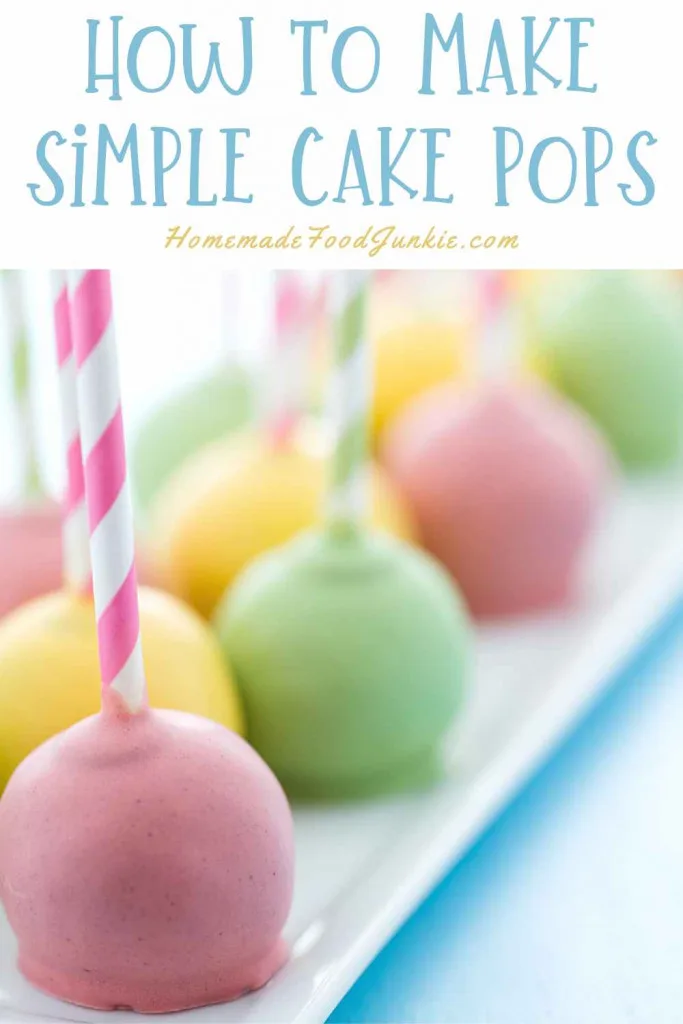
Cake pops are a fun and delicious treat that are perfect for any occasion. In this cake pop recipe, I’ll show you step by step how to make perfect cake pops that are easy to handle, delicious to eat, and sure to impress. Whether you’re a seasoned pro or a beginner in the kitchen, you’ll find this recipe simple to follow and the results irresistible. So, let’s get started and make some delicious cake pops.
There is a LOT of different ways to make cake pops suitable for any occasion. They are so versatile you can pull this cake pop recipe out of your back pocket for just about any event, age group or season of the year.
These bite-sized delights are made by combining crumbled cake with frosting and molding the mixture into a ball. The balls are then coated in melted chocolate or candy and decorated with sprinkles, drizzles, or other toppings of your choice.
Not only are they delicious, but they’re also fun to make and decorate. Whether you’re a seasoned baker or just starting out, this cake pop recipe is sure to be a hit. Get ready to impress your friends and family with these delicious treats!
Where to Serve Cake Pops:
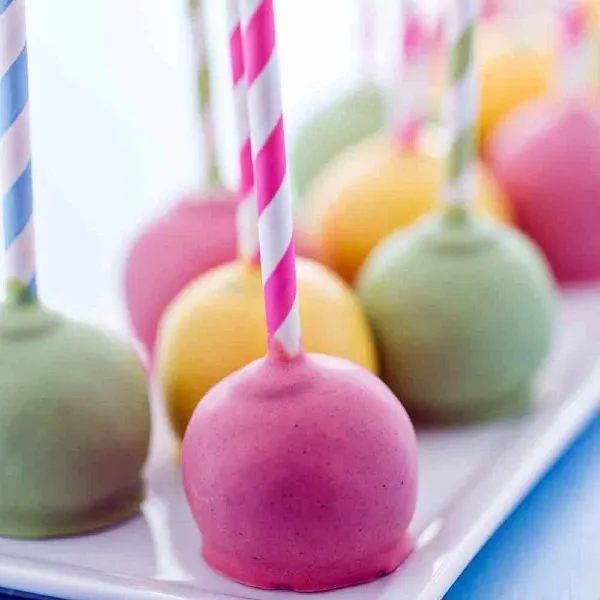
Cake pops are a popular dessert item that can be enjoyed all year round. They’re great for holidays such as birthdays, Christmas, Easter, and Valentine’s Day, but they can also be enjoyed as a sweet snack or dessert any day of the week.
Cake pops are especially popular for kids’ birthday parties, baby showers, bridal showers, and other celebratory events, where their fun and whimsical appearance adds a festive touch to the occasion.
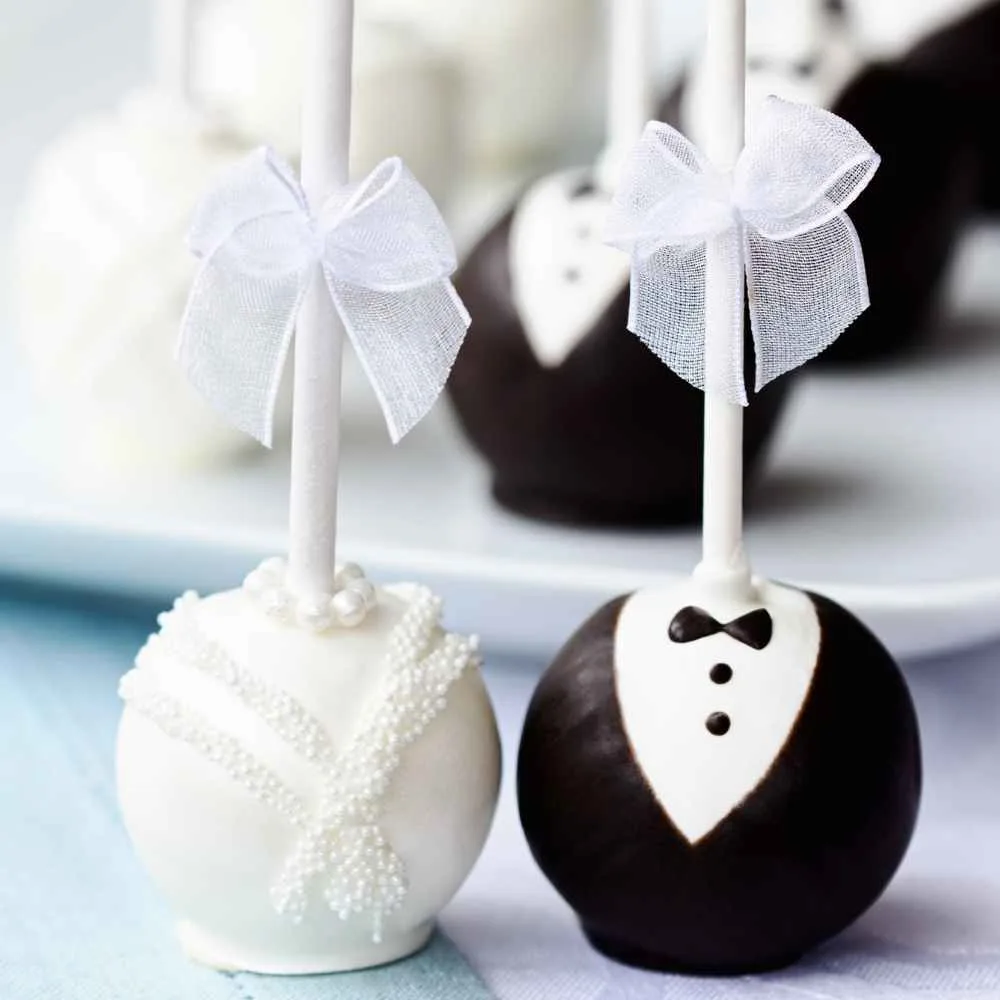
They’re also a hit at weddings, where they can be used as favors for guests or as part of a dessert table. With their versatility and delicious taste, cake pops are a must-have for any special occasion!
How to Make Cake Pops-Recipe Tips:
Success with cake pops can take some experience. The process for this recipe is simple and straightforward, however here are some tips that can help you make them perfect.
What is the Trick to Making Cake Pops?
The trick to making cake pops is finding the right balance of cake crumbs and frosting. You want the mixture to be moist enough to hold together when molded into a ball, but not so wet that it’s difficult to work with. Here are a few tips to help you get the perfect cake pop mixture:
- Use a good quality cake: Start with a fresh, moist cake that has been cooled completely. Avoid using dry or stale cake as this can result in dry and crumbly cake pops.
- Sweat the baked cake:This means cover the cake after it bakes while it is still warm until it reaches room temperature. This will help the cake retain moisture as it cools and give your cake crumbs more moisture.
- Crumble the cake: Use a food processor or your hands to crumble the cake into fine crumbs.
- Add frosting: Slowly add frosting to the crumbled cake, a little at a time, until the mixture holds together when squeezed. Be careful not to add too much frosting, or the cake pops will be too soft and difficult to handle.
- Chill the mixture: Chill the cake pop mixture in the refrigerator for 30 minutes to an hour to make it easier to handle and shape.
- Shape the mixture: Use a cookie scoop or your hands to shape the mixture into balls. Make sure they are all the same size so they look even when on display.

With a little practice and patience, you’ll be able to make the perfect cake pops every time!
How do you make cake pops not fall apart?
To prevent cake pops from falling apart, it’s important to get the right consistency of the cake and frosting mixture. Here are a few tips to help:
- Use the right ratio of cake crumbs to frosting: Make sure to use just enough frosting to hold the cake crumbs together, but not so much that the mixture becomes too soft.
- Chill the mixture: Chilling the mixture in the refrigerator for 30 minutes to an hour makes it easier to handle and less likely to fall apart.
- Properly shape the cake pops: Be sure to shape the cake pop mixture into tight, compact balls and make sure they are all the same size.
- Firmly insert the sticks: Insert the cake pop sticks into the cake pop mixture firmly, making sure they are securely in place.
- Freeze the cake pops: After shaping the cake pops, freeze them for 10-15 minutes to firm them up before dipping them into the coating. This helps prevent the cake pops from falling off the stick when being coated.
- Use the right consistency of coating: Make sure the coating is not too thin, as this can cause the cake pops to fall apart. On the other hand, if the coating is too thick, it can be difficult to get an even coverage.
Why do we add Frosting to the cake?
The purpose of mixing the frosting into the cake is to hold the cake together. By itself, a cake mix is too dry and crumbly to hold together. We must find a way to increase the moisture of the cake and make it denser.
You need a cake capable of holding its shape when you pierce the cake pop with the cake pot stick. The cake must hold the stick, even when you do your coating and decorating. Using sticky canned frosting is one way to do that. It tastes delicious, gives consistent results and is very simple.
We can also use other methods to make cake pops hold together which we get into further down in this post, and I have two alternate recipes in the notes section of the recipe card for you. But for now, let’s discuss using frosting as a binder.
Getting the cake crumbs evenly mixed with the frosting:
If your frosting is not evenly mixed into your cake crumbs you will be frustrated with the results. You do not want lumps of frosting amongst your cake crumbles.
The best way to get the cake crumbs evenly mixed with the frosting is to use a stand mixer or a hand mixer. This will help to evenly distribute the frosting throughout the cake crumbs and ensure that every cake pop has the right balance of cake and frosting. Here’s how to do it:
Remember to start with a small amount of frosting and add more as needed. There is a bit of art in this. Your cake crumbs might be drier or moister and need different amounts of frosting to hold it together. However, Too much frosting will make the mixture too soft and difficult to handle.
- Put the cake crumbs in a large mixing bowl.
- Add 1/2 of the frosting to the bowl and mix on low speed until just combined.
- Look at the crumbs. Do they need more frosting to hold a shape easily? If so add a little more frosting.
- Increase the speed to medium and beat until the frosting is evenly distributed and the mixture forms a soft dough-like consistency.
- Stop the mixer and use a spatula to scrape down the sides of the bowl to make sure all of the cake crumbs and frosting are incorporated.
- Pick up some of the mix and squeeze it together to see if it holds a shape well. if not, add a little more frosting and mix it in. Repeat this process until you are happy with the consistency of the cake pop dough
If you don’t have a mixer, you can also use a large bowl and a spatula to mix the cake crumbs and frosting together. Just make sure to mix thoroughly to get an even consistency.
Now chill the dough.
How to Form The Cake Pops by Hand:
Here are some tips for shaping cake pops that are evenly sized and well formed. Begin with well mixed, chilled cake pop dough.
- Use a digital scale to weigh your dough before forming it. Get one ball to the size you are going for and then weigh it. Now use that as your target weight for all the dough pieces.
- Make sure the dough is workable. If it is too cold and crumbles, allow the dough to warm up until it is pliable. If it is too warm and sticky, chill it for 15 minutes to get the dough easier to work with.
- Take each piece of dough and squeeze it into a small piece that holds together. Now set that piece of dough in between your palms and roll it. Keep the dough in the cupped part of you palm. Don’t allow it to get out on your outer edge of your hands or your making snakes (remember play dough snakes?)
- Set the finished cake balls on a piece of parchment. It might get a flat bottom so once you are ready to insert the cake pop stick, check the shape and fix any imperfections as desired.
What is Cake Pop Coating Made of?
Cake pop coating is typically made of melted chocolate, almond bark, or candy melts. Here’s the differences.
Real chocolate provides a rich, creamy texture and intense flavor to the cake pops. It is important to use high-quality chocolate for the best results and to avoid chocolate that contains vegetable oils, as it may not set properly. Some of the most popular types of chocolate used for coating cake pops are milk, dark, and white chocolate.
Almond bark is made from white chocolate and almonds. It is a good choice for dipping cake pops since it is easy to work with, tastes delicious and provides a smooth, hard and glossy finish.
Candy melts, on the other hand, are not chocolate. They are made from sugar, vegetable oil, and flavorings and come in a variety of colors. They are less expensive than chocolate or almond bark and come in a huge array of colors to fit your every need.
Do You Have to Freeze Cake Pops Before dipping?
Freezing cake pops before dipping is not a necessary step, but it is recommended for several reasons:
- Firmness: Freezing the cake pops for 10-15 minutes will firm them up, making them easier to handle and less likely to fall off the stick when being coated.
- Consistency: Freezing the cake pops will also help to maintain their shape and consistency when dipping them into the coating.
- Speed: Freezing the cake pops before dipping can speed up the overall process, as the coating will set faster on a cold cake pop.
That being said, if you are in a hurry, or if you prefer a softer cake pop, you can skip the freezing step and proceed with the coating. Just be aware that the cake pops may be a bit softer and more delicate, and may take longer to set.
If you choose to skip the freezing step, just make sure to handle the cake pops carefully and work quickly to minimize the risk of them falling apart.
TIP: Do NOT freeze the pops too long. You want the cake cold but not frozen solid. When you dip the pops this matters. When you dip Frozen solid pops in your chocolate melts, almond bark or chocolate, you don’t want them weeping, as they defrost, into the coating as it sets. The temperature change and condensation may affect the coating, causing cracking.
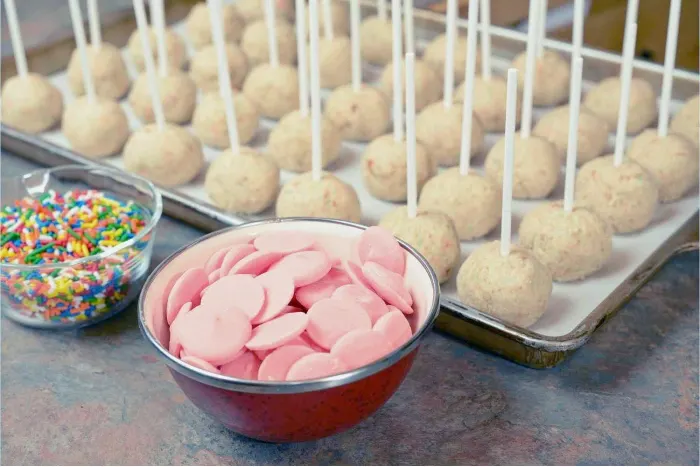
How to Dip Cake Pops:
- To make the cake pop coating, the chocolate, almond bark or candy melts are melted in the microwave or in a double boiler on the stovetop until smooth and melted.
- The cake pop sticks are then dipped into the melted chocolate or candy and inserted into the cake pops while the coating is still liquid. Allow the stick to harden in the pop before dipping the whole cake in the coating. You may need to drip a few drops of the melted coating around the base of the stick to firm it up.
- After the stick is firmly fixed in the cake pop, the cake pops are ready to be dipped.
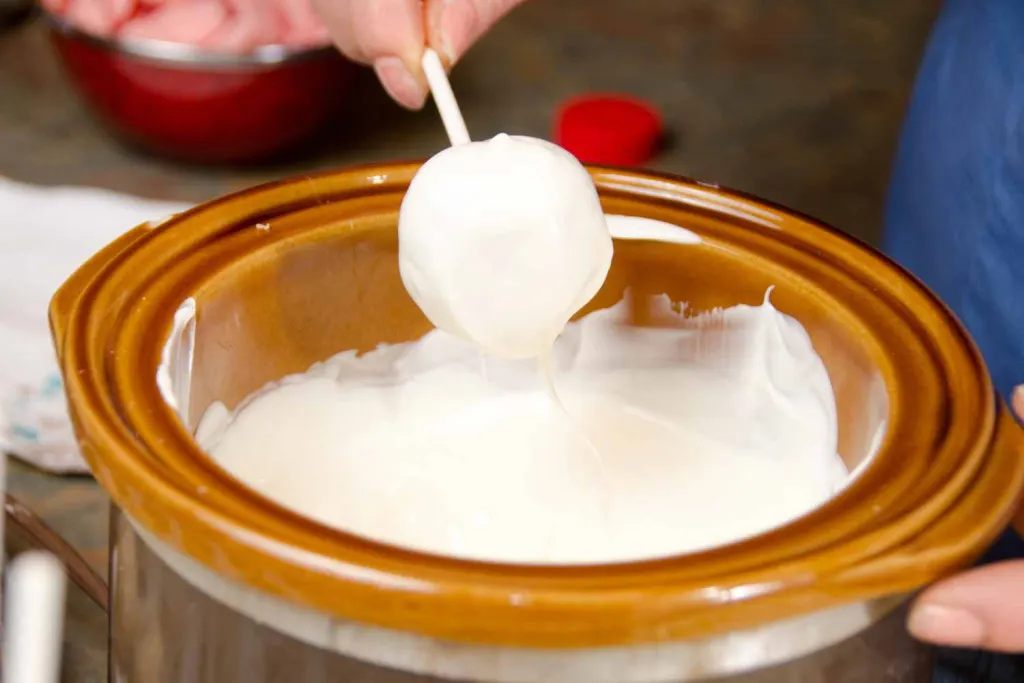
- Hold the cake pop by the stick and immerse it into the coating. Roll the pop and shake off the excess coating to provide an even coating. You can double dip the pop if it has bare spots or looks uneven.
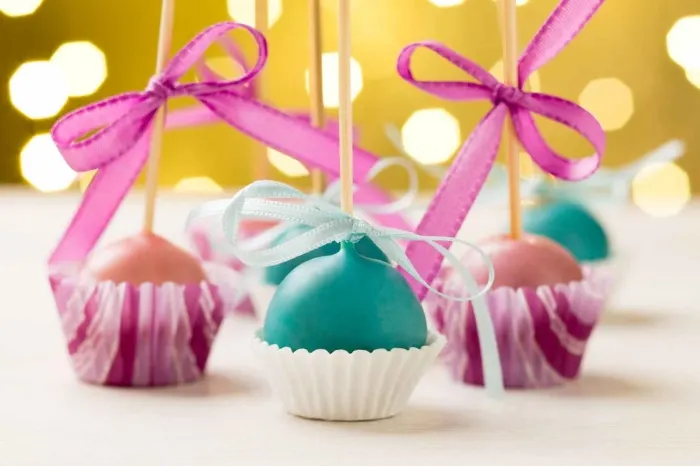
- While the pop is hardening, add rolled or sprinkled decorations or toppings of your choice.
- Set the dipped, decorated pops into a cake pop holder or a block of styrofoam to hold them up as they set up.
- Once the coating has hardened, the cake pops are ready to be enjoyed.
Cake Pop Recipe Variations:
Cake Pop Recipe Without Frosting:
The best cake pop recipe is the one that works best for you and the event or guests you are serving. If you don’t want to use canned frosting for your pops there are other ways to hold the cake crumbs together.
Cake pops without frosting can still be sweet and delicious. The sweetness of the cake itself combined with any toppings you add might be enough sweetness all by themselves.
In our first cake pops recipe without frosting we just use melted butter and milk to keep the cake moist, hold the crumbs together and give it a slightly sweet flavor.
Keep in mind that the texture and sweetness of the cake pops will depend on the flavor of cake mix you use and the amount of milk and butter added. You can adjust the recipe to suit your personal taste by using a sweeter cake mix or adding more milk and butter if desired. We have the recipe for this method in our notes section of the recipe card.
Cake Pop Recipe With Cream Cheese:
Another way to replace the frosting in cake pops is to use cream cheese instead of frosting. This cake pop recipe for cream cheese cake pops is easy to make and produces delicious and creamy cake pops that are sure to be a hit at any party or event.
Just be sure to refrigerate the cake pops before decorating, as this will help them firm up and hold their shape better.
Look in the notes section of our recipe card below for the complete recipes for making cake pops without frosting.

Chocolate Cake Pop Recipe:
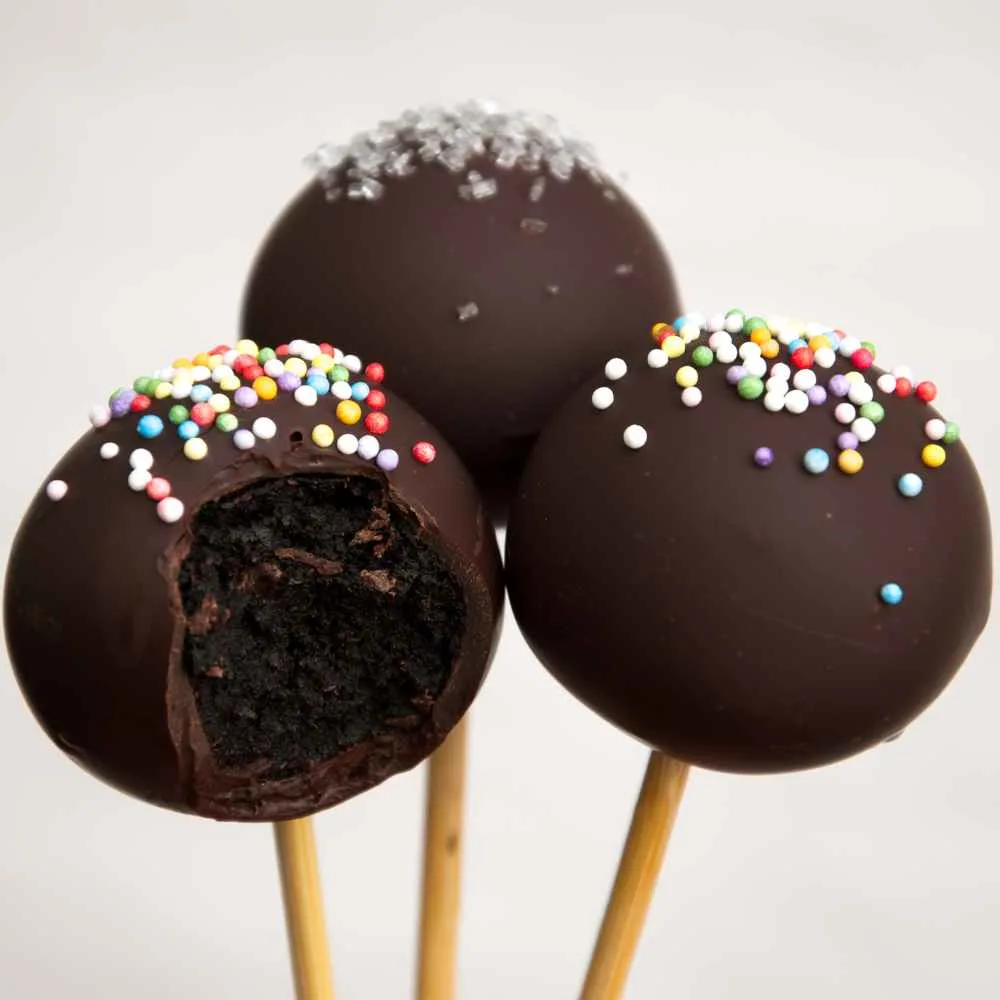
This recipe can be adapted easily to make chocolate pops by just choosing a chocolate cake mix and chocolate canned frosting. There are several varieties of chocolate cake mix and frosting. Choose a moist rich chocolate cake and deeply flavored frosting for the richest result.
Chocolate cake pops can be finished with real melted chocolate, or candy melts to get a glossy shine and harder coating on them.
Using Cake Pop Molds:
If you are having trouble with shaping your cake pops or don’t want to use the frosting with cake crumbles method, you can try using silicone molds.
Making your cake pops in silicone molds will save you time and give you consistent results. But using molds like this will change the texture of the cake pops. The cake pop texture, when using cake molds, is more like a regular cake. You get a light, fluffy, spongy cake pop.
Using molds and mold kits ( like this one on Amazon) to make cake pops may be the simplest and most convenient way to create uniform and consistent shapes. It is an investment but making a cake pop recipe with mould takes less time and the molds can be used again. And there is often a cake pop stand included in the kits, and everything you need to put the pops together.
How Long does it take to make Cake Pops? On average, with this cake pop recipe, you can expect the entire process to take about 1-2 hours, including preparation and cooling time. Here is a rough estimate of the time each step might take:
- Preparing the cake mix and baking it: 30-40 minutes
- Cooling the cake: 30 minutes to 1 hour
- Crumbling the cake and mixing it with frosting: 10-15 minutes
- Rolling the cake mixture into balls: 10-15 minutes
- Freezing the cake balls: 15 minutes
- Melting the chocolate or candy melts: 10-15 minutes
- Dipping the cake pops and decorating: 20-30 minutes
- Setting the chocolate: 30 minutes to 1 hour
The total time it takes to make cake pops with this method will vary depending on several factors, such as the speed at which you work and the amount of time you spend on each step.

Cake Pops Recipe
Ingredients
- 1 box of cake mix
- 1 can of frosting
- lollipop sticks
- melting chocolate or candy melts
- Sprinkles or other decorations (optional)
Instructions
- Once the cake is cool, crumble it into a large mixing bowl.
- Stir in 1/2 to 3/4 of the can of frosting into the crumbled cake until well combined and the mixture is moist enough to hold its shape when rolled into a ball.
- Roll the cake mixture into 1-inch balls and place them on a baking sheet lined with wax paper.
- Put the cake balls in the freezer for about 15 minutes to firm up.
- While the cake balls are in the freezer, melt the chocolate or candy melts in a double boiler or in the microwave in 30 second increments, stirring after each interval.
- Dip the tip of a lollipop stick into the melted chocolate, then insert the stick about halfway into a cake ball. Repeat with the remaining cake balls.
- Dip each cake pop into the melted chocolate, using a spoon to help cover it if needed. Tap gently to remove any excess chocolate.
- Decorate the cake pops with sprinkles or other decorations, if desired, before the chocolate hardens.
Place the cake pops in a Styrofoam block or a cake pop stand to let the chocolate set completely
Prepare the cake mix according to the instructions on the box and bake in a 9x13 inch pan.
Notes
Chocolate Cake Pops Recipe:
Use our recipe above and use a chocolate cake mix and a can of choclate frosting.
Cake Pop Recipe Without Frosting:
Cake pops without frosting can still be sweet and delicious. The sweetness of the cake itself combined with any toppings you add can still make for a tasty treat. The melted butter and milk in the recipe also help to keep the cake moist and give it a slightly sweet flavor.
Keep in mind that the texture and sweetness of the cake pops will depend on the flavor of cake mix you use and the amount of milk and butter added. You can adjust the recipe to suit your personal taste by using a sweeter cake mix or adding more milk and butter if desired.
If you would rather not use frosting here are two alternate recipes for you.
Ingredients:
- 1 boxed cake mix (your choice of flavor)
- 3 tablespoons of melted butter
- 2 tablespoons of milk
- lollipop sticks
Instructions:
- Bake the cake in a 9 x 13 baking dish according to the instructions on the box, then let it cool completely.
- Crumble the cooled cake into a large mixing bowl.
- Add the melted butter and milk to the crumbled cake, then mix everything together until well combined.
- Roll the mixture into small balls (1 1/2 inches in diameter) and place them onto a wax paper-lined baking sheet.
- Put the baking sheet into the refrigerator for 30 minutes to firm up the cake pops.
- Once the cake pops are firm, insert a lollipop stick into the center of each one.
- You can now enjoy your cake pops as they are, or you can add a variety of toppings such as sprinkles, crushed cookies, or chopped nuts
Cream Cheese Cake pop recipe:
Another way to make a creamy cake pop without frosting is to use cream cheese.
Ingredients:
- 1 boxed cake mix (your choice of flavor)
- 3 tablespoons of melted butter
- 2 tablespoons of vegetable oil
- 1/4 cup of milk
- 2 large eggs
- 8 oz cream cheese, softened
- 1/4 cup granulated sugar
- lollipop sticks (as needed)
Instructions:
-Preheat your oven to 350°F (175°C).
-Mix the cake mix, melted butter, vegetable oil, milk, and eggs in a large mixing bowl until well combined.
-Pour the cake batter into a 9x13 inch baking pan and bake in the preheated oven for 25-30 minutes, or until a toothpick inserted into the center of the cake comes out clean.
-Allow the cake to cool completely.
-In a separate mixing bowl, beat the cream cheese and sugar together until light and fluffy.
-Once the cake has cooled, crumble it into small pieces and mix it with the cream cheese mixture until well combined.
-Roll the cake mixture into 1 inch balls, then insert a lollipop stick into the center of each ball.
-Place the cake pops onto a wax paper-lined baking sheet and refrigerate for at least 30 minutes, or until firm.
-Decorate the cake pops as desired, using melted chocolate, sprinkles, or other toppings.
Nutrition Information
Yield
25Serving Size
1Amount Per Serving Calories 120Total Fat 3gSaturated Fat 2gTrans Fat 0gUnsaturated Fat 1gCholesterol 2mgSodium 160mgCarbohydrates 22gFiber 0gSugar 13gProtein 1g
Here’s a few more ideas for appetizers and party foods for your event, holiday or fun get together. Enjoy!
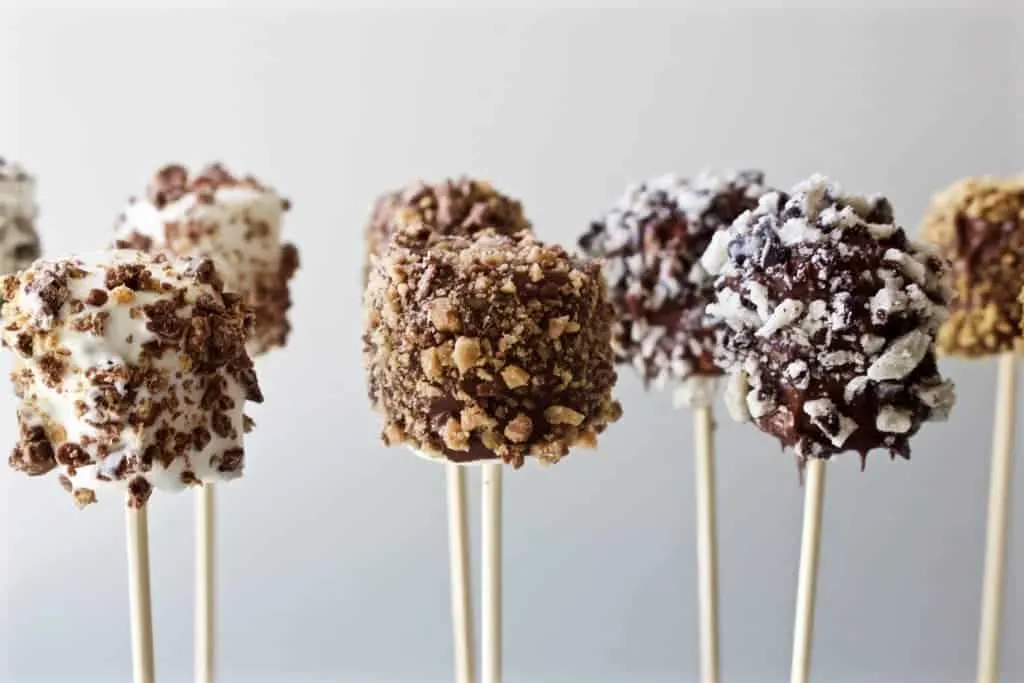
Looking. for more party food and ideas? Check out or Appetizer and Party food section.
- Puppy chow
- Charcuterie
- Red Raspberry Champagne Cocktail
- Champagne Cupcakes
- Chocolate Covered Fruit Bites
- Champagne Jello Shots
- Limoncello Prosecco Cocktail
Follow Us:
We enjoy meeting you on our social networks. Follow us on Facebook, Pinterest, Instagram . Tag us with your pictures of our recipes and comment on how it went for you. We would love to see what you do with them.
We often like, comment and share your posts of our recipes on our daily Instagram stories.
Ask questions and rate the recipe in the comments section below. Please share what you did with this recipe. We are always looking for more and better ways to make homemade food. Other cooks love your ideas!
Recent Posts:
- Ultimate Blackstone Tacos Recipe: Deliciously Easy to Make
- Ultimate Blackstone Hibachi Recipe
- Best Blackstone Smash Burger Recipe
- Best Blackstone Chicken Fried Rice Recipe
- Ultimate Blackstone Barbecue Chicken Pizza Recipe
