
Sourdough Troubleshooting Guide
As an Amazon Associate and member of other affiliate programs we earn a small commission from qualifying purchases through our affiliate link. For more information read our Entire Affiliate Disclosure.
Sourdough baking is deeply rewarding, but it can also be frustrating when something goes wrong. Flat loaves, dense crumbs, gummy interiors, or weak rise are some of the most common pain points home bakers search for when their sourdough bread doesn’t turn out as expected. This sourdough troubleshooting guide is designed to help you diagnose and fix specific sourdough problems quickly, using clear causes and practical solutions.
How to use this sourdough troubleshooting guide: Start with the problem that best matches what you see in your dough or finished bread (refer to the Table Of Contents below for the heading you need), then read the likely causes before applying fixes. Focus on the core solutions first, and use the Advanced Technique notes only after the fundamentals are working consistently.
If you’re new to sourdough, start with a reliable, beginner-friendly loaf and use this guide to troubleshoot issues as they come up. We built this Beginner Artisan Sourdough Bread Recipe just for you. It’s a complete tutorial and will help you avoid many pitfalls common in sourdough baking. This sourdough troubleshooting guide is here to back you up if needed.
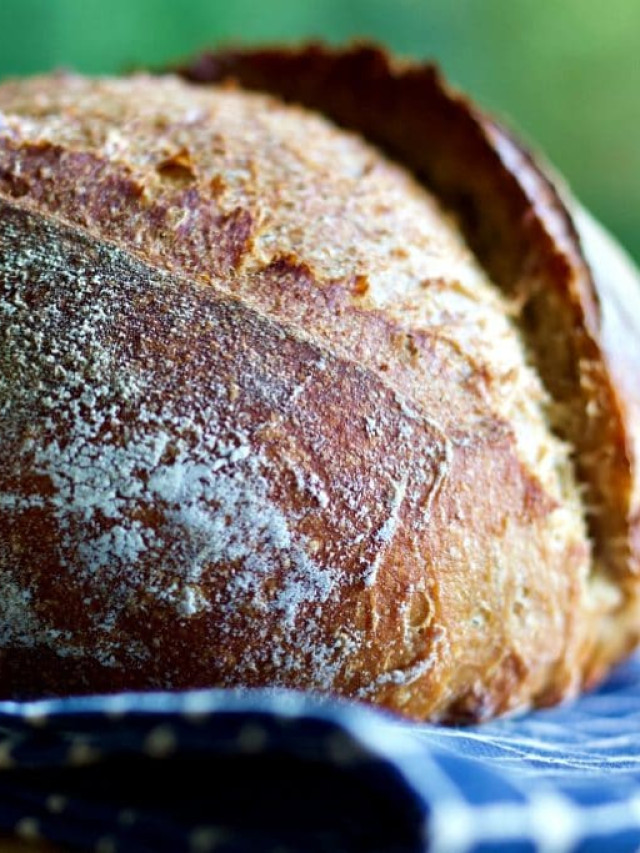
And once you conquer that recipe, challenge yourself with the whole wheat version pictured below.
Find Your Sourdough Problem Fast
In response to bakers questions, we have created a sourdough guide hub. Below are some of its helpful guides. If your sourdough didn’t turn out as expected. Match what you see in your bread to the problem below, then follow the link to a full step-by-step solution. Don’t see what you need? Visit the hub for more guides or Comment on this post and ask. We will answer.
- Bread is dense – Why Sourdough Bread Turns Out Dense
- Bread Flavor too sour or bland-How to Control Flavor Profile in Sourdough
- Dough spreads after shaping – How to Shape Sourdough Bread
- Can’t Get an Ear-How to Get An Ear On Sourdough
- Score won’t open – How to Score Sourdough Bread
- Crust is soft or pale – How Steam Baking Affects Sourdough Bread And How to Get A Crispy Crust.
- Loaves flat or weak shoulders-What Is Dough Structure in Sourdough?
- Not sure what your crumb means – How to Read Sourdough Crumb Structure
- No oven spring – How Steam Baking Affects Sourdough
Why Sourdough Bread Fails (And How to Fix It)
Check Your Fundamentals First
Before adjusting fermentation process or shaping, make sure your core inputs are correct. Small errors in measurement, flour choice, or salt can cause multiple downstream problems.
- If your results are inconsistent, check your measurements — see How to Measure Sourdough Ingredients. Often incorrect measuring is the culprit.
- If your dough behaves differently than expected, check your flour — see Sourdough Flour Types Guide. If you love a recipe and start switching flours, it will definitely impact your results.
- If your fermentation seems off, review your salt usage — see Salt in Sourdough: Why It Matters
- Not sure when or how to refrigerate your dough? – Cold Bulk vs. Cold Proof Sourdough
Most sourdough problems come down to five core variables:
- Starter strength and maturity
- Fermentation timing
- Dough hydration
- Gluten development
- Baking temperature and steam
Understanding how these elements interact will allow you to troubleshoot sourdough bread issues with confidence rather than guesswork. Sourdough relies on wild yeast and lactic acid bacteria.
Fermentation speed and strength are heavily influenced by temperature, time, and available sugars in the dough. Read more on Lactic acid bacteria in sourdough fermentation here.
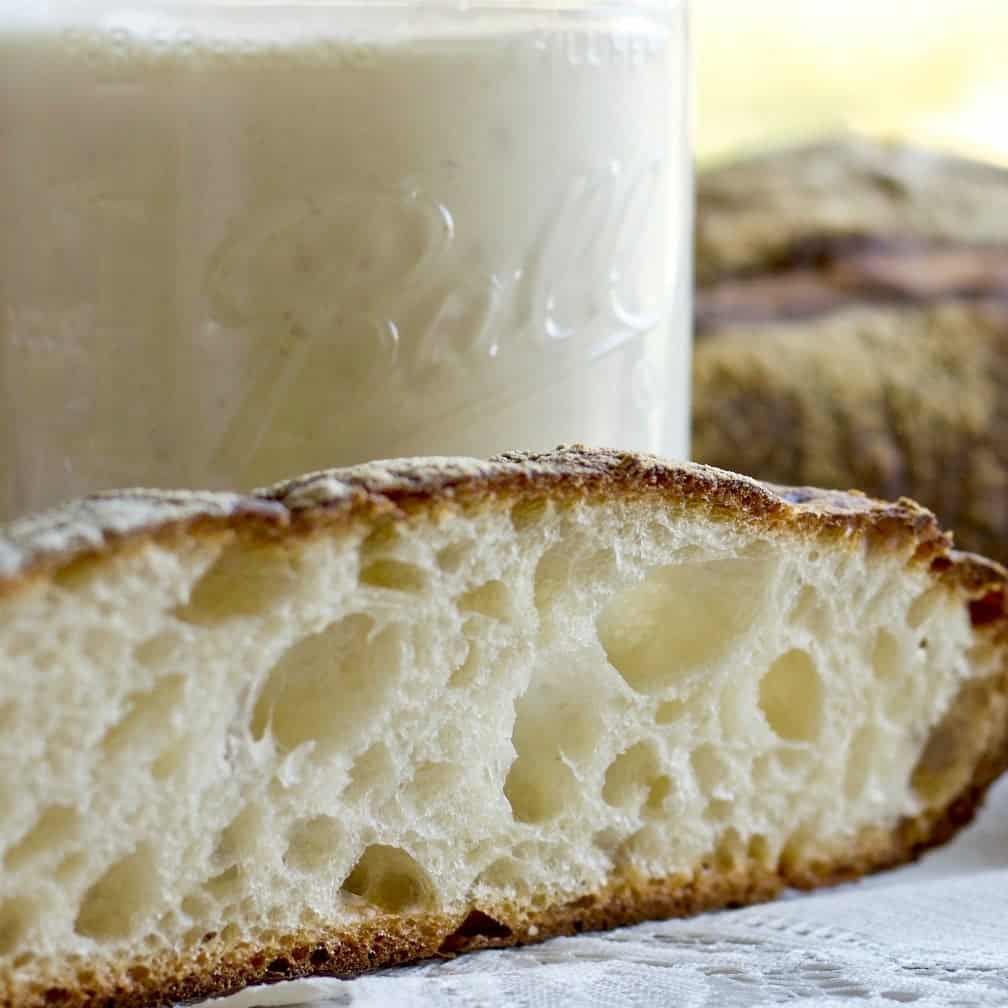
Consistency Matters: Don’t Change Variables and Expect the Same Results
One of the most common sourdough mistakes is assuming that you can change core variables—like flour type, hydration, or technique—and still get the same outcome. Every sourdough recipe is built around a balance of flour behavior, hydration, fermentation timing, and handling methods. Changing any one of these without adjusting the others often leads to dense crumb, weak rise, or sticky dough.
If you want to substitute a different flour, increase hydration, or alter the process, it’s important to understand how those changes affect fermentation and structure. Our Sourdough Flour Types Guide explains why flour substitutions require intentional adjustments rather than assumptions.
For consistent results, follow recipes as written until you understand how each variable influences the dough. Once you do, changes become tools—not surprises.
Problem: Sourdough Bread Didn’t Rise
In many cases, poor rise is caused by a weak or underfed starter rather than the recipe itself. Go to our post on Properly feeding a sourdough starter for more on this.
Likely Causes:
- Weak or immature sourdough starter
- Under-fermented dough
- Dough temperature too cold
- Over-proofing leading to collapse
How to Fix It
- Feed your starter consistently for several days before baking until it doubles within 4–6 hours
- Use a warm fermentation environment (75–78°F is ideal)
- Extend bulk fermentation rather than final proof when rise is lacking
Go deeper:
If timing feels off, revisit fermentation strategy—see Cold Bulk vs Cold Proof Sourdough
Learn How to make a Sourdough Starter and how to know when it’s ready to bake.
Problem: Dense or Gummy Crumb
Dense or gummy crumb is often caused by insufficient gluten development combined with under-fermentation or excess moisture. For more on gluten development in bread dough read this.
Likely Causes
- Under-proofed dough
- Excess hydration without proper gluten development
- Cutting into bread before fully cooled
How to Fix It
- Allow bulk fermentation to continue until dough shows visible rise and air bubbles
- Reduce hydration slightly if you are a beginner
- Cool bread completely (at least 2 hours) before slicing
Go deeper:
Low air in your dough usually points to proofing- How to Proof Sourdough Guide
If your bread is consistently dense, read – Why Sourdough Bread Turns Out Dense
If you’re unsure how your crumb should look, see How to Read Sourdough Crumb Structure
If your crumb shows large holes mixed with dense areas, the issue is often not hydration or fermentation—it’s how the gas was handled during shaping.
Learn how to fix this in: How to Control Sourdough Crumb (Open vs Sandwich Style)
Advanced Technique: Extend Bulk Fermentation Without Over-Proofing
If crumb remains dense despite adequate rise, experienced bakers can extend bulk fermentation slightly while maintaining dough strength through additional folds early in the process. This allows for improved gas retention and crumb structure without pushing the dough into over-proofing.
Watching dough volume increase and internal bubble formation is more reliable than relying on the clock alone.
Problem: Flat Sourdough Loaf
Likely Causes
- Over-proofing
- Weak gluten structure
- Poor shaping technique
How to Fix It
- Shorten final proof time or proof in the refrigerator
- Incorporate coil folds or stretch-and-folds during bulk fermentation
- Focus on creating surface tension during shaping
Advanced Technique: Pre-Shape and Bench Rest for Structure
Adding a deliberate pre-shape followed by a short bench rest can dramatically improve loaf structure. This step allows gluten to relax evenly before final shaping, making it easier to create surface tension without degassing the dough.
For slack doughs, a well-executed pre-shape often makes the difference between a spreading loaf and one that holds height in the oven.
Go deeper:
Flat loaves are often a shaping issue – How to Shape Sourdough Bread
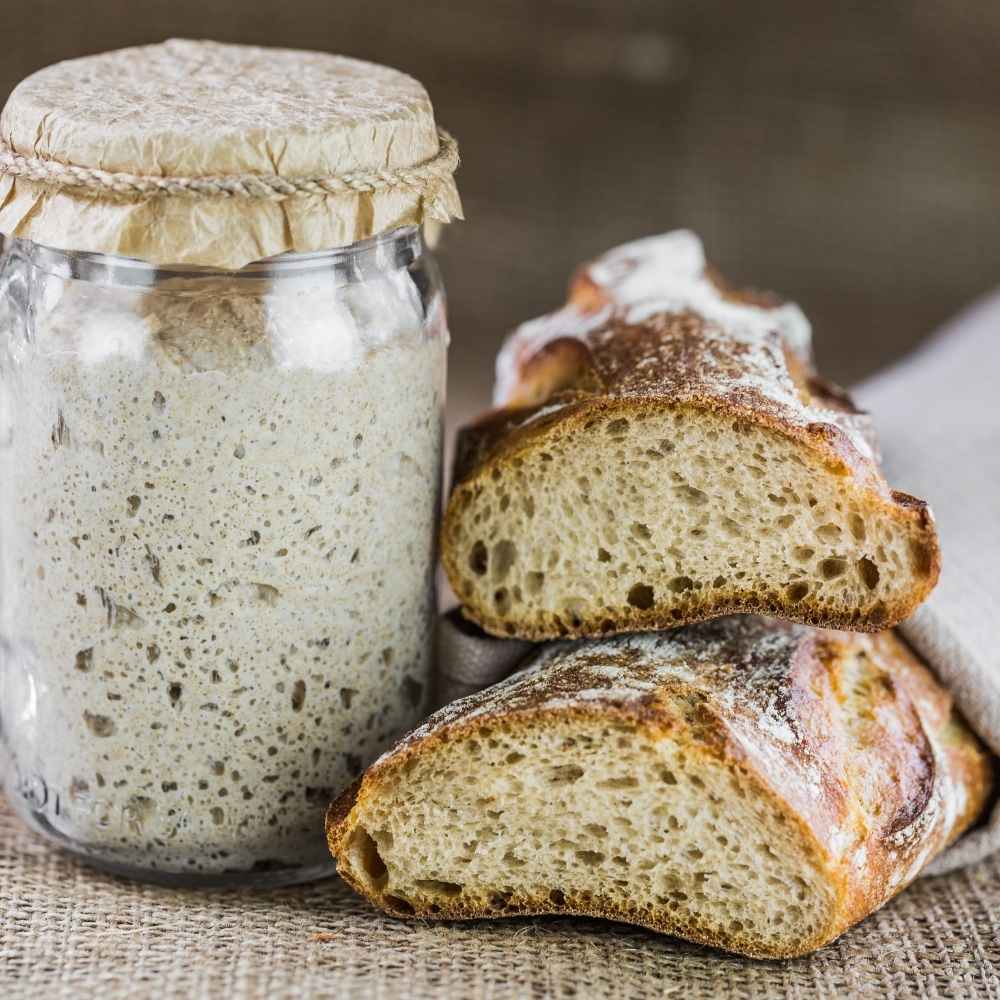
Problem: Sourdough Bread Is Too Sour
Likely Causes
- Long cold fermentation
- Overripe starter
- Excessive fermentation time
How to Fix It
- Use starter at peak rise rather than after collapse
- Shorten cold proof time
- Increase feeding ratio of your starter to reduce acidity
Advanced Technique: Balance Acidity Through Feeding Ratios and Timing
Advanced bakers can control sourness by adjusting starter feeding ratios and fermentation timing rather than shortening fermentation drastically. Higher feeding ratios and baking earlier in the starter’s rise cycle reduce acidity while preserving fermentation strength.
Flavor control is most effective when starter condition, fermentation length, and temperature are considered together.
Go deeper:
Long cold fermentation increases acidity—see Cold Bulk vs Cold Proof Sourdough
Also, Go to this post on Creating a Sourdough Flavor Profile for more on this.
Problem: Sourdough Bread Lacks Oven Spring
Steam during the early stages of baking allows dough to expand fully before the crust sets, which is essential for good oven spring.
Likely Causes
- Insufficient steam
- Dull scoring blade or poor scoring angle
- Over-proofed dough
How to Fix It
- Bake in a preheated Dutch oven or add steam during the first 20 minutes
- Score at a 30–45 degree angle using a sharp lame
- Bake sooner rather than later once dough is fully proofed
Go deeper:
Learn scoring technique – How to Score Sourdough Bread
Understand steam – How Steam Baking Affects Sourdough Bread
Advanced Technique: Optimize Dough Temperature at Bake Time
Beyond steam and scoring, dough temperature at bake time influences oven spring. Dough that is too warm may spread quickly in the first moments of baking. Dough that is moderately chilled holds structure longer as expansion begins.
Baking sourdough straight from the refrigerator can improve oven spring by helping the dough hold its shape during scoring and delaying crust formation in the oven. Cold dough is easier to score cleanly and can expand more predictably during the first minutes of baking.
For experienced bakers, controlling dough temperature—rather than relying on timing alone—adds another layer of consistency to oven spring results. I recommend this technique in many of my sourdough bread recipes. It consistently improves scoring control and oven spring. Cooling the dough adds some time to the process but gives measurable improvement to the bake.
However, chilling dough will not correct over-proofing or weak gluten structure. For best results, use cold baking as a finishing technique after proper fermentation, shaping, and steam are already in place.

Problem: Sourdough Crust Is Too Hard or Too Thick
Likely Causes
- Baking too long uncovered
- Oven temperature too high
- Insufficient hydration
How to Fix It
- Reduce uncovered bake time
- Adjust your oven temperature a bit lower if your oven runs hot.
- Lower oven temperature slightly for the final uncovered stage of baking if needed
- Increase hydration by 2–5%
Baking Sourdough properly gives you that perfect crispy crust sourdough is famous for. When your crust has issues the whole loaf suffers and bakers get frustrated. Read our complete guide on How to Get A Crispy Sourdough Crust for more on sourdough crust problems and fixes.
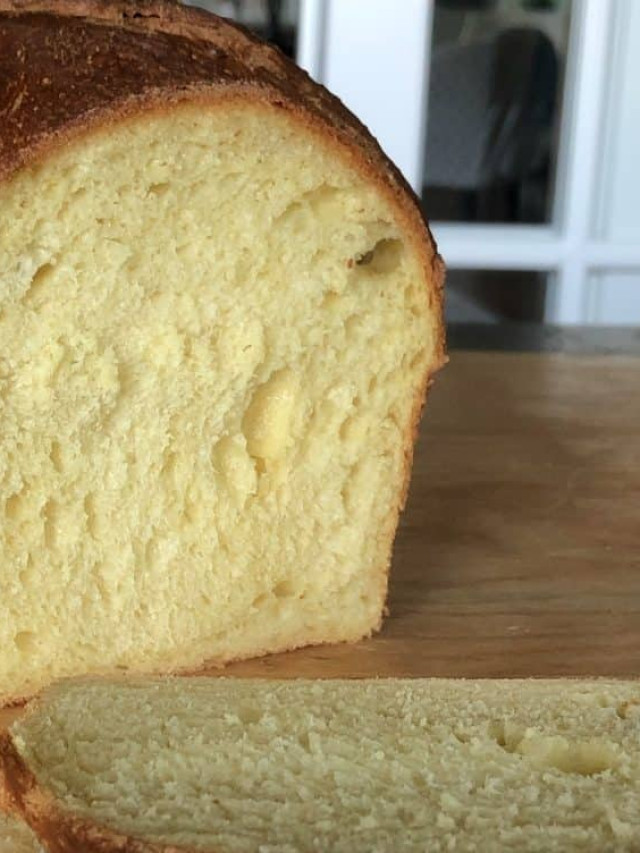
Crumb Issues:
Read our complete guide on How to Control Crumb Structure in Sourdough
Problem: Dough Is Sticky and Hard to Handle
Sticky sourdough dough is characteristic and a good thing. Even though it may take some practice to work with. here’s a few tips:
Likely Causes
- High hydration dough
- Underdeveloped gluten
- Inadequate resting time
How to Fix It
- Use wet hands and wet bench scraper instead of adding flour. Flour on the board mixes into the loaf, toughening it.
- Add extra folds during bulk fermentation. Until you can stretch the dough to transparent without it breaking, the dough is not ready to long cold rise.
- Allow dough to rest between folds. This will encourage dough development after working it and help reduce stickiness
Advanced Technique: Adjust Hydration Incrementally
Experienced bakers can fine-tune dough handling by adjusting hydration in small increments rather than making large changes. Even a 2–3% reduction in hydration can significantly improve dough strength and manageability without sacrificing crumb quality.
When working with higher hydration doughs, focus on full gluten development through folds and rest periods instead of adding extra flour. A well-developed dough will become less sticky as fermentation progresses.
Hydration adjustments work best when paired with strong gluten development and accurate fermentation timing.
Go deeper:
Hydration control matters – Understanding Sourdough Hydration
Sourdough Troubleshooting Guide for Beginners
If you are new to sourdough baking, many problems stem from trying to rush fermentation, and not understanding dough structure in sourdough. Sourdough is guided by visual and tactile cues rather than the clock. Learning to read your dough with your hands and eyes—its elasticity, rise, and aroma—is the fastest way to improve results.
Bookmark this sourdough troubleshooting guide and refer back whenever something feels off. Each problem you solve builds intuition and consistency.
Frequently Asked Questions About Sourdough Troubleshooting
Why is my sourdough bread dense?
Dense sourdough bread is usually under-fermented or made with a weak starter. Extend fermentation and strengthen your starter before baking.
Why didn’t my sourdough rise in the oven?
Poor oven spring is often caused by over-proofing, lack of steam, or weak gluten development.
How do I fix sour sourdough bread?
Use a younger starter, shorten fermentation time, and feed your starter more frequently.
Final Thoughts: Mastering Sourdough Takes Practice
Every sourdough failure is a lesson. By understanding the causes behind common sourdough bread problems, you move from frustration to control. This sourdough troubleshooting guide is designed to grow with you—from beginner baker to confident sourdough enthusiast.
For best results, pair this guide with our step-by-step sourdough recipes, starter maintenance tutorials, and fermentation deep dives. Consistent practice and informed adjustments are the keys to perfect sourdough bread.
Have a problem we haven’t addressed in this sourdough troubleshooting guide? Please ask your questions in the comment section below and we will answer.